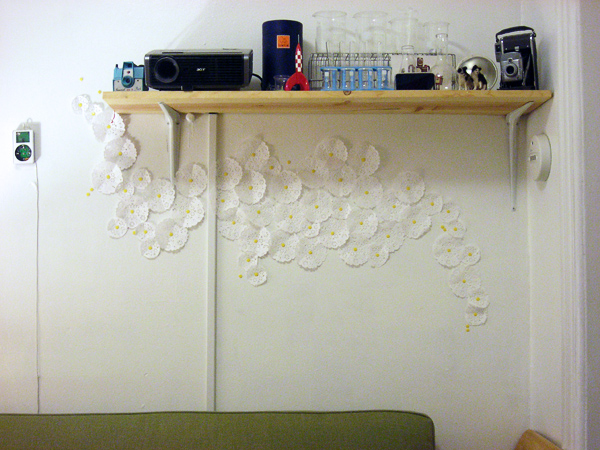
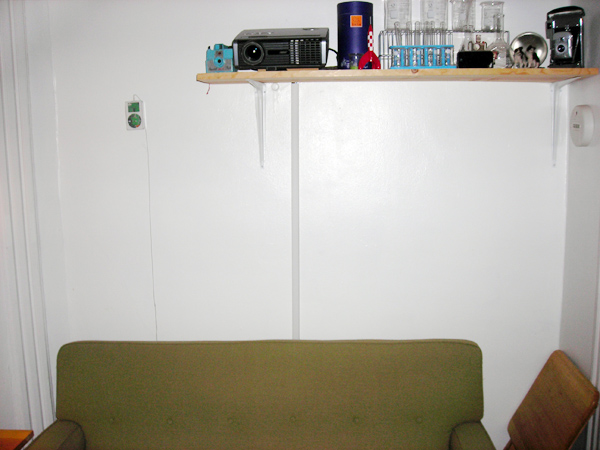
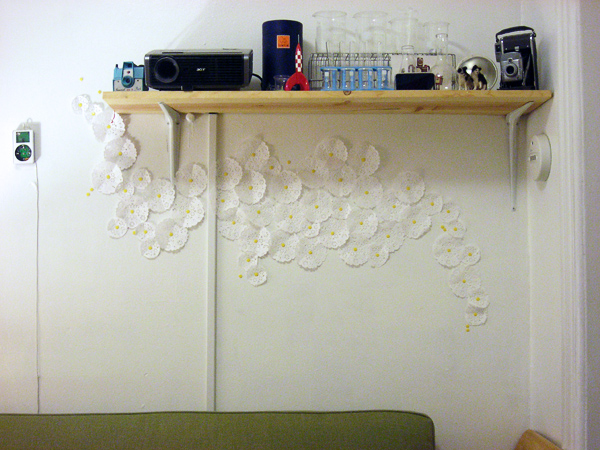
A couple of weeks ago, I saw a photo of wall art made with doilies and thumbtacks on Apartment Therapy. I loved the look, and was excited by the idea of making home designs with so few supplies. As in the original post, I decided to give thumbtack art a try in my own living room.
Supplies:
•4″ paper doilies (or cut tissue paper)
•Thumbtacks in one color
•Fabric piece to protect tacks
Directions:
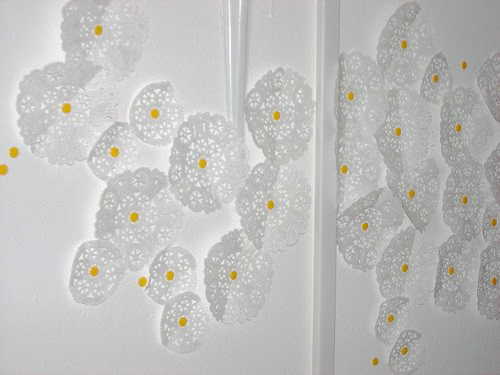
Cut the doilies into various sizes, leaving some whole. Stick a tack in the center of a doily, choose your location, and hammer or press the tack into the wall. If using a hammer, protect the tack and doily by placing a fabric piece over the tack before hammering. There aren’t any rules for placement, but I found that using different sizes and overlapping layers resulted in a nice texture in the finished piece.
Be careful to choose each tack location with care, lest your wall start looking like it lost a fight with a very strong, very confused mosquito!
I’m definitely pleased with how my thumbtack art turned out. It was fun to make, took only an hour or two, and added some much needed texture to the wall. Thanks for the idea, Apartment Therapy!
**If you click through a link to Amazon.com in this post, I will make a little money if you make a purchase. Don’t say I didn’t warn you.**


