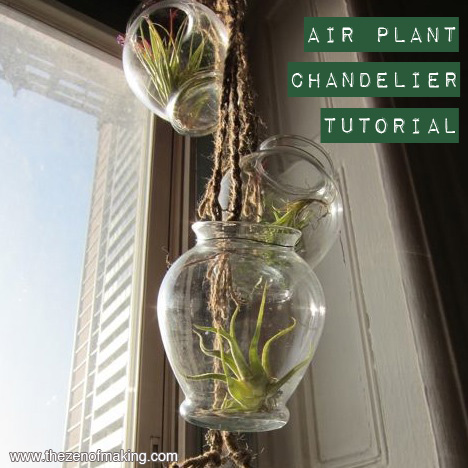
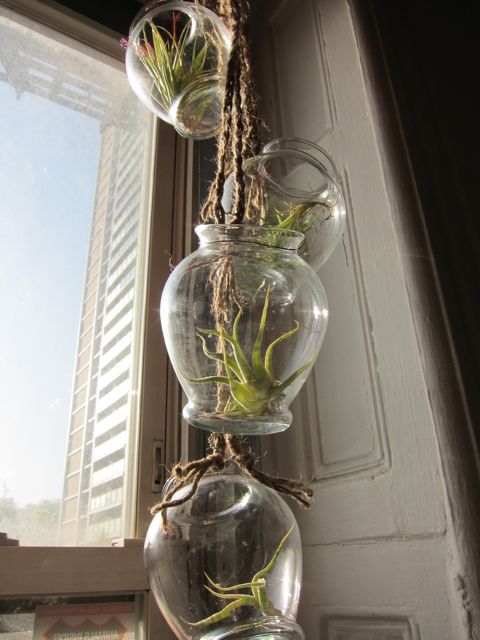
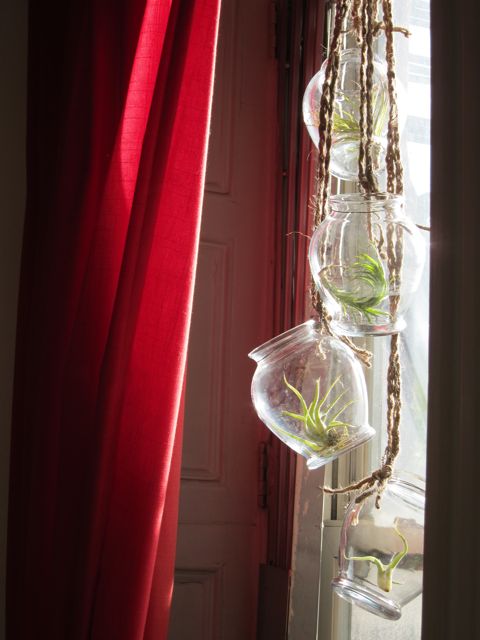
It’s entirely possible that you already have all of the materials that you need to make a chandelier of your own.
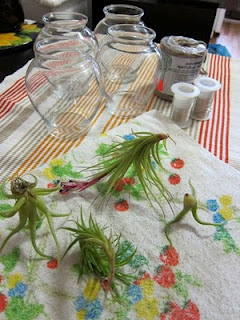
You need: 4 air plants, 4 clear glass containers with a lip around the top (or a handle), flexible wire, twine, a pair of needle-nose pliers, and a pair of scissors.
1.
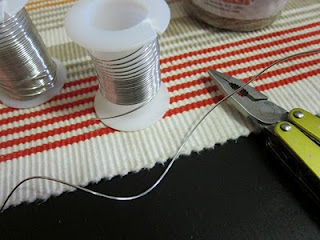
Cut a piece of wire about 24″ long. This length may need to be adjusted depending on the diameter of the container you’re using. My containers were 3″ across.
2.
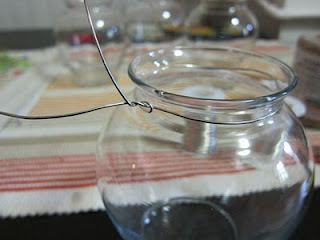
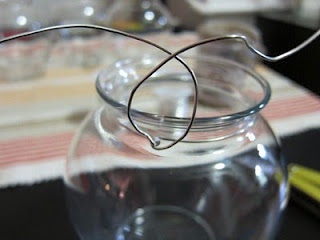
Wrap the wire around the container so you have equal length on both ends. Twist like a twisty tie.
3.
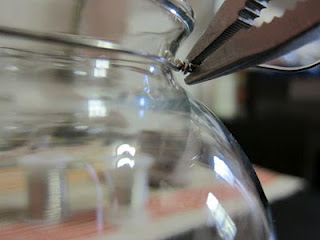
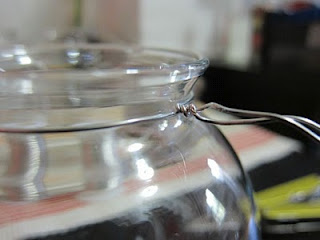
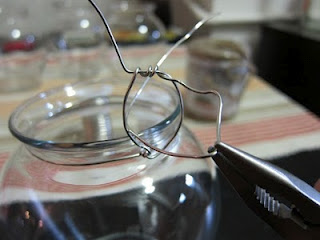
Tighten the wire by twisting a few times with your pliers. Stop when the wire is snug, but not too tight.
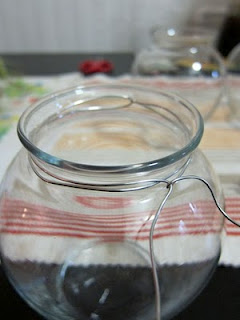
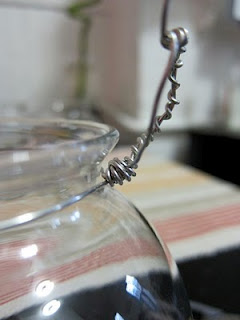
Additional Option: If you’re using heavier glassware, or if you just prefer the look, you can wrap the wire around the lip twice. See the photo below.
4.
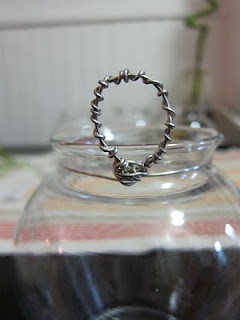
Create a loop by crossing the loose ends of the wire.
5.
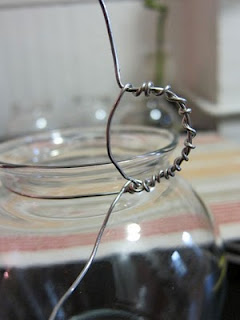
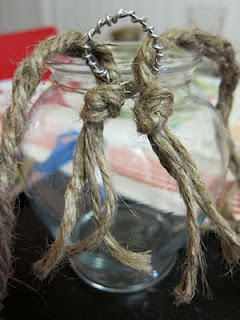
Using your pliers, wrap the wire around the loop. It’s easiest to start at the top on each side, twisting down to the base.
6.
Once you reach the bottom, wrap any extra wire around the base, taking care to squeeze in any loose ends so they don’t poke you later.
7.
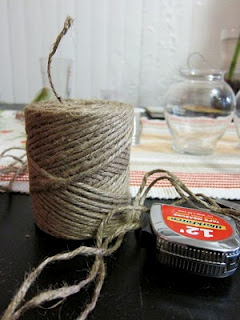
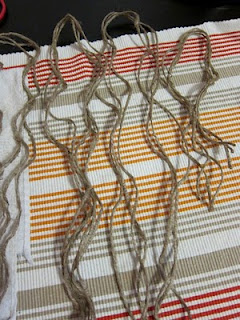
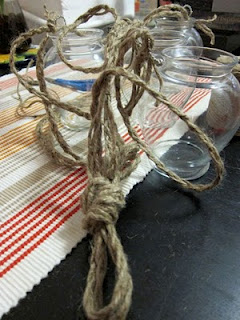
Measure the twine into pieces that are twice as long as your desired length (you will be folding them in half), then cut three pieces of each length. I chose 4 feet, 3 feet, 2 feet, and 1 foot, but you can use whatever lengths make sense for you.
8.
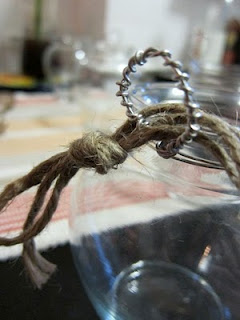
It’s time to braid. Bundle 3 pieces of twine of the same length, and tie a knot at one end. Bring the pieces through the loop, securing the loop at the bottom of the braid.
9.
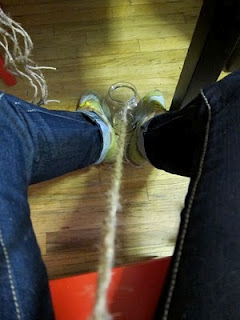
If you’re working with long pieces, secure the container between your feet, then braid up. When done, loop the twine through the second side of the loop, and knot to secure.
10.
To create a hanger at the top, gather all of the twine braids together, and tie a knot with a loop at the end.
11.
Add air plants, hang, and enjoy!
I definitely know what I’m making for everyone who’s getting married this summer

What a great idea! Very inspiring, especially for someone whose green thumb is limited to (barely) keeping cacti alive!
Thanks! Thus far, air plants seem pretty low-maintenance..
Love LOVE love the idea! Thanks a lot for sharing!
Oh, that did turn out nicely!
Hi Haley, I liked this so much that I featured it at my blog. I hope you wouldn't mind it. Thanks a lot! You can check it here:
http://kosmicchai.blogspot.com/2010/04/feature-istic-friday-3.html
What a fun idea!! Gott go find air plants… ^_^
That's awesome, Haley! I did a tutorial in early April, too. It's amazing how different (yet equally awesome) our creations are! See mine here: http://bowsandsparrows.blogspot.com/2010/04/air-supply.html
Nice! I like the idea of adding rocks into the mix.
What a fun idea!! Gott go find air plants… ^_^
Nice! I like the idea of adding rocks into the mix.
This is great! Love it! I also like the idea of using Krylon glass paint to color the clear glass!