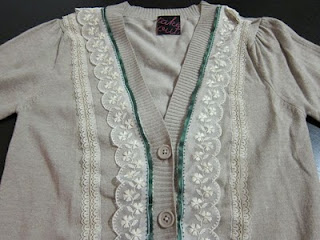
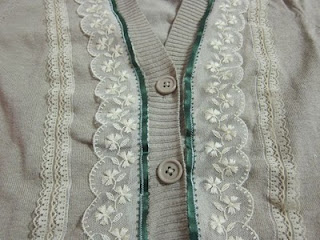
My pal Amanda is a sweater designer, which means that there is never a shortage of cute sweaters in my closet. (I know, you’re totally jealous.) This particular sweater had a really cute cut, but wasn’t a color that I usually wear. Hoping to make it match my wardrobe a little bit better, I got out some ribbon and lace and got to work customizing it to fit my style.
The directions below are the steps that I followed. I’m certainly pleased with the outcome, but, if you’d like to try it yourself, check out my “lessons learned” notes at the end of the post first—I think the ideas there will make the project faster and easier.
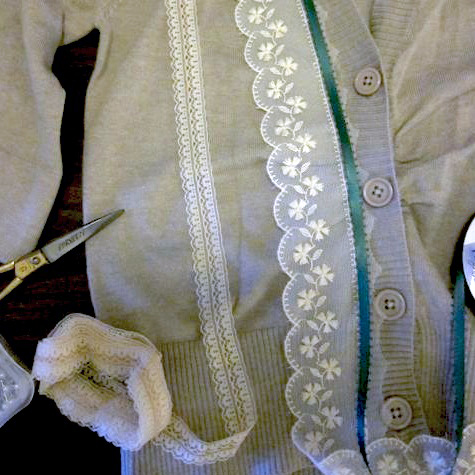
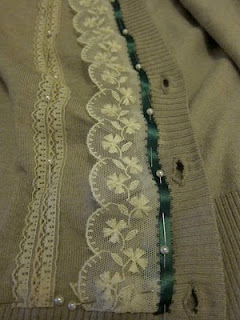
1. Place your lace and ribbons and pin them into place. Make sure you leave a ton of extra length at both ends, as sweaters are stretchy little monsters.
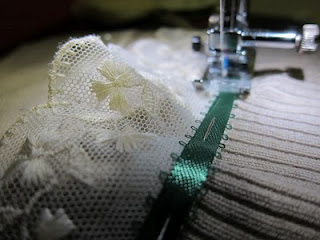
2. Zigzag stitch the pieces into place down the length of the sweater. If your sewing machine doesn’t work well with stretch materials—my Brother CS6000i can barely handle it—you might be better off hand-stitching, especially if you’re using delicate laces.
3. Fold the ends under and stitch across to secure them in place. If you have a lot of extra ribbon and lace, you can trim it down to a more manageable length before folding under.
4. Admire your work. (I used white thread for the tutorial, but feel free to use thread that blends in better.)
Lessons Learned:
1. Next time, instead of folding the ends under and stitching them in place, I may open the shoulder and bottom seams, pull the lace through, and refinish the original seams with my serger. I think this would look cleaner and hold the lace more securely.
2. It’s hard to overestimate how stretchy sweaters are. Cut your lace VERY long, or it won’t be long enough.
3. Next time, I’ll use interfacing or fabric stabilizer on the inside of the sweater to control the stretch and make the whole project easier to work with. I didn’t think about it until I was done, but this one simple step would have saved me more than a few headaches.
**If you click through a link to Amazon.com in this post, I will make a little money if you make a purchase. Don’t say I didn’t warn you.**

I love this!! Too cute!!
Thanks! I have a feeling that I'll be making a lot of these.
That's gorgeous! I would LIVE in that in the fall. Thanks so much for adding this to the One Pretty Thing Flickr pool, I'll be linking.
Thanks, Rachel!
Great sweater!! Just popped over from One Pretty Thing. I love all the trim – great job!
Lindsay