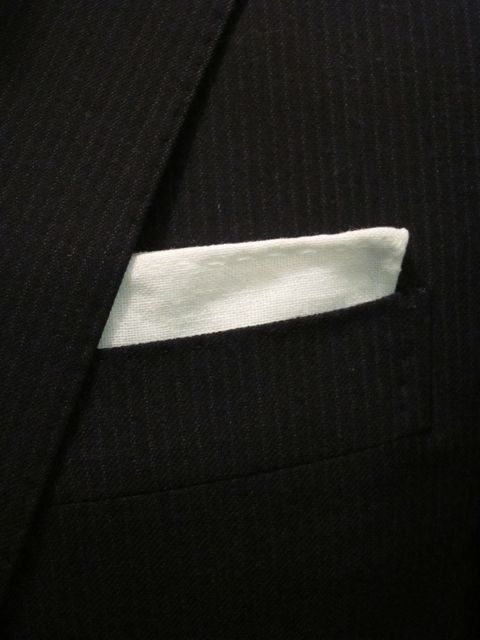
A pocket square was the very last accessory that Jeremy needed to complete his tux before the Creative Emmys this coming weekend, but somehow one had yet to appear in our apartment. So, last weekend, when he started researching the traditional fabrics and stitches, I should have known that I was about to get dragged into a project!
Now, should you ever find yourself with a fancy tuxedo and no pocket square in sight, don’t fret, we’ve done the research and have put together an easy tutorial for making your very own traditional hand-sewn pocket square.
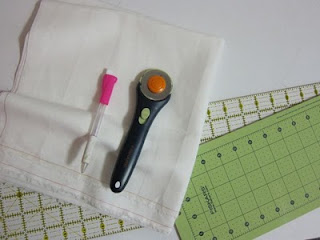
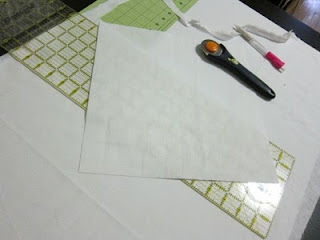
You’ll need: An iron, a clear ruler, a chalk pencil, a rotary cutter and mat (or fabric scissors, if you prefer), and 1/4 yard of white linen (or silk, if you aren’t vegan).
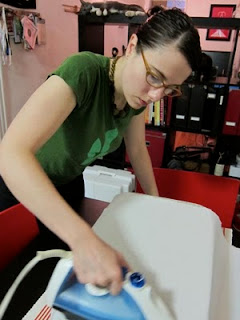
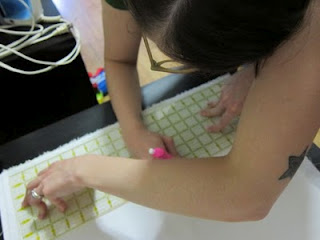
1. Square the grain and iron the linen.
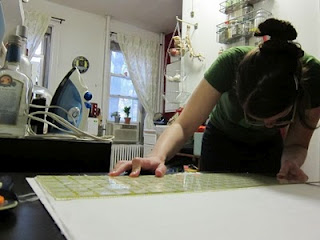
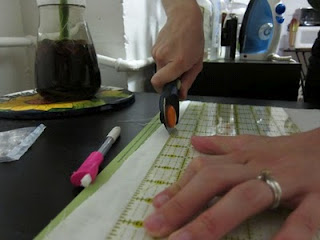
2. Measure, mark, and cut a 12″ square.
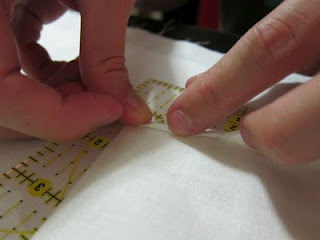
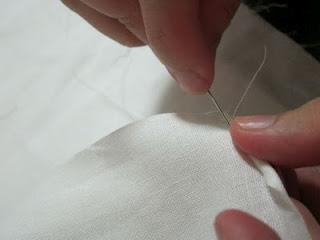
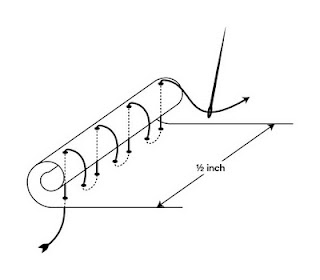
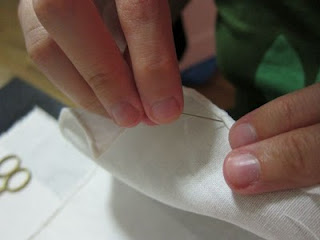
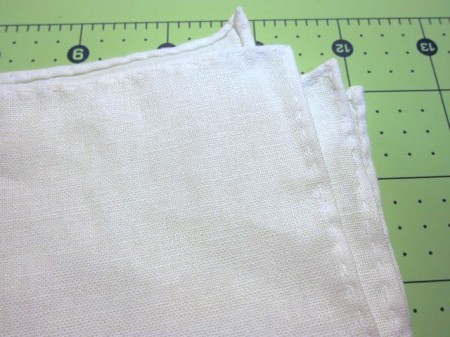
3. Create a rolled hem: Start to roll the fabric (this will be the back of the pocket square), insert the needle under the roll on the back of the square, then create a straight stitch across the front, then sew through the roll to finish the stitch. Start the next stitch by inserting the needle under the roll on the back of the square. For best results, you’ll need 8 to 10 stitches per inch.
Where rolled hems are concerned, it’s much easier to show than tell. Check out the awesome diagram that Jeremy made to explain the progression of the stitches.
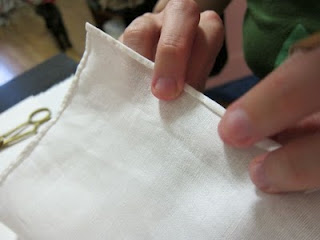
4. Continue to roll and stitch around the perimeter of the square. When you reach a corner, twist the two sides together and continue stitching per normal. (Depending on how well the fabric cooperates, you may need to improvise some stitches on the corners to maintain the right shape.)
5. Admire your pocket square. (Then call your grandma and tell her about it. She’ll be so proud of you!)

AWESOME! You have explained this better than anyone else. Thanks.
Thanks! As it turns out, pocket squares are harder to explain than one might think.
HI you did it nicely.I have been through many posts on how to fold a pocket squares but i am satisfied with your post.
Thank you! Found this on Pinterest, super helpful, it came out great! Excellent illustrative diagram, too!
Very Helpful, Thanks