Since everyone I know is suddenly having babies, I had to come up with a good shower gift fast. So, the night before I flew out to Michigan for my cousin Lindsey’s baby shower, I stayed up half the night turning what started out as a simple idea into a bigger, better project. So, if you’re procreating or know someone who is, break out your sewing machine and stitch up a fancy portable quilted changing pad! (Have I mentioned that it has a removable, washable cover?)
Why is it awesome?
* It’s foldable, so it goes anywhere
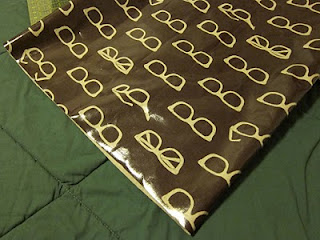
* Vegan-friendly and reusable
* The oilcloth pad can be wiped down after accidents
* The cover is removable and washable, so you know that baby’s bottom is always on something clean
* Because you made it!
What you need:
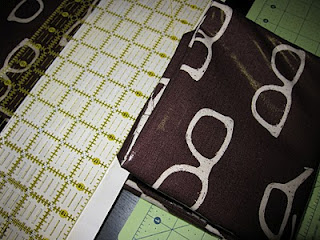
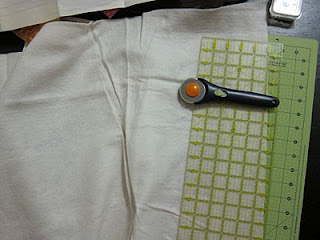
1. Cotton batting, thinnest loft (craft size, 46″ x 36″)
2. Cotton flannel fabric, cut to 40″ x 25″ (add .5″ on all sides for seam allowance)
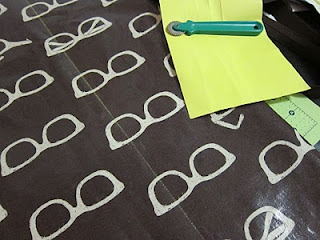
3. Oilcloth, cut 40″ x 25″ (add .5″ on all sides for seam allowance)
4. 5 large buttons
6. 6″ of 1/2″ elastic
7. Sewing machine with heavy duty machine quilting thread
8. Embroidery floss/needle
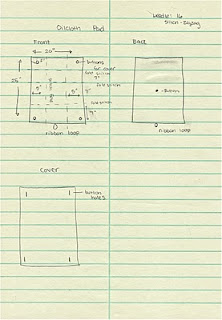
For those of you who like it, er, sketchy, here’s my original drawing of the design with measurements and notes added during the sewing process.
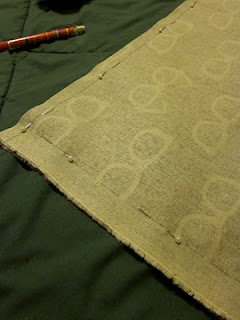
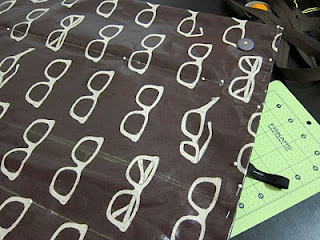
1. Fold the oil cloth in half so the wrong side of the fabric is facing out. Pin along two sides, leaving one end open for adding the batting. Be sure to leave a bit of room for the seam allowance.
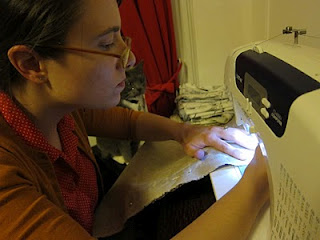
2. Stitch along the pinned sides. A wide zigzag stitch worked best for me.
3. Turn the fabric right-side out so that the seams are on the inside.
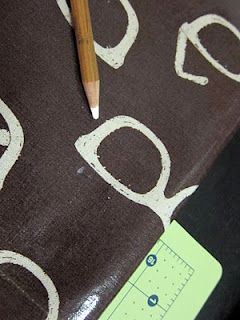
4. Divide the width into thirds length-wise, marking the location of the folds using tracing paper or tailors’ chalk. (See drawing above.)
5. Measuring 2 inches in from all corners, mark the location of the buttons.
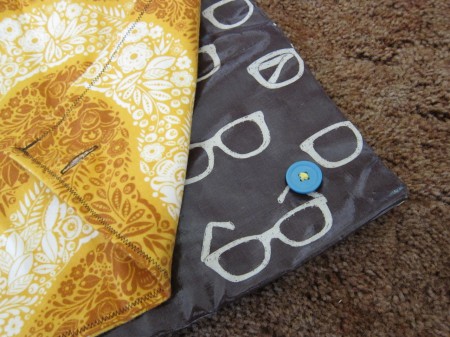
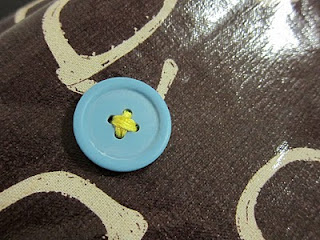
6. Using embroidery floss, secure a button to each corner and one on the back. Only sew through the top layer of the oilcloth, as you will still need to add the batting in between the layers.
Because the changing pad will be used by a child, take special care to firmly knot the floss holding the buttons in place.
7. Fold the pad in thirds length-wise. Divide the length into quarters, marking the horizontal folding lines. (See drawing above.)
8. Cut the batting to size and insert it into the oilcloth shell. Depending on how accurately you stuck to the seam allowances, the final shell may have changed from the original size, so definitely measure first.
9. Loop the elastic in half, and insert it into the middle of the open end of the oilcloth, leaving at least half an inch of length inside. Fold the raw edges under and pin into place.
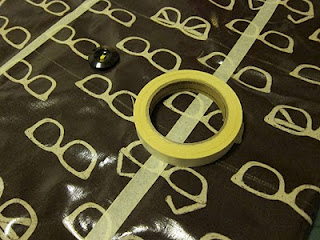
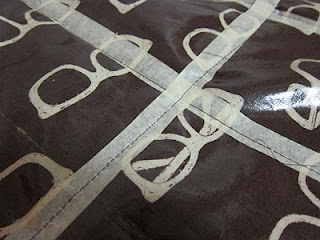
10. Prepare the slippery outside of the oilcloth for sewing by applying a layer of masking tape to each fold line. You’ll need to tape both the top and the bottom outer-facing layers, or your machine may slip. I learned the hard way that old, sticky tape is a horrible idea, and takes forever to remove. I suggest starting with a fresh roll.
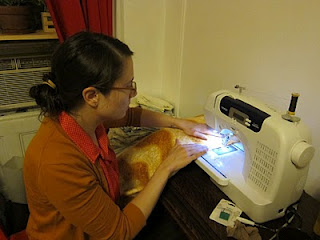
11. Stitch over the masking tape through the layers of oilcloth and batting (this is where the strong machine quilting thread comes in). I have no formal quilting experience, but this step ensures that the batting stays in place so the pad stays comfortable. The lines of stitches will also create a folding guide. At this point, you should also stitch over the open end of the shell to secure the elastic and batting in place. I went over this seam twice to make sure the elastic loop would stay put under stress.
With the oilcloth pad done, it’s time to make the removable, washable flannel cover!
12. Just like with the oilcloth, fold the flannel in half with the wrong side of the fabric facing out. Pin around two of the three open edges, and zigzag stitch the two pinned edges.
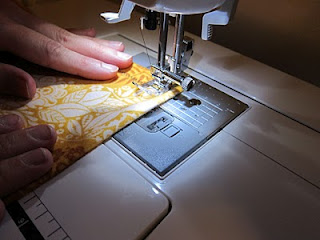
13. Turn the fabric right side out through the open edge so the seams are inside, and top-stitch around all four edges. When you get to the open edge, you may either fold the raw edges under as you stitch, or fold them under ahead of time and pin.
14. Once you have stitched around all four edges, hold the cover up to the finished pad, and mark the locations where the button holes should be. When you’re sure the buttons are in the right place, use your machine to add button holes to each corner of the cover.
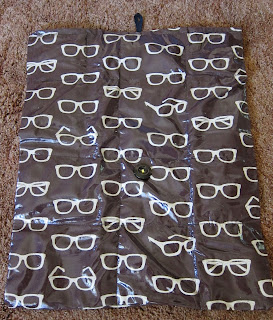
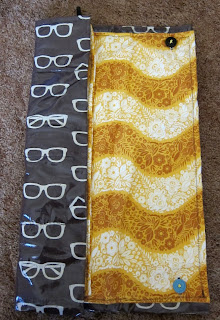
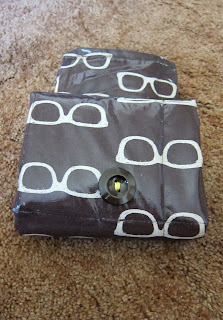
15. You’re done! Check out the pictures below to see complete views of the finished project.
 |
| Front View with Cover |
 |
| Closeup of Button Attachment |
 |
| Back View |
 |
| Folding 1 |
 |
| Folding 2 |
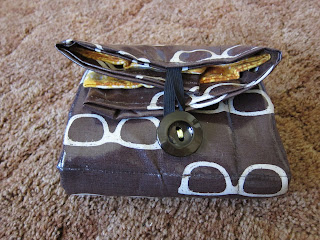 |
| Folded and Secured with Elastic Loop |
Questions? Did I forget something? Leave a comment and let me know!


What a brilliant idea, having the removable cover. Now I need to go fabric shopping!
this is really smart…nice tutorial..thanks for sharing..
Thank you! I had a blast figuring out the pattern. My cousin loved it, and I even managed–quite by accident–to exactly match the colors in her jungle nursery theme!
To make the foot on the sewing machine slide put the tape on the bottom of the sewing foot. That way you don’t have to stick it on the fabric, or use a walking foot. I made a change pad similar to this and put handles on it and incorporated the folds into pockets for wipes and other necessary products for changing the baby. Good to know that other grandmoms think the same. Thanks for your inspiration. Sharon