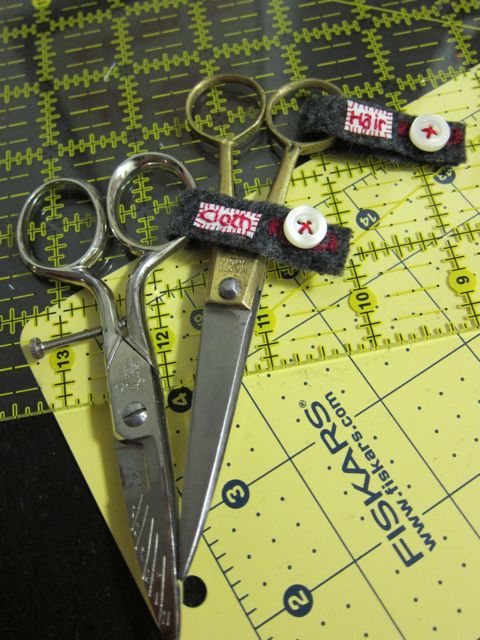
 Have you ever walked into a room to find that your husband is using your favorite fabric scissors to break down the cardboard packaging from his new computer monitor? Or, maybe you’ve tried to trim your bangs, only to discover that your now-dull barber shears have taken up residence in the herb garden? Yeah, we’ve all been there.
It’s no secret that we crafty folks like our scissors. And, while we may know that those nice pinking shears can’t be used to cut out paper designs, chances are, our significant others/kids/roommates think that all scissors are the same—when something needs to be cut, they just grab the nearest pair and go. So, for those of you who, like me, don’t want to spend a small fortune on new scissors and/or sharpening every time a pair wanders off, I’ve created an easy tutorial for cute scissor tags that just might save your precious edges (and your sanity?). Plus, the tags are removable, so they definitely won’t get in the way of your next delicate cutting job.
Supplies:
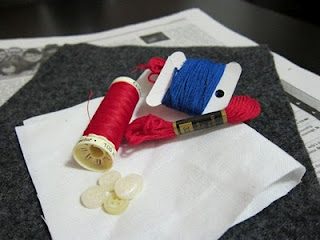
* 3″ x 6″ piece of thick felt (This size piece will make six ½” tags. I used some leftover vegan synthetic felt from Jeremy’s Christmas gifts.)
* 6″ x 6″ square of thin fabric (You can use any size square as long as it’s large enough to fit in an embroidery hoop. I used leftover linen from Jeremy’s Emmy pocket square.)
* Small embroidery hoop
* Embroidery floss and needle
* Small buttons
* Thread and hand-sewing needle
* Two 3″ x 6″ pieces of newspaper
* Fray Check or clear nail polish
* Fabric marker
* Straight pins
* Ruler
* Pen or pencil
* Fabric scissors or rotary cutter
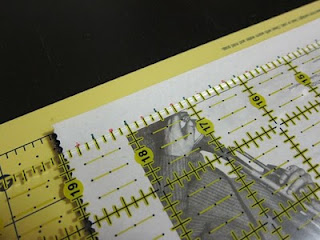
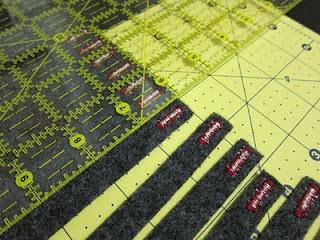
1. Sewing felt is easiest if you have a sheet of paper on either side of the fabric before you start (you will sew through the paper). Sandwich the felt between the two pieces of newspaper and secure with a straight pin in the center of each side. Then, along the length of one of the the 3″ edges, measure and mark every half inch for the width of each tag (green marks above). After the tags are marked, put a dot in the center of each for the buttonhole location (red marks above). You will have 6 tags.
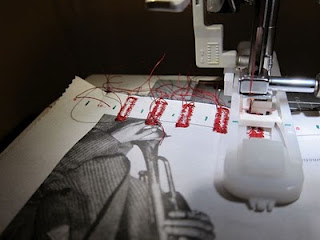
2. With your sewing machine, sew a buttonhole over each buttonhole dot on the paper. You can also sew a buttonhole by hand.
3. Once all of your buttonholes are sewn, remove the newspaper and cut the felt into half inch strips with the buttonholes centered on the top of each strip. At this point, don’t worry if your strips look too long. Later in the tutorial, you will size them individually to fit each pair of scissors.
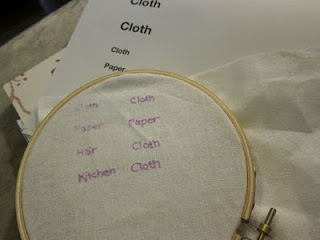
4. To make the labels, print out the words that you plan to use and trace them onto the fabric with a fabric pen. I used disappearing ink so I wouldn’t have to wash the fabric after I finished stitching.
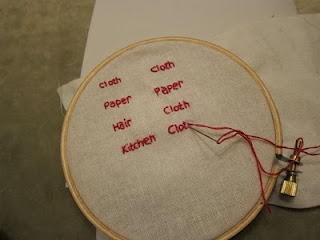
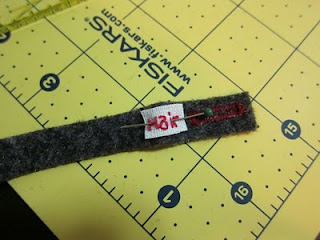
5. Thread the needle with two strands of embroidery floss. Backstitch along the letter lines for each word. (Note: You will be cutting out each word individually, so knot the floss after each word before moving on to the next.)
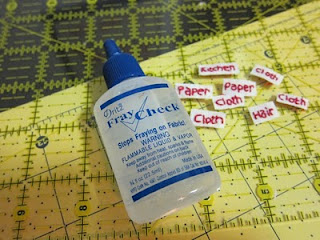
6. Cut out each word, leaving room around each for sewing. Seal each raw edge with Fray Check or clear nail polish. (Folding the edges under and finishing the seam is also fine.)
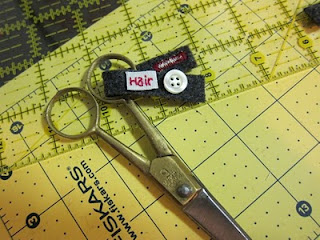
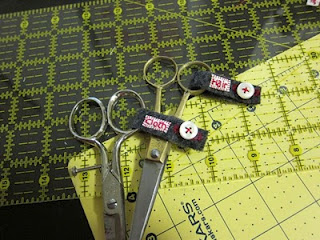
7. Once the labels are dry, wrap a tag around the handle of each pair of scissors and arrange the label and a button. Remove any extra length from the felt strip.
8. Pin the tag in place and sew around the edges with your favorite decorative hand stitch. To finish, sew the button onto the back side of opposite end of the felt strip.
9. Attach a tag to every pair of scissors you own, and revel in your brilliance!
Are you a traveling crafter? You can also use the same method to mark your scissors with your name.

OMG VINTAGE HALEY. <33333
perfect! I can't believe I didn't see this before!
I hope they keep your craft scissors safe from paper!