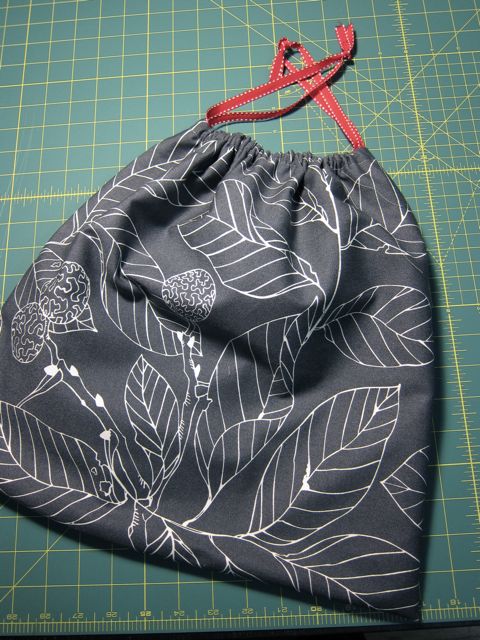
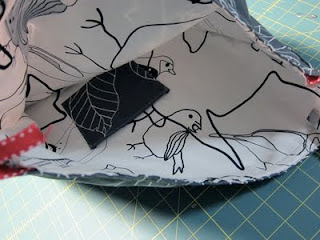
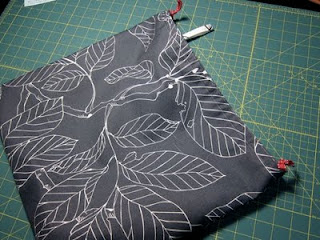
I came up with this design at the request of my BFF, who needed a knitting project bag that would be large enough for a sweater or skirt project, yet still compact enough to be tossed into a tote bag for her daily subway commute. I started out by making a very basic all-rectangle pattern, then added an inside pocket (for stitch markers, scissors, patterns, etc.) and a yarn guide to make it easier for her to keep knitting and crochet projects organized on the go.
Supplies:
* Two 33″ x 17″ fabric rectangles (one for shell, one for lining) *
* One 6″ x 6″ fabric square for pocket
* One 8″ x 2″ fabric rectangle for yarn guide (optional)
* Two 36″ lengths of braided cord
* Small snap closure (optional)
* Clear nail polish
Tools:
* Sewing machine (hand stitching is also fine)
* Straight pins
* Measuring tape
* Iron
* I used a heavier canvas fabric for my shell to keep sharp needles from poking through the bag.
Note: I originally used ribbon for the drawstring, but it was really hard to work with, and didn’t allow for smooth opening and closing. I highly recommend using rayon rattail cord, which is perfect for the job.
Oversized Knitting/Crochet Project Bag Tutorial
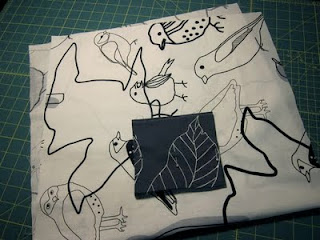
Prepare the inside pocket.
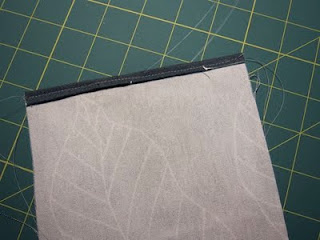
1. Fold one edge under twice, finishing the edge, and press. Stitch in place to create the top opening of the pocket.
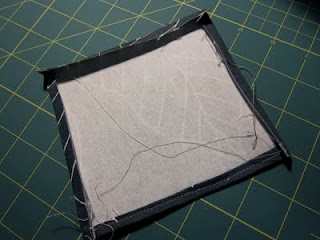
2. Fold the other three sides of the pocket under once and press them into place.
Attach the pocket to the lining.
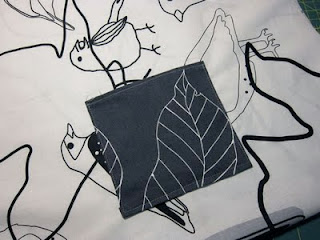
3. Fold the lining rectangle in half with wrong sides together. Pin the right side of the pocket to the right side of the lining, positioning the pocket in the lower third. Make sure that the finished top edge of the pocket is pointing toward the top of the lining.
4. Unfold the lining and stitch around the three unfinished sides of the pocket, securing it in place. Reinforce by backstitching a few times on either side of the pocket opening.
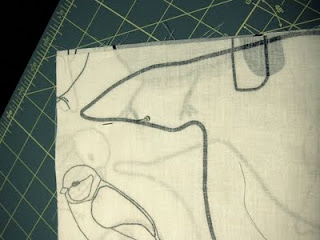
5. Fold the lining in half, this time with right sides together, and pin into place. Sew along both sides, leaving the top open. (The fold is the bottom of the lining.) Set aside.
6. As you did with the lining, fold the shell in half with right sides together and pin into place. Sew along both sides, leaving the top open. Turn right side out.
Tip: While still inside out, cut the corners off of the bottom edges of the shell and the lining—it will make the the bottom of the finished bag more square.
Sew the lining into the shell.
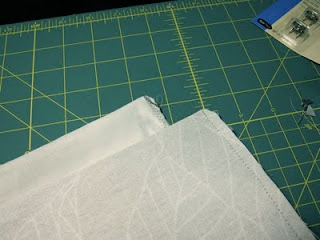
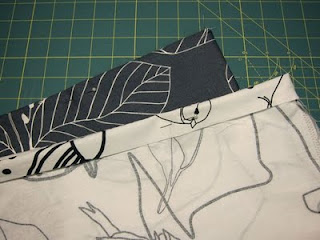
7. Still inside out, fold the top edge of the lining over 1″ and press into place. Then, fold the top edge of the (right side out) shell towards the inside 1″ and press into place.
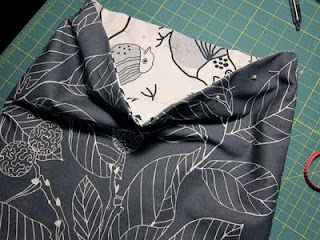
8. Insert the lining into the outer shell. Wrong sides of the shell and lining should face each other, and the right side of the lining should now be the inside of the bag.
9. Pin the lining and the shell together around the unfinished edges at the bottom of the folds from step 7. (Unless you’re using thin fabric, you’ll have to do this mostly by feel.) Stitch around the bag, just above the pins, so the unfinished edges are now hidden between the shell and the lining.
Note: The drawstring will be inserted between this seam and the top opening, so make sure that you sew as close to the unfinished edges as you can. If have a larger cord or need more wiggle room, fold the edges in step 7 down more than an inch.
Insert the drawstring.
10. At this point, you have two choices, depending on how well you sew in a straight line. (Choose A if you can and B if you can’t.)
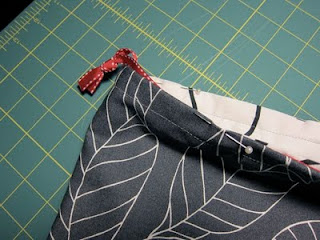
A. Insert both drawstring cords between the lining and the shell, above the seam from step 9. Pin the shell and lining together above the cords, leaving an open space of about an inch on each side for the drawstring pulls to stick out. Sew around the top edge on each side of the bag, getting as close as possible to the edge of the folds, securing the drawstring in place. At the drawstring openings, make sure you backstitch over the seam a few times on each side so your stitches don’t unravel when the cord is pulled.
B. Pin the shell and lining together, leaving an open space of about an inch on each side for the drawstring pulls to stick out. Sew around the top edge on each side of the bag, getting as close as possible to the edge of the folds, creating a space for the drawstring to be inserted. At the drawstring openings, make sure you backstitch over the seam a few times on each side so your stitches don’t unravel when the cord is pulled. Finally, install the drawstring by snaking each cord through the path you just made. (I usually attach a safety pin or tie knot at the ends to make it easier.)
To finish, dab some clear nail polish on the ends of your drawstring to prevent fraying.
A note on drawstrings: Maybe I’m an idiot, and you’re all sitting there laughing at my expense, but I didn’t actually know how a drawstring worked until I started this project. If you’re in the same boat, don’t worry—I’ve made the mistakes, so you don’t have to. It comes down to this: a drawstring is actually two cord loops that pull in opposite directions, cinching an opening together when you tug on them at the same time. To install a drawstring, start with the beginning of the first cord on the side where you want the first pull to be located, then wrap the length of the cord around the full perimeter of your project. When the end of the cord meets the beginning of the cord, join with a knot, completing the loop and creating the pull for the first side. On the opposite side of the project, do the same thing, starting with the beginning of the second cord on the side where the second pull should be.
If you don’t want to insert a yarn guide (it feeds the yarn out of the bag when you’re working on your project), you’re done! If you’d like the guide, read on.
Optional:
Add the yarn guide.
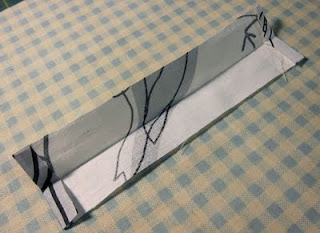
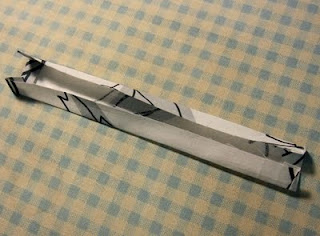
11. Fold the ends of the yarn guide rectangle toward the wrong side of the fabric and press into place.
12. Fold the rectangle in half the length-wise and press a crease.
13. Fold each long edge toward the center crease and press into place.
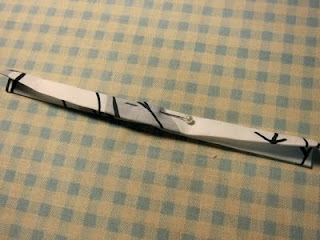
14. Fold in half lengthwise again, pin into place, and press.
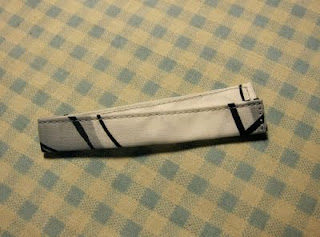
15. Stitch around all three open sides.
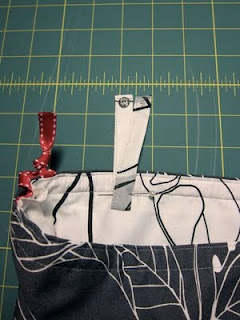
16. Fold the guide in half and pin into place at the bottom drawstring seam. Stitch into place through both layers of fabric. Hand-sew the snap to the open ends of the guide, creating a loop.
Done! Your bag will now be the envy of all other bags at your local stitch ‘n bitch.


Pockets are a necessity for project bags!
Totally. :)
Brilliant, Thank You. Definately being added to my list of stuff to do.
would you like to give the tutorial of basic crochet?
thanx b4
Thanks for your interest, Noenk! I wrote the Crochet 101 post
exclusively for CRAFT, and it may not be re-posted in full or duplicated
on any other site. If you are interested in featuring the tutorial on
your site, please share only 1 photo along with a link back to the
original post.
If you would like to learn how to crochet, the full tutorial can be found here: http://blog.craftzine.com/arch…