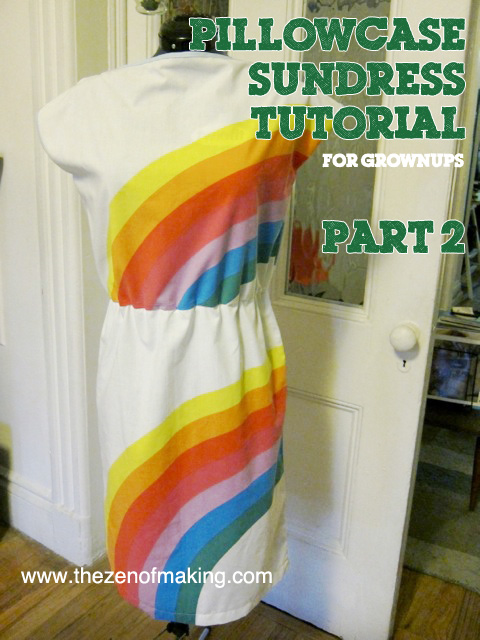
Welcome to part 2 of the Pillowcase Sundress Tutorial! Yesterday, we laid the foundation for a unique upcycled dress. Today, we’ll finish the project, giving the dress some shape and personality. Just getting started? Check out Pillowcase Sundress Tutorial: Part 1.
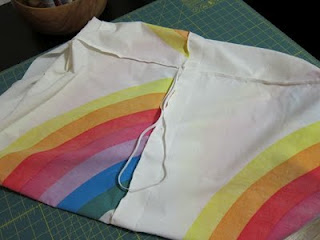
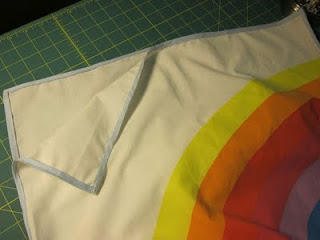
Start with dress inside out and completely unfolded.
8. Measure elastic band to fit your waist. Cut it to size and fold it in half, putting the ends together.
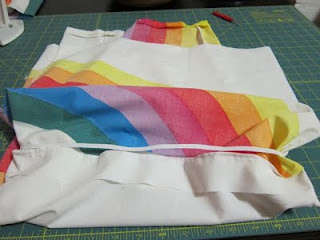
9. With the ends together, pin the elastic band into place right where the seam that connects the shirt to the skirt (from step 7) meets one of the side seams. Stitch the ends of the elastic band into the side seam, forming a circle with the band and securing it in place. You’ll want to stitch over it several times to make sure it stays put. When finished, wrap the elastic band around the full waist of the skirt.
10. Fold the 1½” seam allowance from step 5 up over the elastic band, covering it.
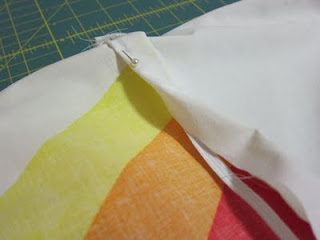
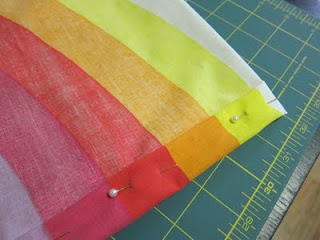
11. Fold the shirt back down into the skirt (like it was in step 6) so the seam that connects the skirt to the skirt is more prominent. Pin the edge of the seam allowance to this seam, folding the raw edge under as you go. If the band is smaller than the waist of the skirt, don’t worry if the pinning gets a little tricky—you’ll smooth the fabric as you sew.
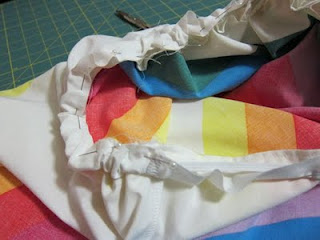
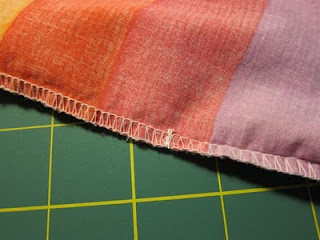
12. Once pinned, sew the folded edge of the seam allowance to the seam that connects the shirt to the skirt, taking care to stitch only through the fabric, not the elastic. (The band needs to be able to move to ensure even gathering around your waist.) Every few inches, adjust and smooth the fabric around the band so that it doesn’t get bunched up as you sew. Note: You should be sewing only along the seam that you’ve already made, not through the full dress. You are essentially creating a little pouch for the elastic band around the inside of the waist.
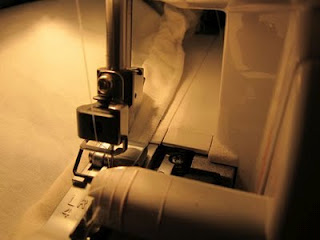
As you can see from the photo, I used my serger for this step. Feel free to use yours too.
Next, we’ll finish the neck and sleeves.
13. Measure halfway down the side seams on the shirt, marking the spot on each side. At each mark, machine stitch a small horizontal line by backstitching and stitching over the same spot several times. (This will keep the bottom half of the seam from unraveling later.)
14. Use your seam ripper to open the side seams, starting just above the horizontal line you stitched in step 11 and finishing at the top of the shirt. This will create the arm openings for the dress.
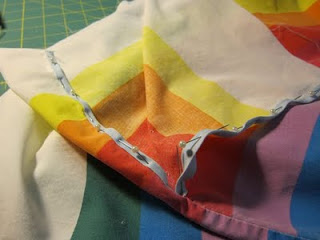
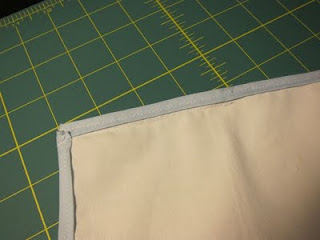
15. Cut the bias tape to size and pin it in place over all of the unfinished edges around the neck and arm openings.
16. Stitch the bias tape into place, finishing the raw edges.
17. On the top of the shirt, measure about 4″ from the edge of each side towards the center. Pin to mark the measurement.
18. To create the boat neck, stitch along the bottom of the bias tape, starting at the pin and sewing to the edge on each side. This will form the neck opening and shoulders, and will connect the tops of each arm opening.
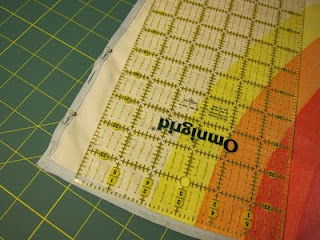
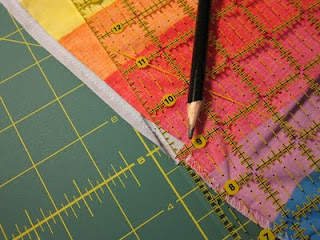
19. To finish the bottoms of the arm openings, draw a 1” line diagonally from the inner edge of the bias tape to the outer edge where each arm hole meets the side seam. Pin in place and stitch along this line.
Now, it’s time to wrap up the details.
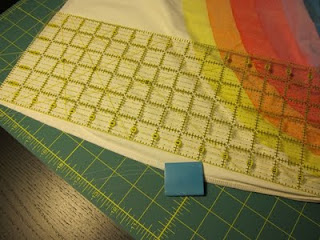
20. The only think you still need to do is hem the skirt. Fold the unfinished edge at bottom of the skirt under twice, then pin and press into place. Stitch around the fold to finish the hem. (If you are unsure about the final length of your dress, pin the hem first and try it on before sewing.)
That’s it, you’re done! You made a dress, now turn it right side out and go frolic!
Disclaimer: Ladies, I’m sure this goes without saying, but remember that pillowcase fabric can be thin. Check to see if you need to wear a slip before skipping through any fields, okay? I learned this the hard way with my wedding dress.

