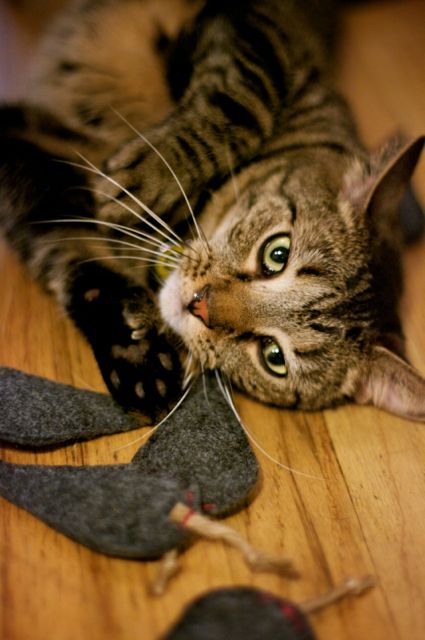
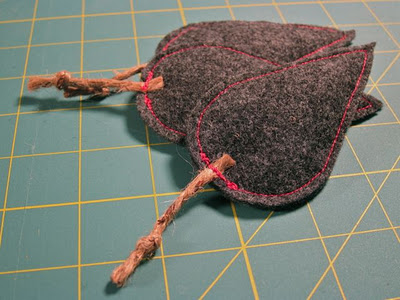
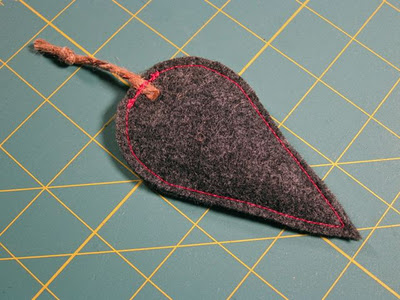
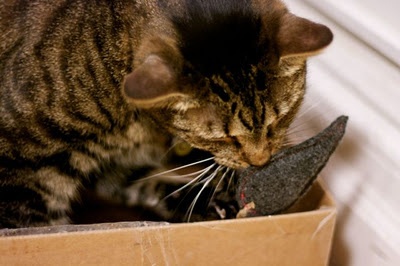
My cats were particularly well-behaved yesterday, so I made them a new batch of their favorite catnip mousie toys. Each mouse takes only a few minutes to make, so I sewed a small mousie army in no time flat. Simon and Pixel, for their parts, spent the next several hours rolling around in joyful kitty glee! (I was definitely the cats’ favorite person last night.)
Since they’re such a quick project, I also like to keep a stack on hand to add to cards or to include in housewarming gifts. They look great tied around the tops of wine bottles or as an added decoration on a wrapped gift, and you’ll get major bonus points for remembering someone’s little furry pal!
Here’s how to make your own:
Supplies:
* Eco felt
* Dried catnip
* 2 index cards
* Jute twine
* Contrast thread
* Scotch tape
Tools:
* Sewing machine (or hand sew)
* Straight pins
* Ruler
* Paper scissors
* Fabric scissors
* Small jar lid or compass
* Pencil
Step 1:
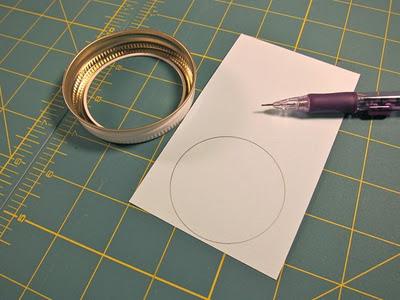
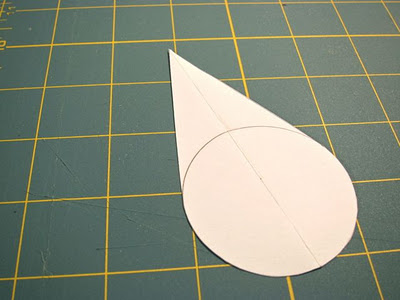
Using a jar lid or a compass, draw a circle near the bottom of the first index card.
Step 2:
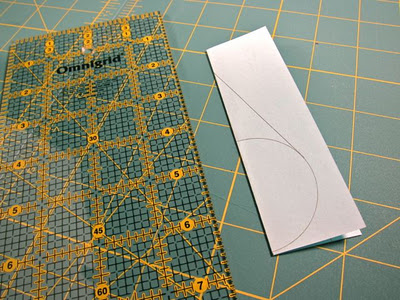
Fold the index card in half length-wise, then use a ruler to draw a line diagonally from the outer edge of the circle to the fold.
Step 3:
With the index card still folded, cut out the shape you just drew. Once you finish cutting, unfold the card and flatten your mouse pattern.
Step 4:
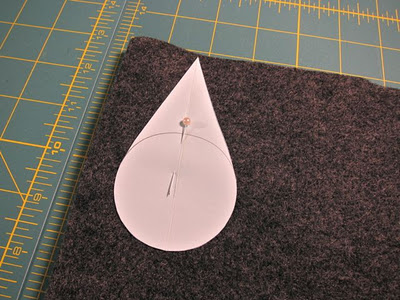
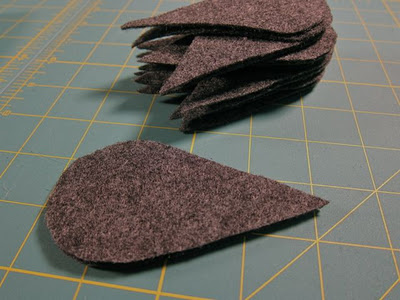
Using a straight pin, attach the pattern to the felt and cut out the shape twice. (Each mouse requires two pieces of felt—to make additional mousies, cut out additional pairs.)
Step 5:
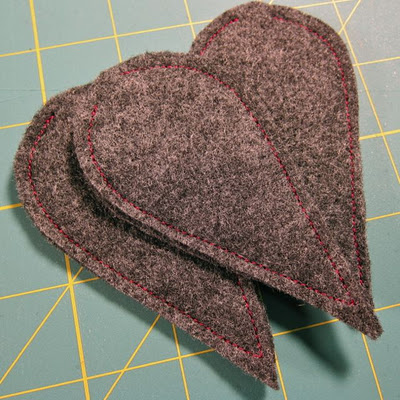
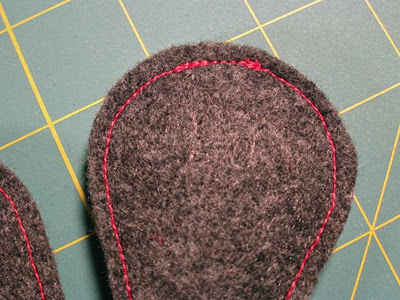
To sew each mouse, pin a pair of felt pieces together with a straight pin, then stitch the pieces together around the edges using a ¼” seam allowance. Leave a small opening at the back for adding catnip.
Step 6:
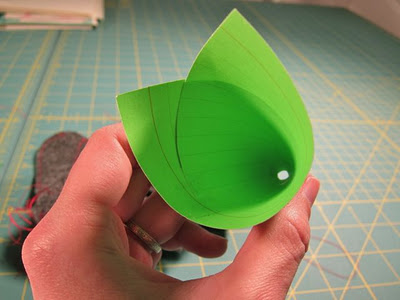
Use the second index card and scotch tape to make a funnel, then fill each mouse with dried catnip through the opening you left in step 5. Don’t pack the catnip too tight—you’ll need some room to sew the end closed when you’re done.
To make my funnel, I rolled my index card tightly and taped it, then cut off the point at the end to make a small opening.
Step 7:
Sew the ends shut, backstitching over the openings a few times so they don’t come undone later.
Step 8:
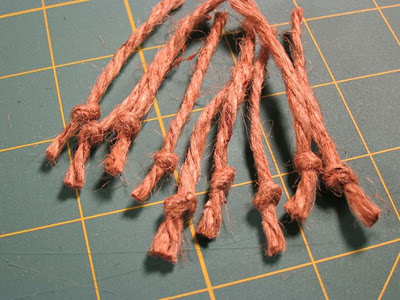
Cut one 2″ piece of jute twine to make a tail for each mouse, tying a knot in one end of each.
Step 9:
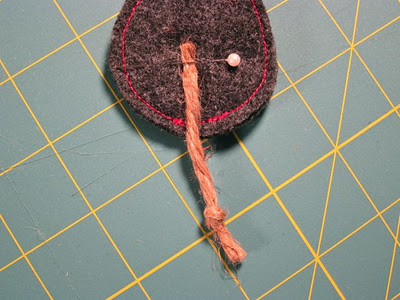
Sew a tail to each mouse, overlaping your stitches with the stitches you made in step 7. To keep the tail from moving, pin it in place, then drop the needle in the center of the twine. Stitch forwards and backwards over the tail to secure it.
Step 10:
Clip the strings and trim any excess twine or felt.
Make lots, your cats will love them!

Oh Boy Cat Toy is such a good name!
Great modern mouse! I might have to make a few for ours once they kill their oh boy cat toy bacon (http://www.ohboycattoy.com/). =)
Pushkin gives this two big polydactyl dewclaws UP!
These are just darling!!! Thank you SO much for the terrific tutorial… I can't wait to make some for Danny Pancakes, Moo, & Lily!!!
Aww, your kitties have such cute names! Definitely send me photos if you make them, and I'll put them up on the blog. :)
Pixel also has giant, polydactyl paws. I really think our kitties need to high five.
How cute!! My kitties would love them, off to buy some felt, thanks for sharing!
Your tutorial is thorough and explicit. Sometimes they are vague and confusing. Thank you for being straight to the point.
You’re welcome! I hope you (and your kitties) enjoy the project.