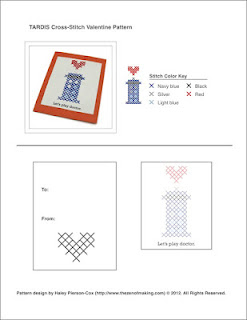
Hello, geeky valentines! Need a last-minute card for that special someone? Surprise your favorite, er, companion by stitching a quick Doctor Who-inspired valentine with my free printable pattern!
Supplies:
* TARDIS Cross-Stitch Valentine Template
* Embroidery floss in navy blue, light blue, red, black, and silver
* Card stock in gray and red
* White glue or dry adhesive
* Scotch tape
Tools:
* Fabric scissors
* Paper scissors
* Embroidery needle
Ready to get stitching?
You can download a full PDF of the pattern here.
Step 1
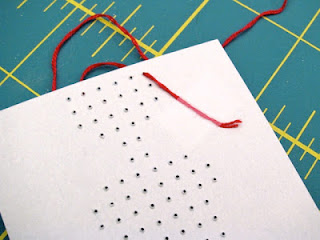
Print the pattern on gray card stock. Cut out the piece with the printed stitch pattern, then use your embroidery needle to punch the holes for the stitches.
Step 2
To keep the paper as flat as possible, use tape instead of knots to secure the floss to the back of the card.
Step 3
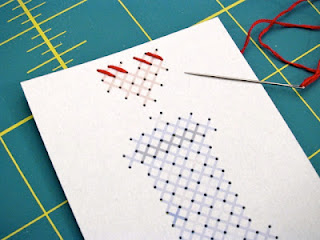
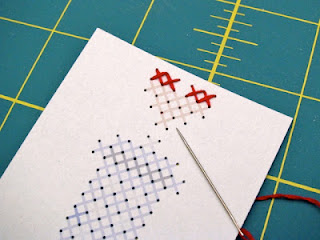
Using 2-ply embroidery floss, work your stitches in rows, stitching lines in one direction first, then working backwards to cross each stitch in the opposite direction. Complete all stitches in one color before moving on to the next color.
Step 4
Print the second card piece on red card stock, then cut it out. Center the stitched paper on the unprinted side of the red piece, then glue it in place using white glue or dry adhesive.
Happy Valentine’s Day, everyone! I hope you all get to play a little doctor this year. ;)




Love this card! Too dern cute and I love anything doctor nerdy!! New Follower over from Mod Podge Rocks!
Thanks, and nice to meet you!
Perfect, i like this! Thank's for idea!
This is awesome – I really love it Haley!
Thanks, Amy!
I have always used aida fabric but I think this idea is really cute…
Please spare more moments :))
http://wonderlust-artmania.blogspot.in/2014/04/lots-of-cross-stitch-cards-i-want-to.html