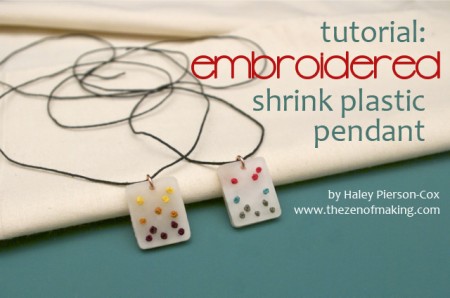
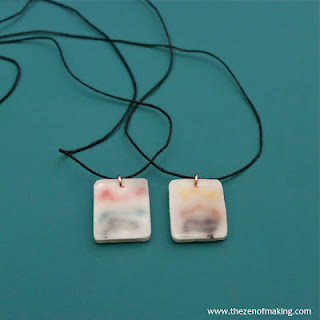
Create your own custom embroidered pendants with shrink plastic!
This tutorial below will show you how to make one embroidered shrink plastic pendant necklace. The finished pendant will measure about ¾” x 1″.
Supplies:
* Shrink plastic sheet, frosted
* Cardstock
* Embroidery floss, 3 colors
* Wool felt, white
* Jump rings, 18 gauge 5mm
* Necklace cord, black
* E-6000 craft adhesive
* Parchment paper
* Sandpaper
Tools:
* Paper punch, ¼” and 1/8″
* Ruler
* Pencil
* Embroidery needle
* Paper scissors
* Fabric detail scissors
* Fabric clips
* Clamps
* Needle nose pliers
* Baking tray
* Oven
**Please note that the links provided above are affiliate links, and I will be compensated if you choose to make a purchase after clicking through.**
Step 1
Prepare your template.
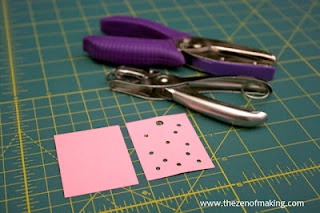
Cut a 2″ x 2½” rectangle out of card stock. Fold the rectangle in half length-wise to find the center, then use your ¼” paper punch to punch a hole in the center of the top edge (select either shorter edge). Next, mark nine to twelve dots below the hole you just punched, then use the ⅛” punch to punch out your design.
Step 2
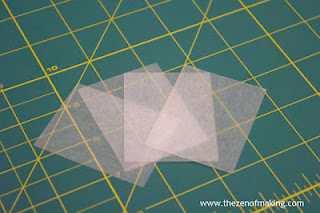
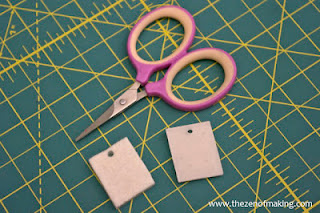
Use your template to cut out two 2″ x 2½” shrink plastic rectangles.
Step 3
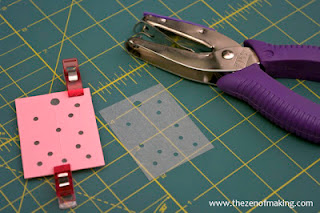
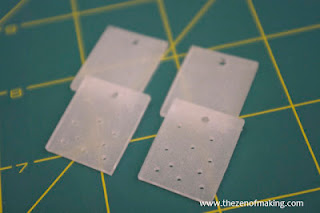
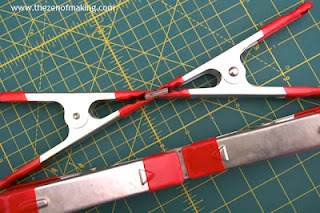
Use clips to attach the template to one of the shrink plastic rectangles, then use the appropriate punches to transfer the design to the shrink plastic. Next, attach the template to the second rectangle, but only punch out the center hole on the top edge.
Step 4
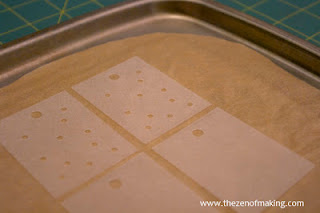
Arrange the shrink plastic rectangles on a baking sheet lined with parchment paper with the textured sides facing up, then shrink the plastic pieces in your oven following the directions provided on the package.
Step 5
Remove the baked plastic pieces from the oven, pressing them flat. Allow the pieces to cool completely before moving on to the next step.
Step 6
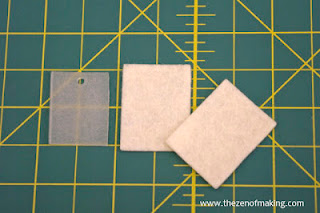
Cut out a small felt rectangle that is slightly larger than your baked plastic rectangles.
Step 7
Punch a center hole in the top edge of the felt rectangle with the ⅛” punch. Apply E-6000 around the edges of shiny side of the plastic rectangle with the hole pattern, then line up the top hole in the felt rectangle with the top hole in the plastic rectangle, pressing them together.
Step 8
Allow the E-6000 to dry, then use fabric detail scissors to trim the excess felt from around the edges of the plastic rectangle.
Step 9
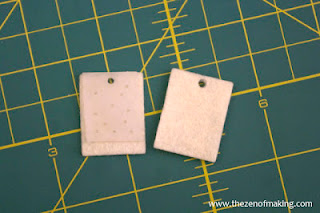
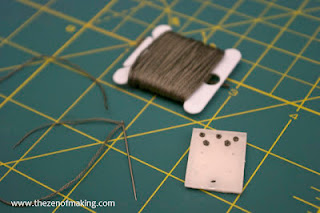
Thread your needle with 2-ply embroidery floss, then insert it into the first hole through the felt on the back side. Make a french knot, wrapping the thread three times before finishing the stitch. (The french knot should be on the textured plastic side, not the felt side.)
Step 10
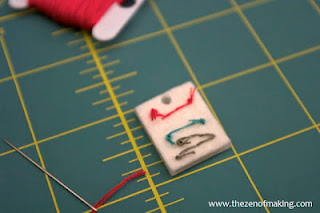
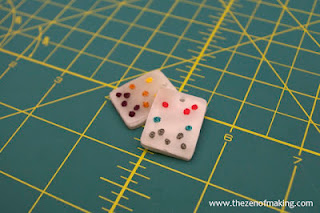
Continue making french knots until you’ve used all three embroidery floss colors and filled each hole. (The photo above is the view from the back.)
Step 11
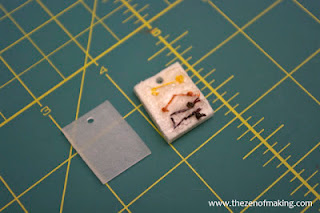
When you’ve finished stitching, spread a think layer of E-6000 over the felt on the back side of the rectangle, then layer the second plastic square on top with the textured side facing out. Before allowing to dry, make sure that the center holes on both pieces are lined up.
Step 12
Use clamps to press the two plastic squares together, allowing the glue to dry completely.
Step 13
Once the glue is dry, use sandpaper to round the corners and to fix any uneven edges around the pendant. If needed, use a scrap piece of felt to polish away any roughness.
Step 14
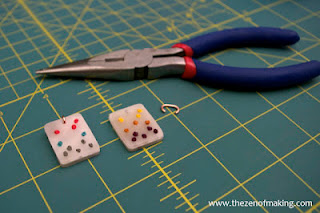
Use your needle nose pliers to attach jump rings to the top holes of the pendant.
Step 15
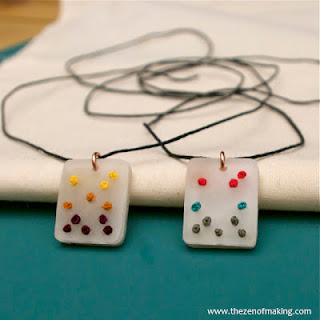
To finish, thread the necklace cord through the jump rings.
My random dot pattern is just the beginning! What designs do you want to stitch?

this is fantastic. I have some black shrink plastic I bought on a lark and haven't known what to do with it. I'm going to try your technique on that material. fun for earings or pendant pieces. thanks.
I just came across this blog on a lark while Googling some random ideas. This is really interesting, but I wonder how you would size/scale a more complex embroidery pattern, like a flower or a cartoon character?
I think I’d probably scale a pattern down in a few different sizes and make a few test pieces to see what size works best. There’s lots of trial and error in shrink plastic.
I am so excited to try this! I work with students with vision impairments and plan to make these as teacher appreciation gifts for my fellow teachers. The knots are perfect for representing braille dots. We braille sometimes inappropriate messages for each other—no one else can read it and if you don’t let the kids know it’s there to be read…well, it’s not a problem, is it?!?
Hah! I love this idea!