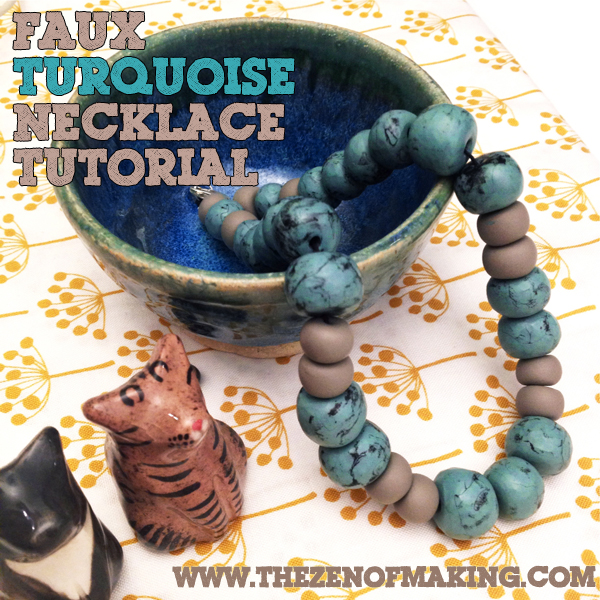
Love the turquoise trend? Bake up some big, bold faux turquoise polymer clay beads and create your own stylish summer statement necklace!
Supplies:
* Polymer clay, 1 block turquoise or colors to mix (One 2 oz block makes about 20 large beads.)
* Oven-safe acrylic paint, black
* 1mm necklace cord, black (You’ll need about 24″ for a short necklace.)
* 2 crimping beads
* 1 jump ring
* 1 lobster claw clasp
* Wax paper, 1 large sheet
Tools:
* Dremel (You can also sand and buff beads by hand.)
* Dremel felt polishing wheel
* Dremel cloth polishing wheel
* Clean scrap of muslin fabric
* Beading needles
* Sponge brush
* Butter knife
* Toothpick
* Bead crimping pliers
* Face mask
* Safety glasses
* Protective gloves
**Please note that the links provided above are affiliate links, and I will be compensated if you choose to make a purchase after clicking through.**
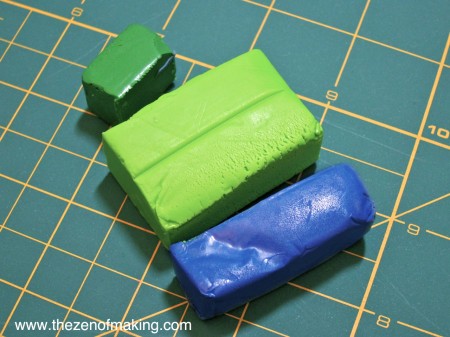 Step 1
To start, condition at least one block of turquoise colored polymer clay. If you don’t have turquoise on hand, you can always make your own by mixing blue, green, and white together until you come up with the right balance. (I used the colors above, plus a pinch or two of white.)
 Step 2
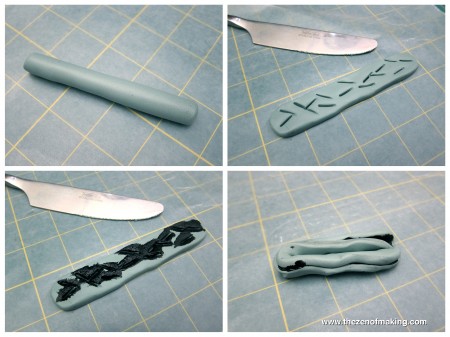
Once the clay is conditioned, it’s time to add the black marbling that will give it that distinctive turquoise look. There are many techniques on the crafty web for achieving the right texture and patterning, but I came up with a simple method that requires only acrylic paint. (If you’re making pendants instead of beads, you might want to check out other methods, which focus more on texture.) Make sure you protect your workspace with wax paper before you begin.
To start, roll your conditioned clay into a long, thin line, then press it flat. Next, use a butter knife to lightly cut notches into the clay, taking care not to cut all the way through to the other side. Then, using a sponge brush, dab black acrylic paint into the open notches. Finally, to seal the paint into the clay, fold the clay in half width-wise, then fold it in half again length-wise. (Click the image above to see a larger version.)
 Step 3
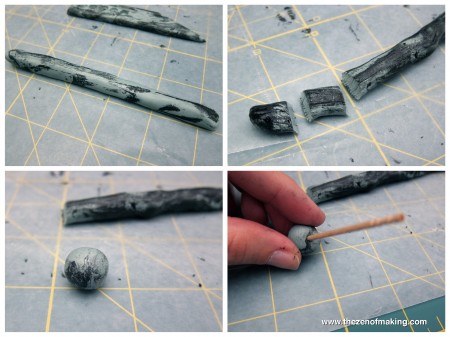
Wearing gloves, lightly roll the paint-filled clay into a long, thin line, taking care not to press too hard or mix too much paint into the clay. Once the clay is rolled, use a butter knife to cut it into sections that are about 1″ to 1.5″ long, and then carefully roll each piece into a ball. To finish, use a toothpick to poke a hole all the way through the center of each of the balls.
 Step 4
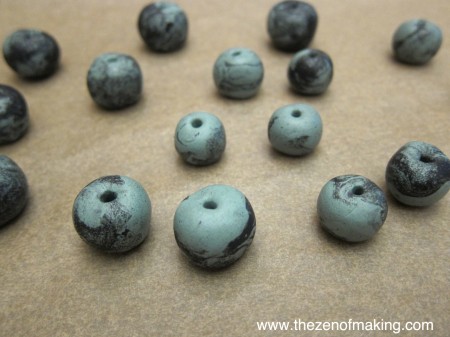
Carefully place your beads on a baking sheet, then bake according to the instructions on the clay package.
Note: I used oven-safe acrylic paint, which I identified by the oven curing instructions on the bottle. This may not be true for all acrylics, so read the package before selecting your paint.
 Step 5
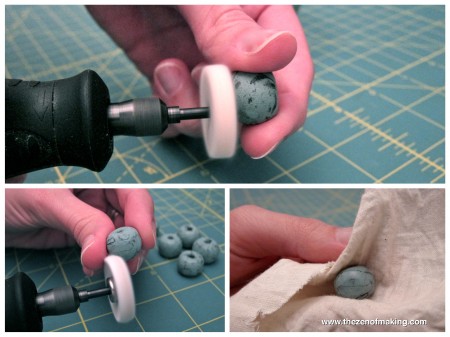
Once your beads have cooled, it’s time to sand and polish each one. Make sure you wear a protective mask and glasses during the whole sanding and buffing process.
First, load your Dremel with the felt polishing wheel and go over the entire bead, removing the top surface and revealing the veins of acrylic paint that are underneath. Next, use your cloth polishing wheel to smooth and shine the surface. To finish, use a clean piece of muslin to lightly buff the bead by hand.
Note: If you’re sanding and buffing by hand, it will take longer, but the results will probably be smoother. I’m told that Micro-Mesh pads work well, but I haven’t tried them yet.
 Step 6
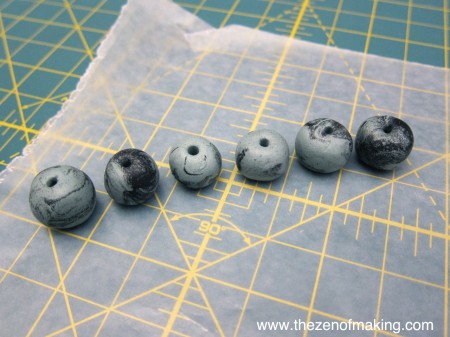
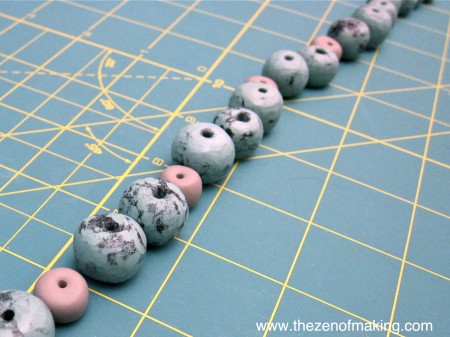
Lay out the beads in order so you can easily grab them while assembling the necklace.
I decided to include some brownish gray polymer clay beads that I already had on hand, but I think that reds or greens would also look nice.
 Step 7
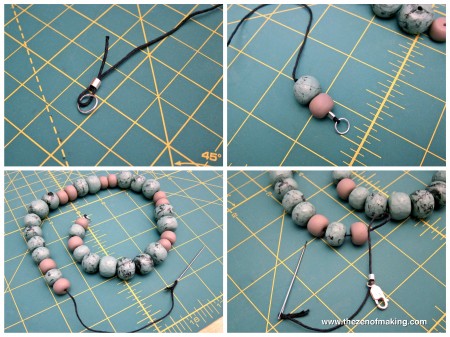
To put your necklace together, cut the cord to 24 inches, then install the jump ring using a crimping bead (your clasp will be installed at the other end). Next, thread your beads onto the cord until you’ve reach your desired length. To finish, install the lobster clasp at the end, using a crimping bead to secure it in place.
To make sure everything stays pretty and neat, thread the extra cord length through the first two beads on the string before cutting off any remaining length.
Note: You can find a tutorial for installing clasps using crimping beads on the Wigjig Jewelry site.
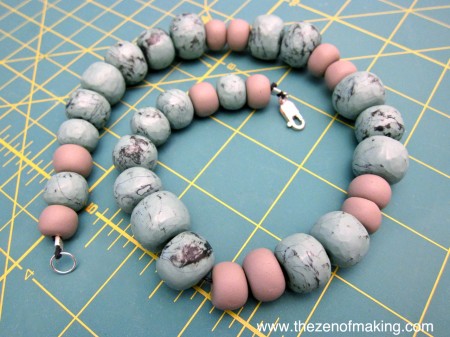 You’re done! Now it’s time to rock your favorite v-neck and show off all that hard work!

Great job! I’m sure, even with the Dremel, the sanding and buffing were time consuming. I wish I had the patience to take on a project like this, it looks lovely.
I really enjoyed your tutorial on the clay beads – I am getting ready to retire and thinking of things I can make and sell and you made it sound easy – probably TOO easy but then I may try it anyway … LOL! Have a Merry Christmas!
P.S. I actually found this by looking for stocking patterns and loved your felt stocking too :)
Good luck! This method is pretty forgiving–all it takes is a little patience and a lot of buffing.
So glad you like the stocking too!