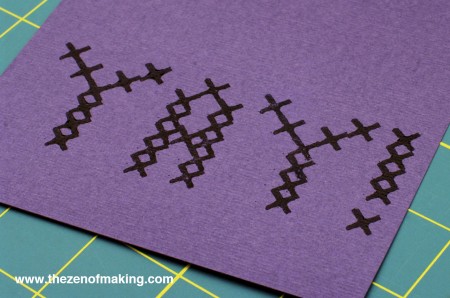
You’ve carved your cross-stitch stamp, so now it’s time to learn how to position those stamped stitches. My method for perfect cross-stitch stamp placement for cards and paper crafts may take a little time and planning, but the results are well worth the effort!
Supplies:
* Cardstock or decorative paper
* Graph paper, 4 squares per inch
* Stamp ink pad
Tools:
* Mini cross-stitch stamp
* T-pin
* Fine point marker
* Paperclips
**Please note that the links provided above are affiliate links, and I will be compensated if you choose to make a purchase after clicking through.**
 Step 1
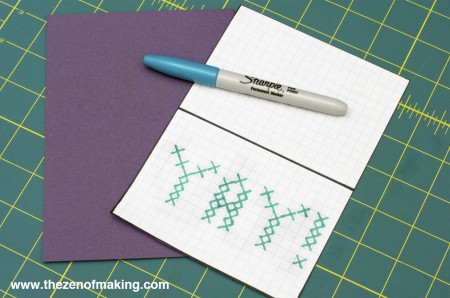
Plot your design on a piece of graph paper (4 squares per inch).
 Step 2
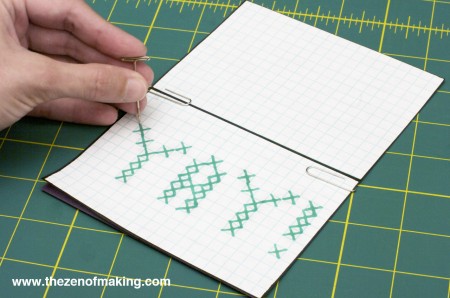
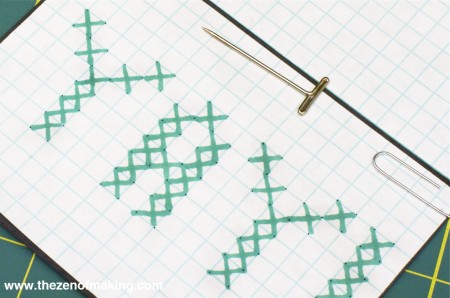
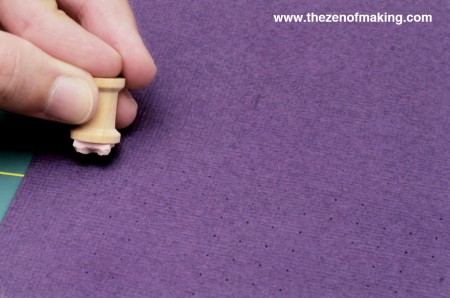
Position the graph paper on top of your card stock or specialty paper, then secure it in place with paperclips. Once the graph paper is in place, use a sturdy t-pin to poke a hole in all four corners of each marked square to transfer the grid to the paper underneath.
 Step 3
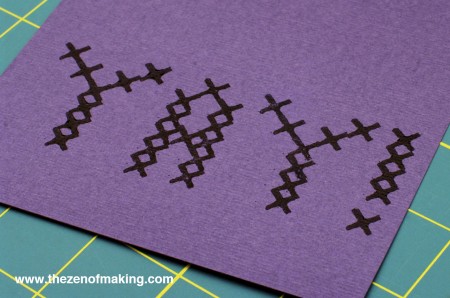
To place your stamp, line up the top of the X shape on the stamp with the top two holes of the transferred grid. Press the inked stamp down so that all four edges of the X line up with the grid square.
 Step 4
Continue lining up the stamp with the grid holes until you’ve printed the complete shape or message.
Don’t worry too much if your stamps don’t match perfectly with the grid—your end shape should turn out fine as long as you’re using the holes as a rough guide.
 Step 5
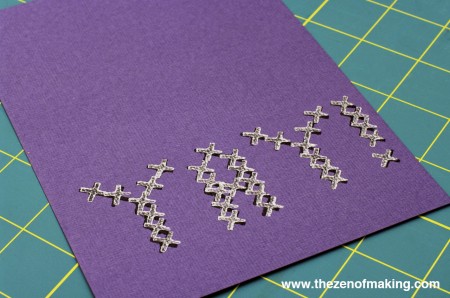
To add depth to your shape, you can also add a second color over the top of the first. With the second color, you don’t need to be as careful with the stamp placement since you’re not trying to line up the shapes exactly.
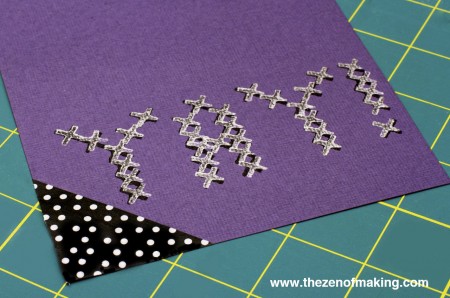
Done! (But no paper project would be complete without a little washi tape, right?)
Need more embroidery stamp goodness?
Check out the rest of my embroidery stitch stamp series:
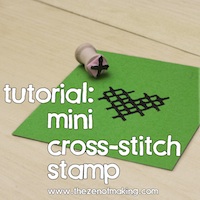 Tutorial: Mini Cross-Stitch Stamp Tutorial: Mini Cross-Stitch Stamp |
 Tutorial: Mini Chain Stitch Stamp Tutorial: Mini Chain Stitch Stamp |
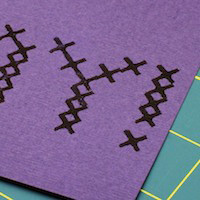 Craft Tip: Perfect Cross-Stitch Stamp Placement Craft Tip: Perfect Cross-Stitch Stamp Placement |
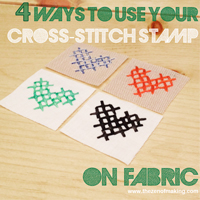 Craft Tip: 4 Ways to Cross-Stitch Stamp on Fabric Craft Tip: 4 Ways to Cross-Stitch Stamp on Fabric |
