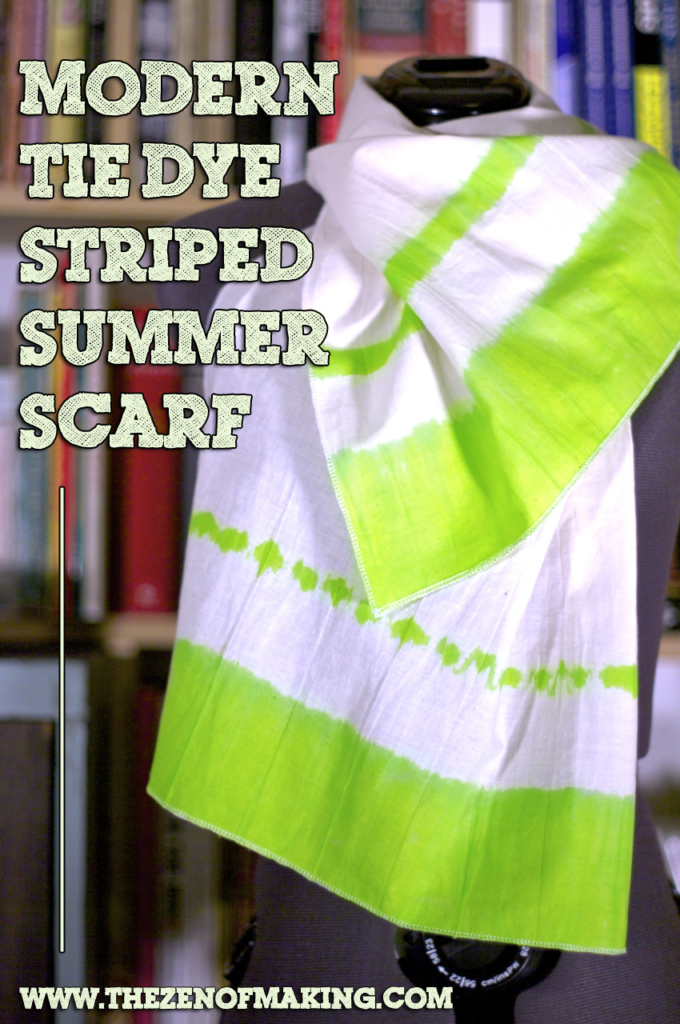
 Give your tie dye skills a modern makeover with Tulip Tie Dye and my new striped summer scarf tie dye tutorial!
In this project, you’ll learn how to add bold stripes to gauzy fabric to create a sheer summer scarf or wrap that’s perfect for evening beach walks or air conditioned offices. Designed to transition seamlessly from casual days to a night on the town, this may be a tie dye tutorial, but it definitely ain’t your daughter’s summer camp t-shirt!
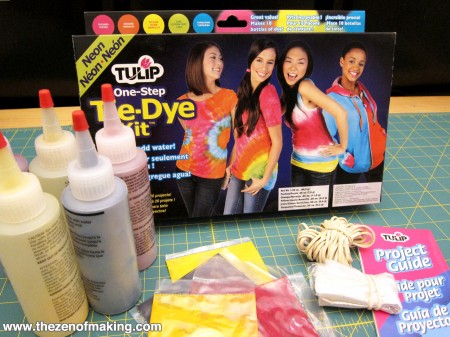 Supplies:
* Tulip One-Step Tie-Dye Kit (Kit contains: 5 squeeze bottles containing dye, 5 dye packets, 8 protective gloves, 40 rubber bands, and project ideas)
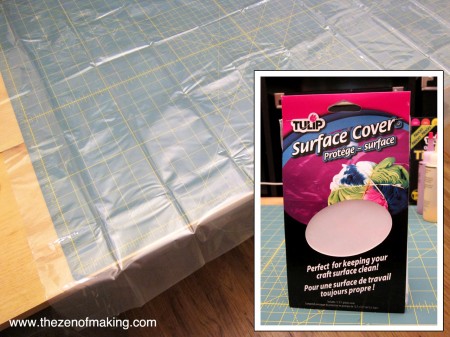
* Tulip Surface Cover
* Lightweight cotton muslin, 20″ wide x 46″ long (Voile and linen are also fine. Increase/decrease measurements as desired to adjust size.)
* Machine sewing thread, white or natural
* Plastic wrap
* Paper towels
* Laundry detergent
Tools:
* Sewing machine or serger (Hand-sewing is fine, but will take longer.)
* Rotary cutter or fabric scissors
* Quilting ruler
* Medium binder clips
* Iron and ironing board
Please note that iLoveToCreate.com provided the Tulip One-Step Tie-Dye Kit and the Tulip Surface Cover for this project.
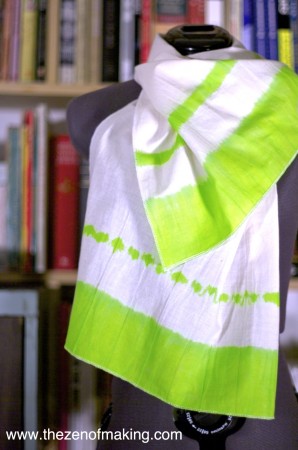 Ready to make your own? Let’s get started!
 Step 1
To avoid getting dye where it doesn’t belong, cover your workspace with a Tulip Surface Cover.
 Step 2
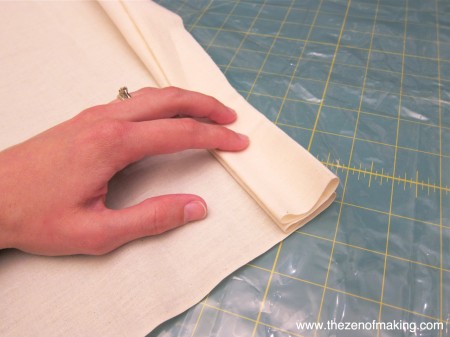
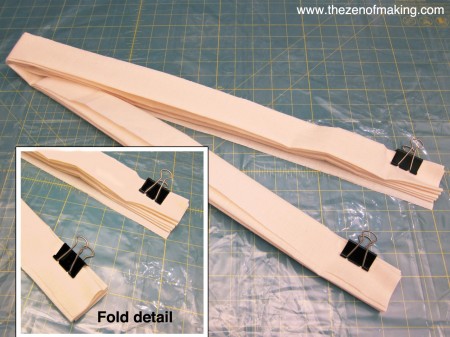
Wet the fabric with water so it’s slightly damp to the touch, then make accordion/zigzag folds back and forth across the 46″ length of the fabric every two inches. You can use binder clips to hold the folds in place as you work.
 Step 3
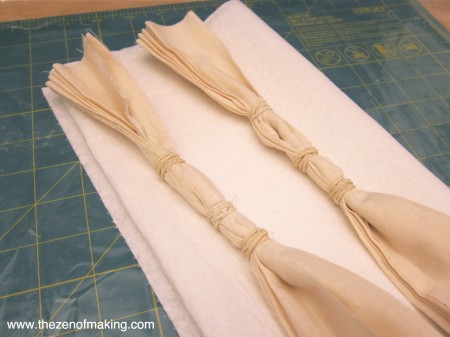
Tightly wrap six rubber bands around the ends of the folded fabric as shown. The more space you leave between the rubber bands, the wider your stripes will be.
 Step 4
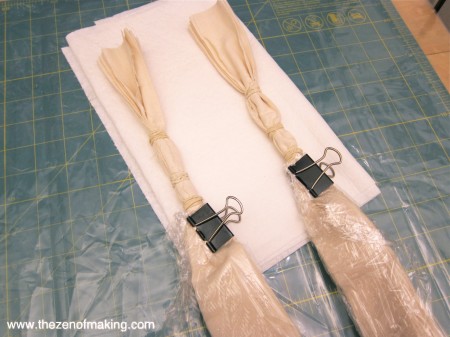
To protect the areas that won’t be dyed, use plastic wrap to cover the length of the fabric between the rubber bands. Use binder clips to hold the plastic wrap in place just above the innermost rubber band on each side.
 Step 5
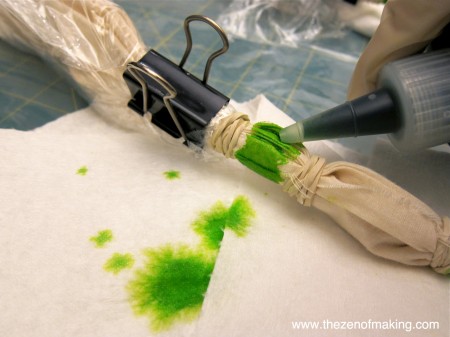
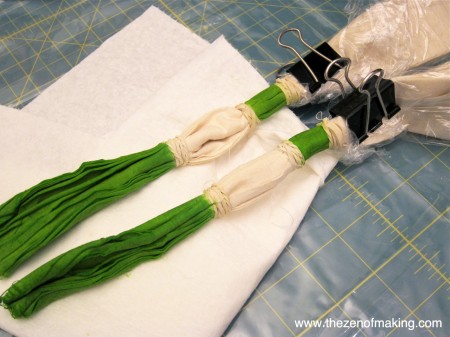
Wearing protective gloves, mix the dye according to the instructions in the kit. Then, beginning at the bottom of each side, apply the dye gently and evenly to the damp fabric, working the tip of the bottle into the folds. The fabric should be evenly covered with dye, but not overly saturated. Position a layer of paper towel under the dyed areas to soak up any drips, then continue applying dye until each stripe has been colored.
Tip: If you’re having trouble getting an even distribution of color, you can use your gloved fingers to gently work the dye into the fabric.
 Step 6
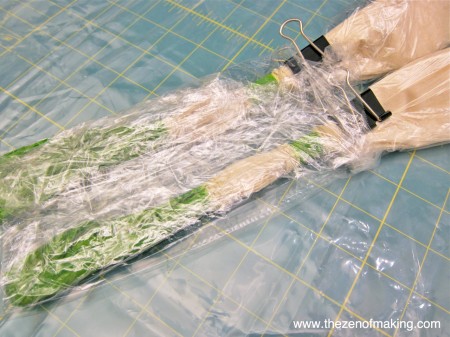
Cover the dyed ends with plastic wrap and allow the color to set for 6 to 8 hours. (For a more muted color, allow it to set for 3 or 4 hours.)
Once set, rinse the dye out of the fabric, then wash and dry per the instructions in the kit.
 Step 7
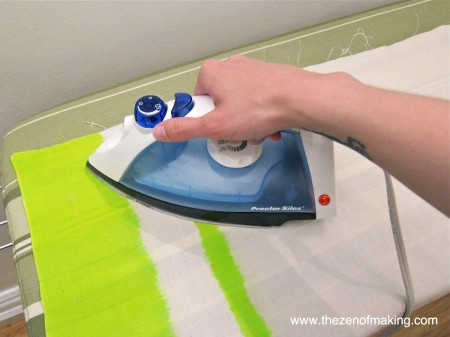
Once dry, iron the fabric to remove excess wrinkles.
 Step 8
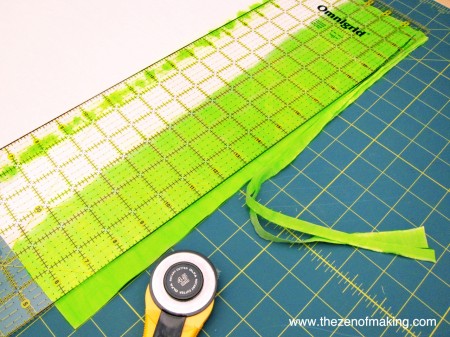
Block your fabric to true the grain, then use a ruler and rotary cutter to clean up the sides and ends before hemming. For the scarf to hang correctly, it should be perfectly rectangular.
 Step 9
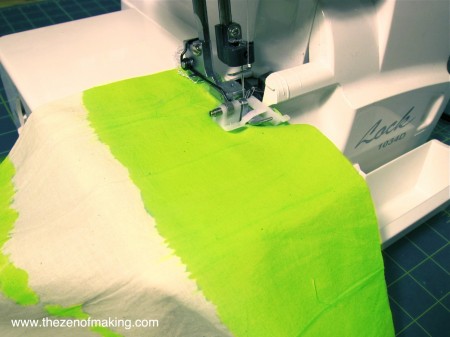
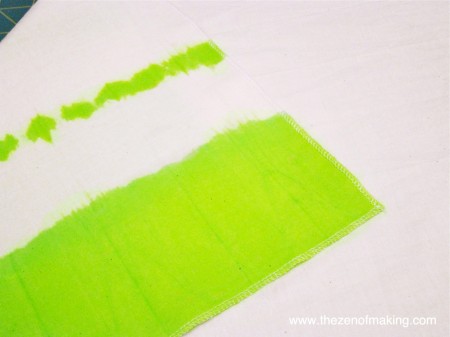
Use your sewing machine or serger to create a 1/4″ hem. (Hand-stitching a rolled hem would also look nice.)
I wanted a less finished look for my scarf, so I used my serger to add a lingerie seam around the edges.
 Step 10
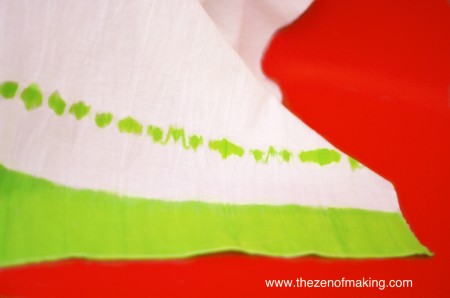
Trim any excess threads and press the hem.
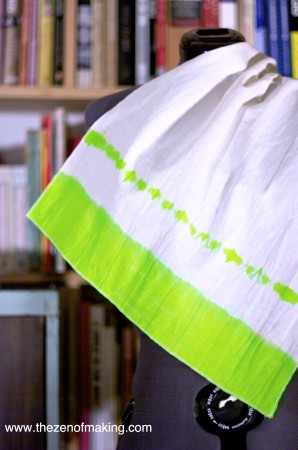
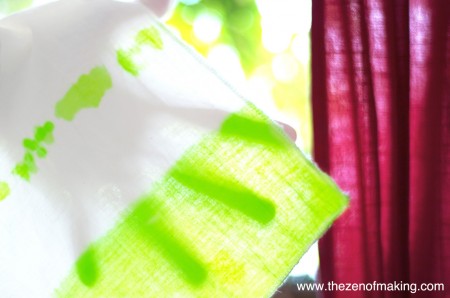 Done! Wrap it around your shoulders and style as desired.
I plan on using mine—plus a chunky vintage brooch to hold the ends together—to add a little color to my favorite comfy-jeans-and-gray-tee ensemble. How will you wear yours?
More info:
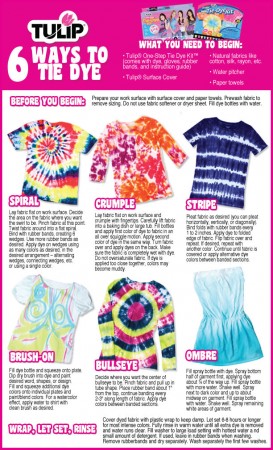
You can also check out iLoveToCreate.com on Twitter, the iLoveToCreate Facebook page, the ILoveTulipFashionArt Facebook page, and Pinterest!
Tulip Tie Dye Kits are available at Walmart, Walmart Canada, Michaels, JoAnn, A.C. Moore, Hobby Lobby, Hancock Fabrics, Meijer. Tie dye kit contents and colors may vary by store.
Disclosure: This post was written as part of a paid campaign with iLoveToCreate.com and Blueprint Social. The opinions in this post are my own.
More Tie Dye 101 projects:

Love how modern this tie dye project is! The scarf will definitely look great w/ jeans and a gray tee! (Love the idea of using a vintage brooch to keep it together too.)
Thank you!
Beautiful. And I don’t know know why I never thought to use paper towels.
I think the dye kit instructions–or maybe the Tulip tie dye technique page on the website–mentioned it. Either way, it was really helpful. It definitely kept the dye from running where it wasn’t supposed to.
I love everything about this project. I never thought about using purposeful negative space in a tie dye design. You are giving ideas for my next project.
Thanks! I had a ton of fun figuring out how to make straight lines and keep specific areas dye free! (Truth be told, my earlier attempts were definitely not so clean!)
These are by far the most thorough instructions I’ve seen for a DIY project, thank you so much for your attention to detail! I’ve been trying to find quality instructions for making a groovy baby creeper (like this: . I would love to see your take on that project! Looking forward to your future articles!