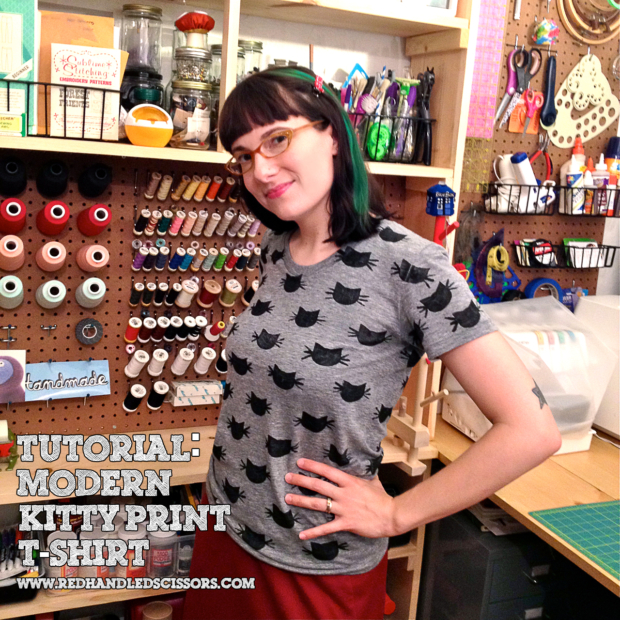
This simple printing method is fun, easy, and won’t make a big mess, so it’s perfect for crafters of all ages. Ready to get started? My free downloadable cat pattern template will make carving your block a snap!
Supplies:
* Printed cat pattern template PDF
* Speedy-Carve block
* Cotton t-shirt
* Fabric paint
* Scotch tape
* Scrap cardboard or paper (to put between fabric layers)
* Small piece of scrap fabric
Tools:
* Speedball Stamp Making Kit or stamp carving tool with both a wide and a fine u-shaped gouge
* Pencil
* Large quilter’s ruler
* Water soluble fabric marker
* Craft knife
* Paper scissors
* Small sponge brush
* Iron and ironing board
**Please note that the links provided above are affiliate links, and I will be compensated if you choose to make a purchase after clicking through.**
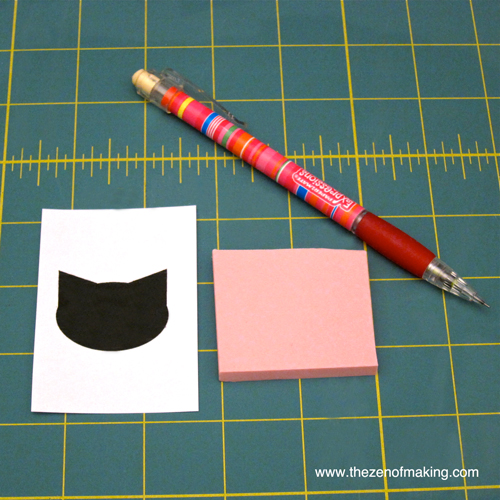
Step 1
Print the cat pattern template PDF and trim away the excess paper from around the shape. Next, use a craft knife to cut a piece of Speedy-Carve block that’s slightly larger than the template.
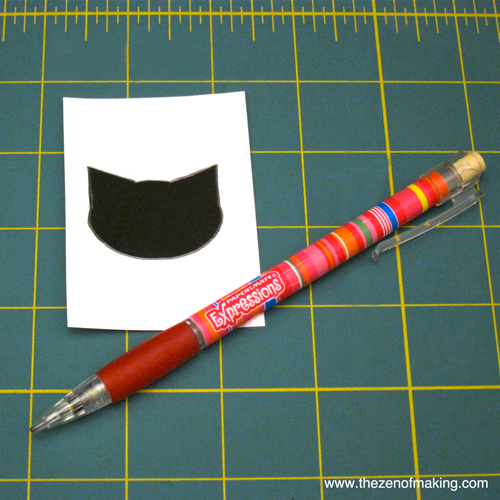
Step 2
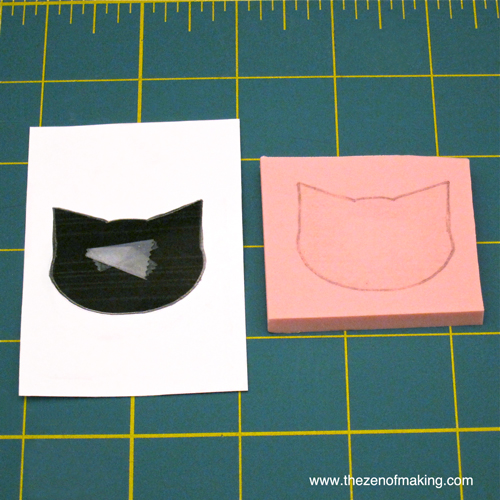
Use a pencil to carefully trace a line around the outer edge of the shape. Go over this line several times to ensure that the marks are dark enough to make a good transfer.
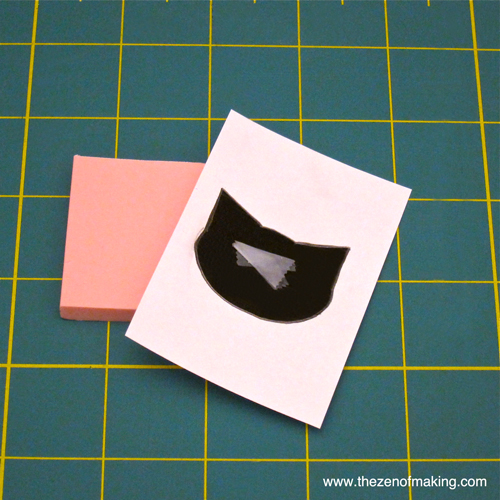
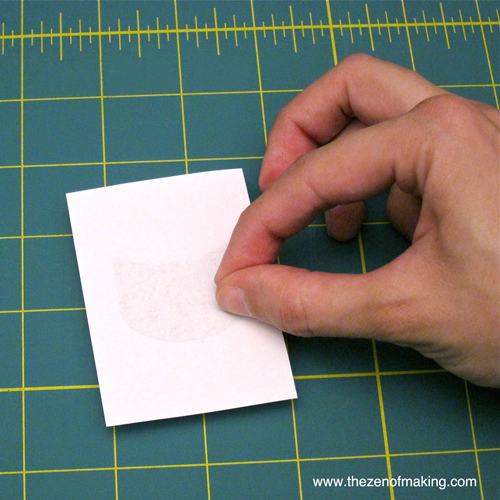
Step 3
Use a piece of scotch tape to attach the template (face down) to the carving block, then rub your thumbnail gently over the marks you made in step 2 to transfer the pattern to the block.
Step 4
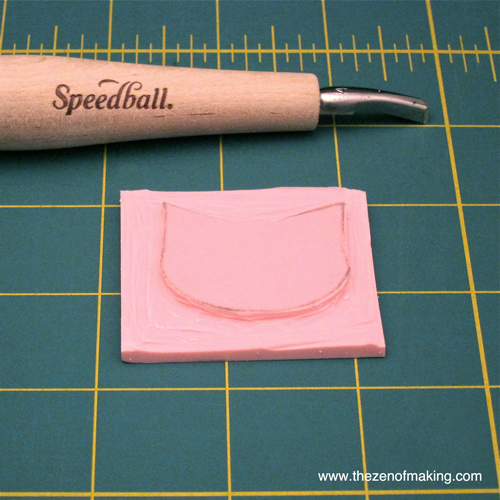
Once the pattern has been transferred, use a carving tool with a wide gouge to remove around 1/8″ of material from around the shape, then use a fine gouge to refine the edges until you have a clean, symmetrical cat stamp. (For more information on carving stamps, check out my mini cross-stitch stamp tutorial.)
Before printing on your t-shirt, make sure you test the stamp on a scrap piece of fabric to ensure that you’re happy with the shape.
Step 5
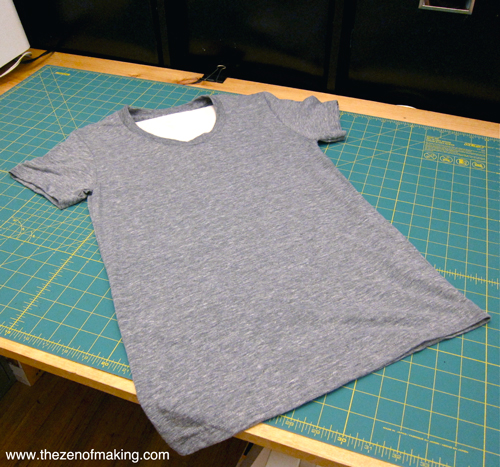
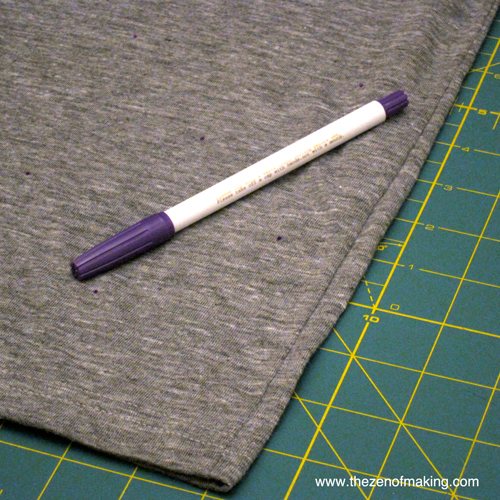
Press your t-shirt if needed, then use a large quilter’s ruler and a water soluble fabric marker to mark the places where you will stamp the pattern.
I wanted my stamps to line up diagonally, so I created an offset grid with 4″ between each stamp in a row, and 2″ between each row.
Step 6
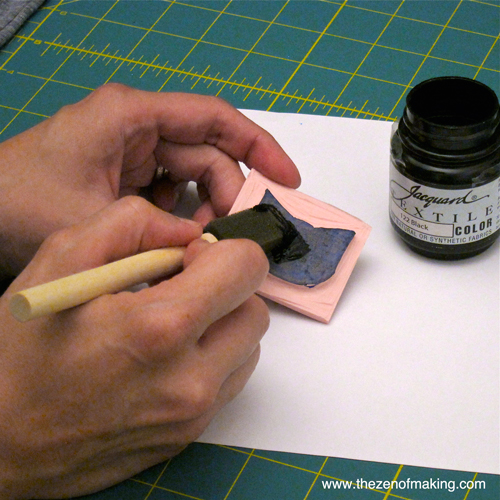
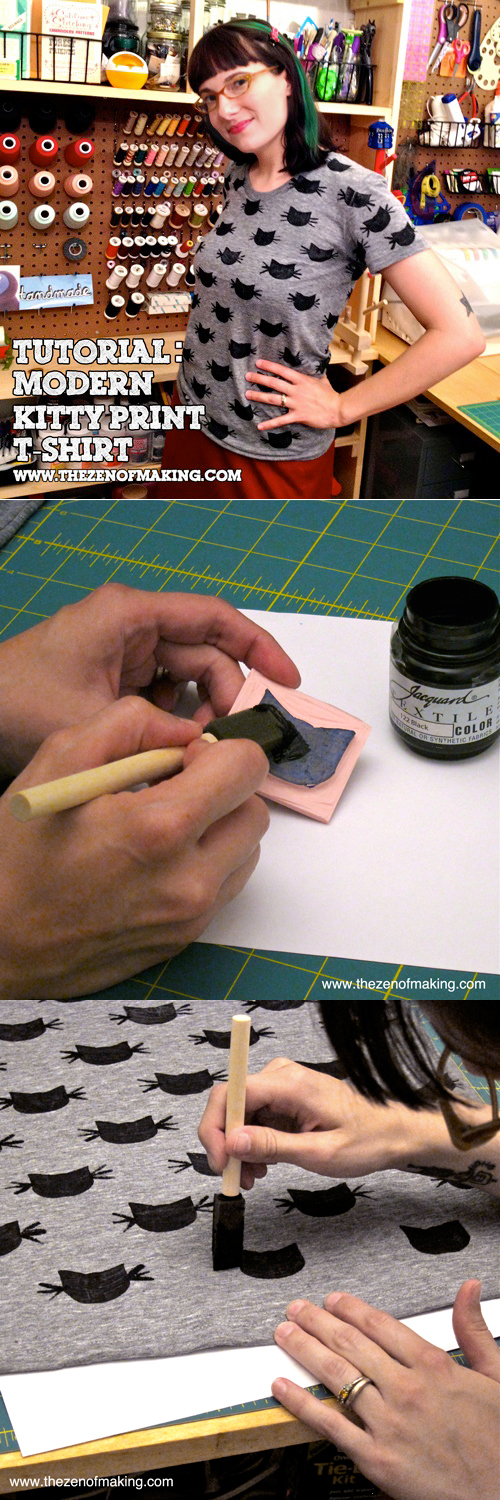
Once your shirt is marked, you’re ready to start printing. Place a layer of cardboard or scrap paper between the fabric layers of the t-shirt to prevent the ink from bleeding through, then use a sponge brush to apply a thin layer of fabric paint to the raised cat shape on the block.
Step 7
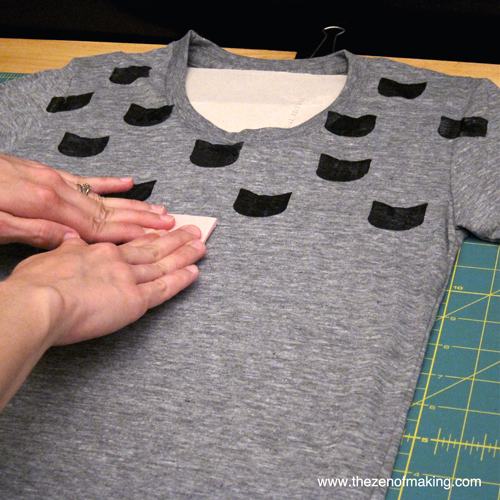
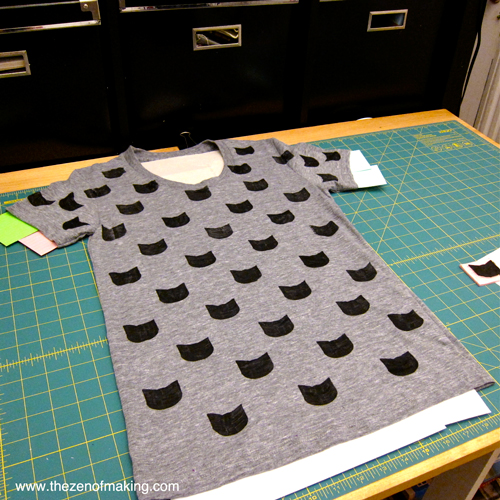
To print, center the inked stamp on the first mark (from step 5) in the upper left hand corner of the shirt. Press the stamp down firmly on the fabric to transfer the paint, then lift it straight up to avoid smearing. Continue printing cat shapes in horizontal rows from top to bottom, reapplying the fabric paint between each stamp.
Tip: If you’re having trouble getting a complete shape, press the block down firmly, then rock the stamp very gently from front to back and left to right before lifting. Be careful not to move the stamp during this process, or your shape will come out smudged or distorted.
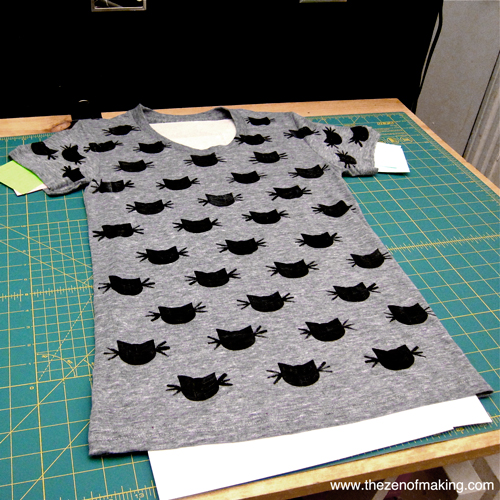
Step 8
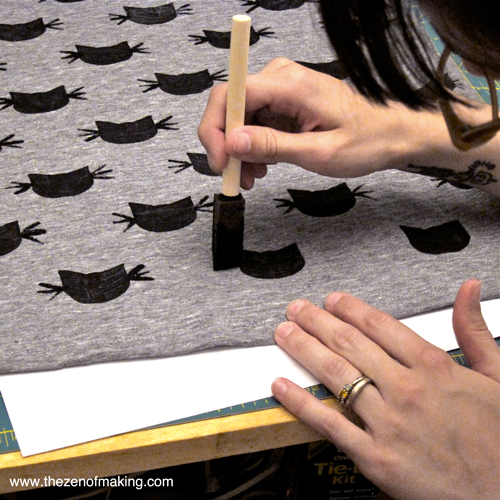
To add whiskers, you’ll use the tapered tip of the sponge brush as a stamp. To do this, lightly dip the tip of the brush in fabric paint, then press the tip down gently onto the fabric, creating three horizontal lines on both sides of each cat-shaped print.
Tip: Practice making whiskers on a scrap piece of fabric until you get a feel for the proper thickness and placement.
Step 9
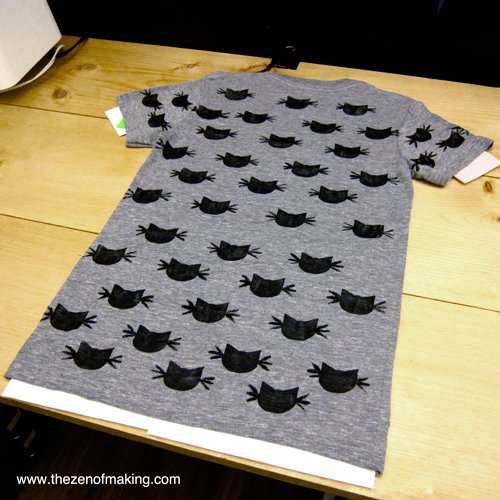
When the paint on the front of the t-shirt has dried completely, repeat the printing process on the back side.
Step 10
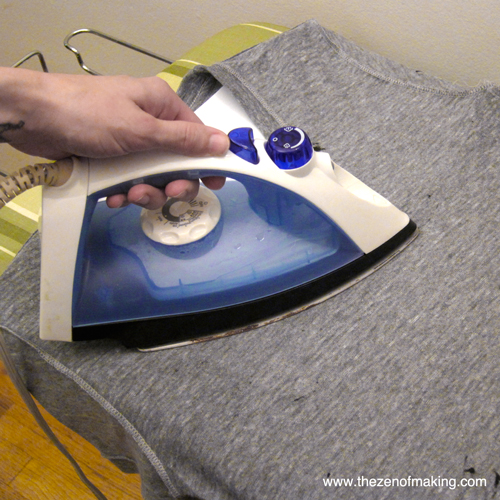
If you’re using a fabric paint that requires heat setting, turn the t-shirt inside out and place scrap papers between the layers of fabric, then press according to the instructions on the paint package.
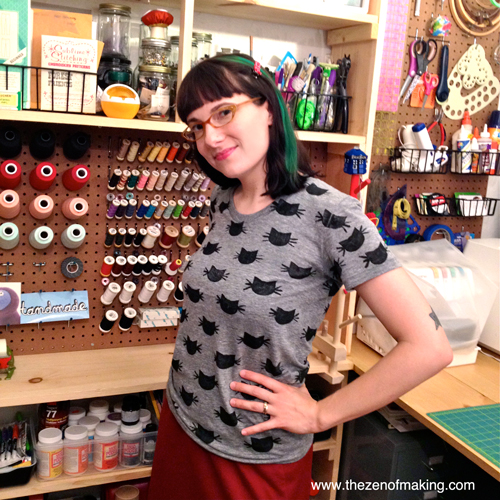
This might be my favorite project to date! Now that we’ve done kitties, what other patterns would you like to see?

Wonderful tutorial, thank for sharing !!!
Thank you!
I love the idea! might have to make one with birds!
Ooh! Send me pictures if you do. :)
Wow! This is so cute and fun. Thank you for sharing.
Paws up!
Thank you! Your Doing Something photos are fantastic–totally jealous of your lighting setup. :)
Great tute! You are so talented!!
Thanks! :D
Eeep! I like it a lot!
Thanks! I love your “frugal floral cat lady” description!
OMG- this is just adorable! Love to see owls or puppy prints
I love the owls idea! Wonder if that would take more than one stamp..
LOVE THIS!!! Thank you for sharing!
Thanks!
Really cute! Just curious, why did you not include the whiskers on the stamp rather than adding them after the fact?
Hi, Dot! Thanks for asking about the whiskers–I meant to add that to my original post. My first version of the stamp had whiskers carved on it, but the thin lines made it pretty easy for the paint to blur or smudge if the stamp wasn’t placed perfectly. Making the whiskers after the fact was the best way I found to get crisp fine lines.
This was great thanks! But I faced couple of issues while trying to do it.
1. I failed to get an even coating on the stamp. My paint has a funny texture when I apply it on Tshirt. I tried applying with a roller and it didn’t help either.
2. I use the same brand of paint as you do and I added some paint retarder to it as well but my stamp sticks to Tshirt and messes up my print
Could you please advise!
Thanks
Hm. I used exactly the setup I showed above, and I didn’t have any issues with sticking, but here are a few ideas that popped into my head:
1. Did you wash your shirt before applying paint? Some fabrics/garments have starches or coatings on them from production, and that can interact with paints.
2. This may sound silly, but did you shake or stir the paint to make sure it was well-mixed? The texture can be a bit off if the paint isn’t completely combined.
3. Are you using a sponge brush to apply the paint to the stamp? For me, this step was key for getting good, even printing results.
I hope this helps!
I love this tutorial and definitely want to try it out when I get the chance. I’m probably going to try another animal though or maybe heart shapes? Haha. Something that’s easy! Anyway, thanks for the tutorial. I linked to it in a blog I manage: http://fabricloversblog.blogspot.com/2013/06/friday-favorites-quilting-tutorials-and.html
Thanks again, love the site!
Thanks, Yasmine. Other animals/shapes would definitely look great too–I’d love to see what you come up with!
Thanks for the feature. :)
do you know the difference between using the ink you used and a a blockprinting ink that is for fabric (oil based)
I generally use a water-based textile color for ease of cleanup. I haven’t used an oil-based blockprinting ink personally, but I assume that it would be both a bit thicker and slightly more opaque than the textile color I use (the water-based color in my tutorial is slightly transparent). I imagine you can find a more thorough answer if you google around a bit, though. :)