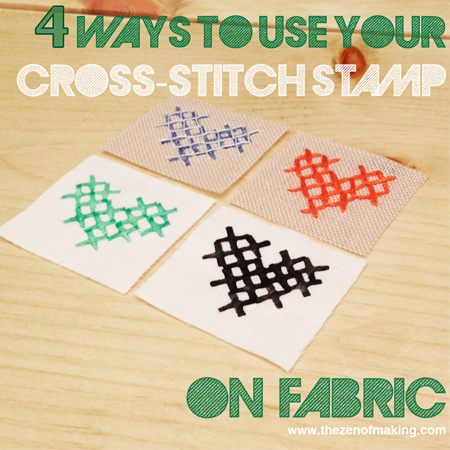
In addition to paper crafting, did you know that you can use your mini cross-stitch stamp to print on fabric too?
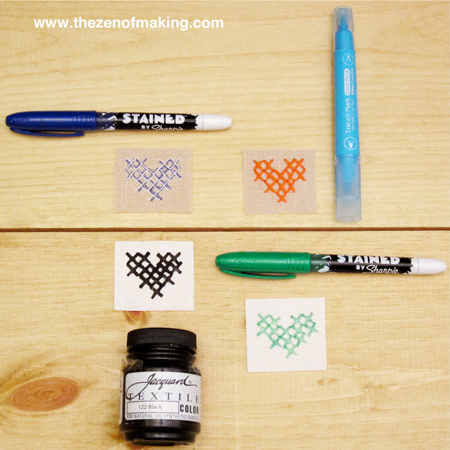
In this post, I’ll show you four ways to print on fabric with your stamps. To make the designs, we’ll use fabric markers, disappearing/water soluble fabric ink with real stitches, fabric markers with real stitches, and fabric paint.
Supplies:
* Embroidery floss and needle
* Fabric for stamping (cotton and natural fibers work best)
Tools:
* Mini cross-stitch stamp
* Permanant fabric markers (I used STAINED by Sharpie)
* Disappearing ink fabric marker or water soluble fabric marker
* Fabric paint
* Small sponge brush
A note before getting started: Instead of poking holes in paper to make a grid like we did in the perfect cross-stitch stamp placement tutorial, you can use a piece of graph paper behind lightweight fabrics as a guide, or just line up the stamps with the grain of the fabric to keep the stamped stitches straight.
**Please note that the links provided above are affiliate links, and I will be compensated if you choose to make a purchase after clicking through.**
Preparing to Apply the Ink and Paint:
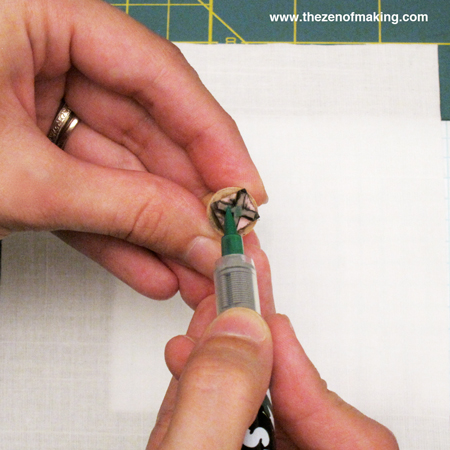
• When using markers, use the tip to apply the ink directly to the stamp.
• When using fabric paint, apply the paint to the stamp with a sponge brush until you have a light, even coat covering the stamp.
• When printing, press the stamp firmly onto the fabric, then pull the stamp straight up to avoid smudging.
• Place a layer of cardboard or paper underneath the area to be stamped to keep the ink/paint from bleeding through. If stamping on clothing, insert a layer of cardboard or paper between layers of fabric.
Method 1: Permanent Fabric Markers
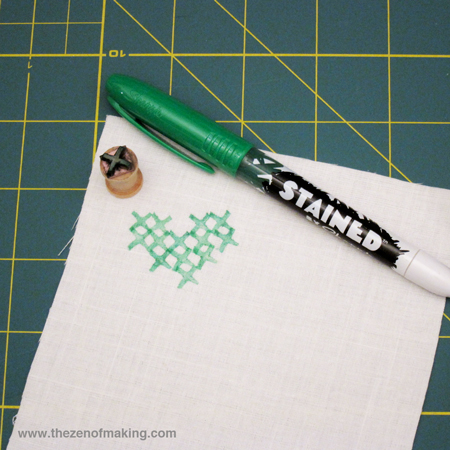
Use the marker tip to apply the ink directly to the stamp. Press the stamp down firmly upon the fabric, then lift it straight up. Reapply the ink between each stitch print, working in horizontal rows from top to bottom.
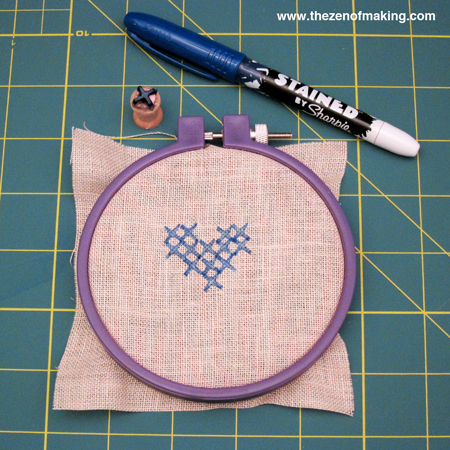
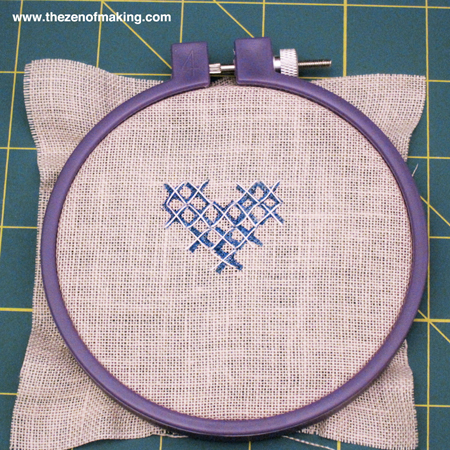
Method 2: Permanent Fabric Marker with Real Stitching
Just like in method 1, stamp the complete design, working in horizontal rows from top to bottom, applying ink to the stamp between each stitch. Once your design is has dried completely, you can cross-stitch over the printed X shapes to add additional colors and textures.
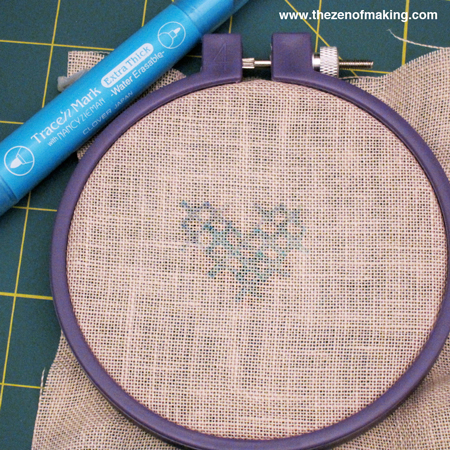
Method 3: Disappearing/Water Soluble Ink with Real Stitching
Apply the fabric ink to the stamp directly from the marker. (If you’re quick, you can use disappearing ink; if not, use water soluble ink instead.) Stamp your pattern in horizontal rows from top to bottom, applying more ink between each use. Once the design is complete, stitch over the stamped design with embroidery floss. To finish, allow the ink to disappear/rinse out the water soluble ink.
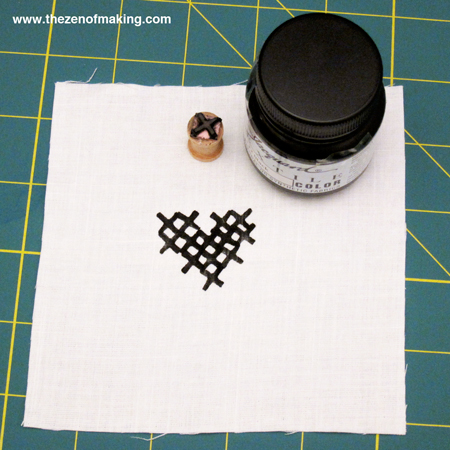
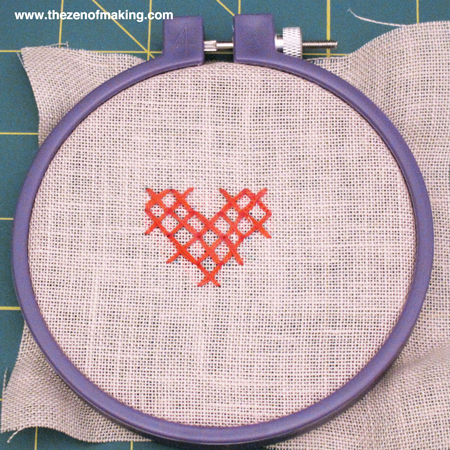
Method 4: Fabric Paint
Use a sponge brush to apply the fabric paint to the stamp in a light but uniform layer. Stamp the design in horizontal rows from top to bottom, adding ink between each stamp. Allow the ink to dry completely before moving the fabric.
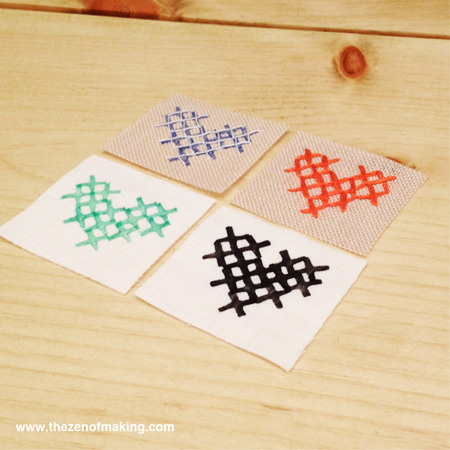
Pretty fun, right? Now you can add quick and easy cross-stitch designs to any fabric craft!
Check out the rest of my embroidery stitch stamp series:
 Tutorial: Mini Cross-Stitch Stamp Tutorial: Mini Cross-Stitch Stamp |
 Tutorial: Mini Chain Stitch Stamp Tutorial: Mini Chain Stitch Stamp |
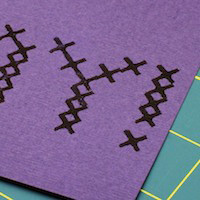 Craft Tip: Perfect Cross-Stitch Stamp Placement Craft Tip: Perfect Cross-Stitch Stamp Placement |
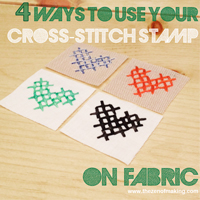 Craft Tip: 4 Ways to Cross-Stitch Stamp on Fabric Craft Tip: 4 Ways to Cross-Stitch Stamp on Fabric |

Love them all, esp the fabric paint version!
Thanks! The fabric paint is my favorite too. :)
Hi there, I hope you don’t mind – I have put a link on my blog to this tutorial – it’s great for novices like me as it really covers the basics for stamping! Thank you – my blog post is here if you’d like to see it: http://myroundtuitblog.wordpress.com/2012/07/13/i-found-a-stamping-how-to/