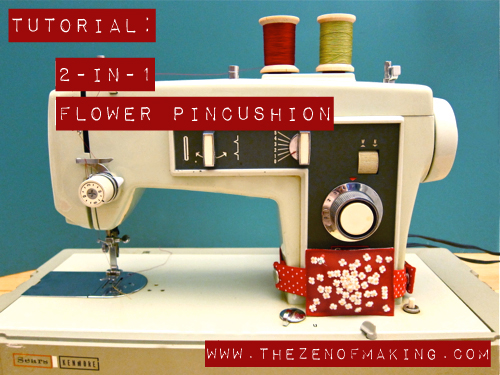
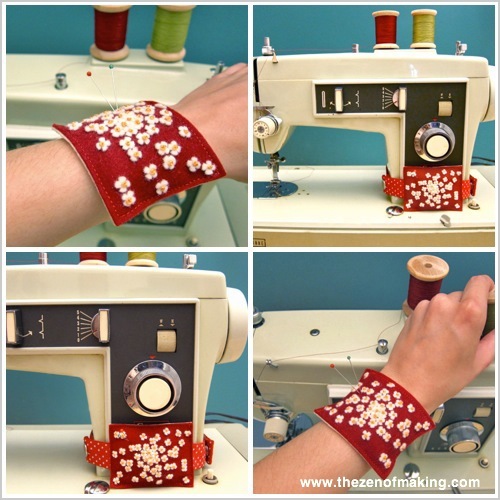
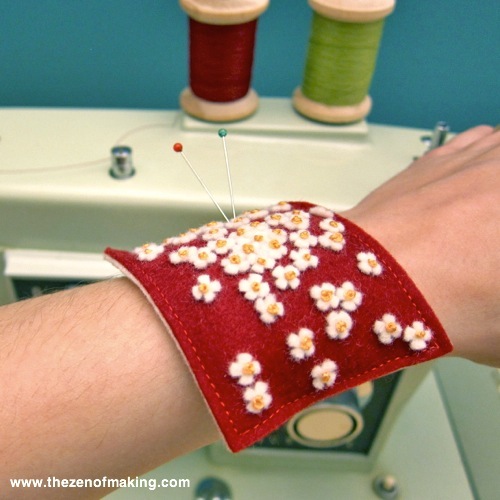
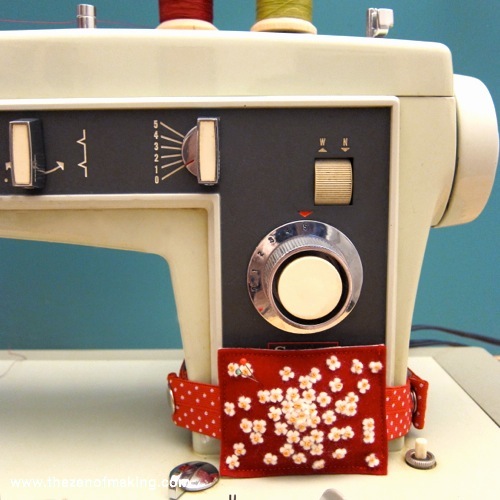
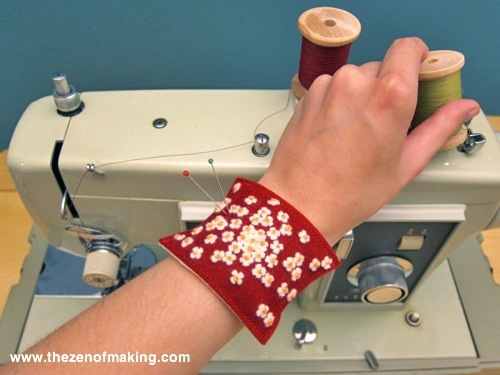
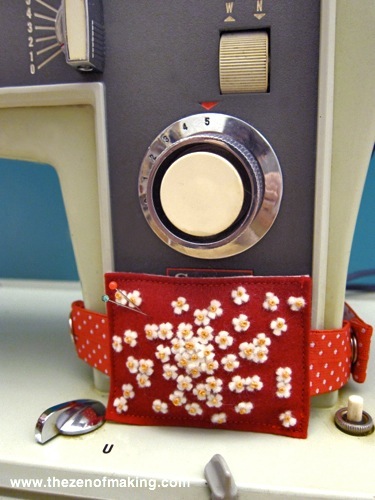
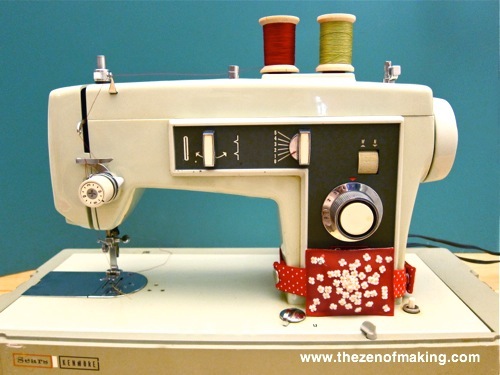
Dreaming of a pincushion that’s both useful and pretty? My 2-in-1 flower pincushion tutorial will show you how to make an appliqued pincushion that attaches easily to either your wrist or your sewing machine, combining maximum convenience with plenty of style!
Supplies:
* Wool felt, two 2¼" x 3" rectangles and 55 ¼" circles
* Fold-over elastic, one 8" piece and one 14" piece (adjust as needed to fit your wrist and sewing machine)
* 2 Metal snaps
* Wool roving, one small handful
* Embroidery floss
* Fabric glue
Tools:
* Fabric scissors with detail blade
* ¼" paper hole punch
* Snap pliers
* Embroidery needle
* Fabric clips or straight pins
* Sewing machine (optional)
**Please note that the links provided above are affiliate links, and I will be compensated if you choose to make a purchase after clicking through.**
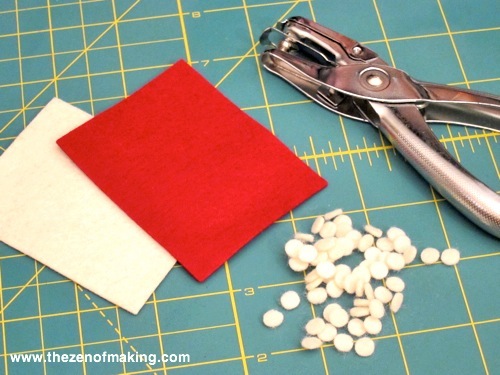
Step 1
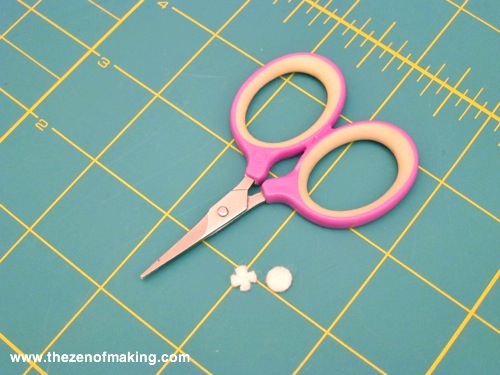
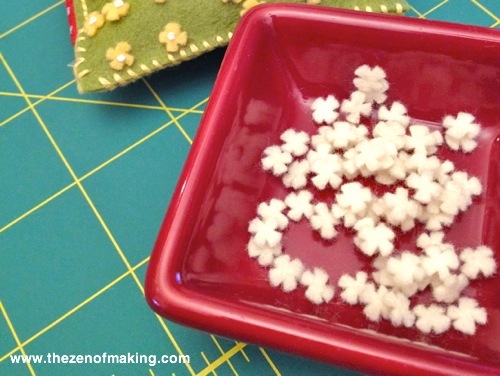
Use fabric scissors to cut out two 2¼" x 3" felt rectangles, then use a paper hole punch to punch at least 55 small felt circles.
Step 2
To create the flowers, use fabric scissors with detail blades to cut 4 notches out of each circle as shown.
First, we’ll make the wristband pincushion.
Step 3
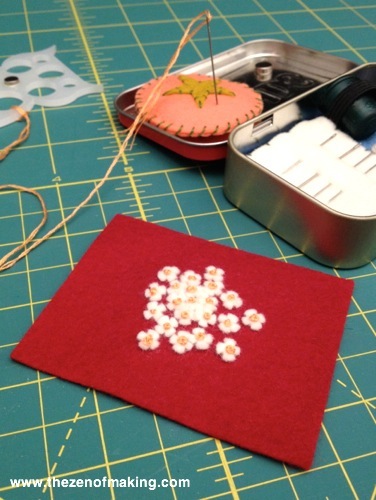
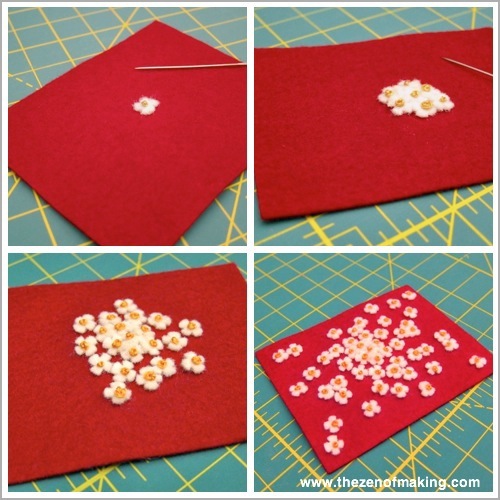
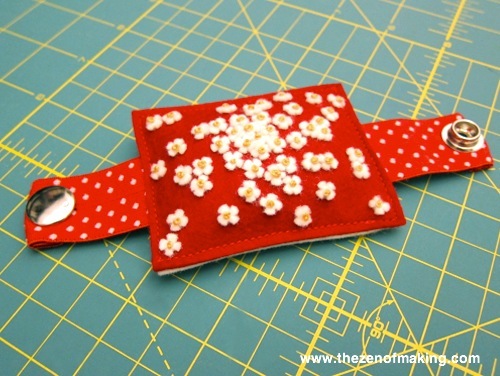
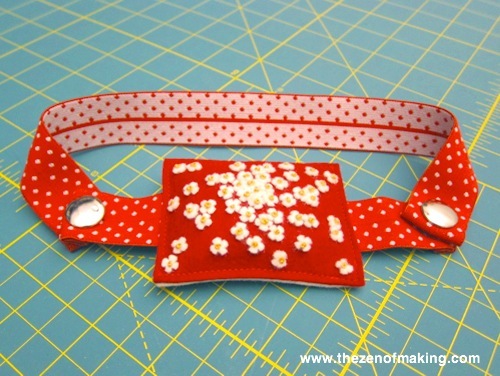
Select one of the felt rectangles, then attach each tiny felt flower with a single french knot as shown. To create the same pattern that I did, place the flowers close together in the center of the rectangle, then allow them to spread out more and more as you work towards the edges.
Need a little french knot help? Check out this fantastic french knot how-to from Sublime Stitching.
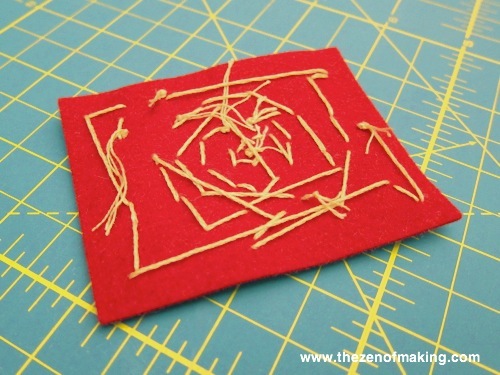
Note: I generally like the back of my work to look as good as the front—especially when embroidery is involved. But in this case, keeping one long thread connected as you sew (instead of knotting off after each french knot) makes stitching all of those french knots in a row much easier. And, since you’re not going to see the back once the pincushion is finished, I think it’s okay for it to be a little bit messy this time.
Step 4
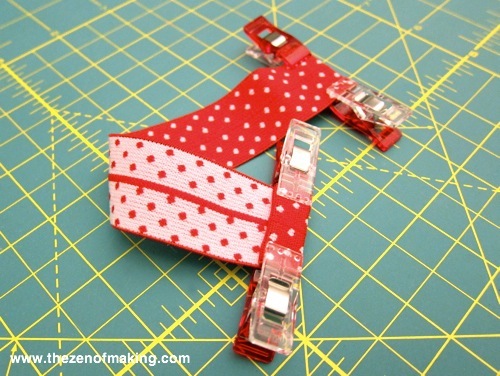
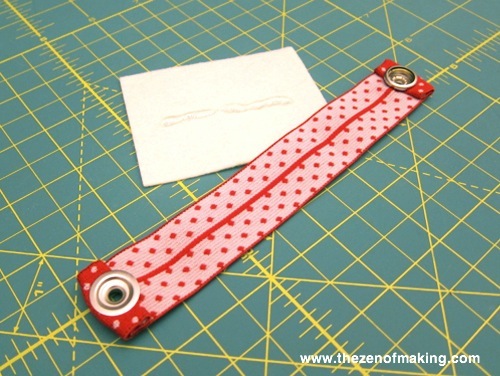
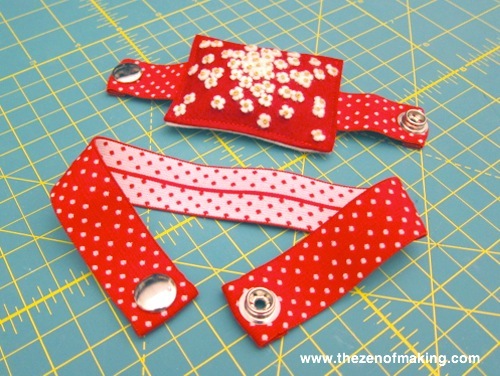
Select the 8" piece of fold-over elastic, then fold each end over half an inch and then another half an inch, securing the unfinished edges inside the fold. Hold in place with fabric clips or straight pins.
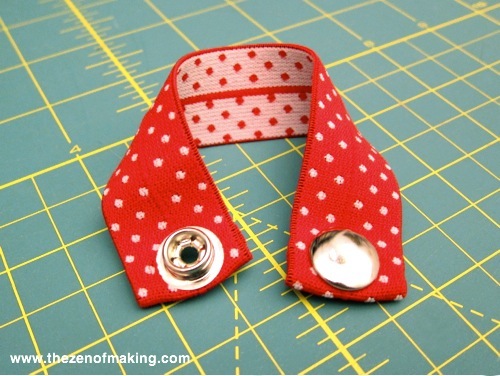
Next, use your snap pliers to attach male and female snap sides to opposite ends of the elastic as shown.
Step 5
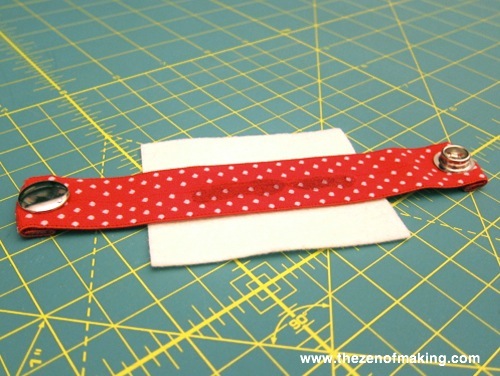
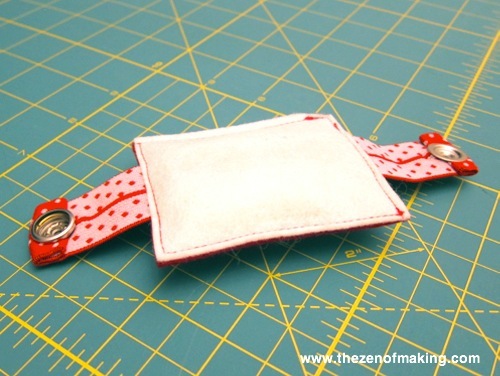
Apply a thin line of fabric glue down the middle of second (not sewn) rectangle, then position the wristband in the center of the rectangle with the folded ends facing down. Allow to dry.
Note: The glue is optional, but it does add extra strength to the overall structure of the pincushion.
Step 6
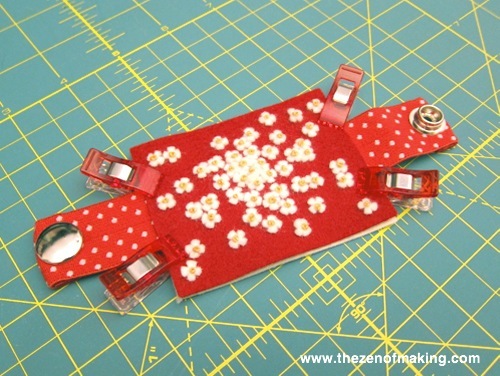
When the glue has dried, place the stitched rectangle on top of the glued rectangle, sandwiching the elastic between the layers.
Use your sewing machine to stitch around 3 of the four edges with an ⅛" seam allowance, leaving one end open for inserting padding. (You can also sew the edges by hand.)
Step 7
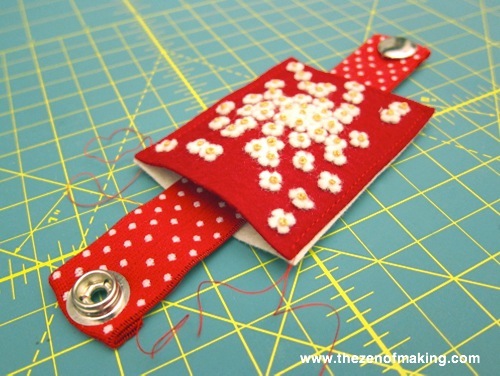
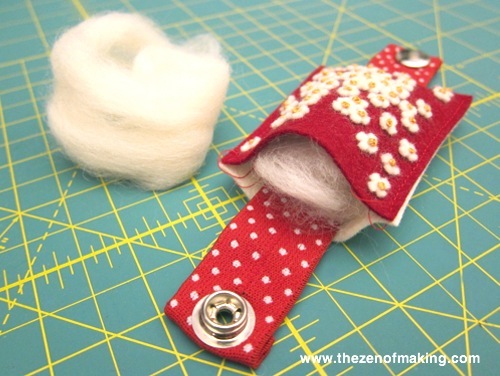
Stuff the pincushion with a small handful of wool roving.
Step 8
To finish, sew the open end closed.
Next, we’ll make the sewing machine strap.
Step 9
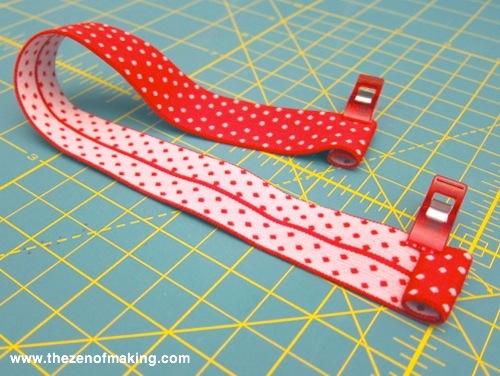
To make the sewing machine strap, fold over the ends of the 14" piece of fold-over elastic, then attach male and female snap sides to each end per the instructions in step 4.
Step 10
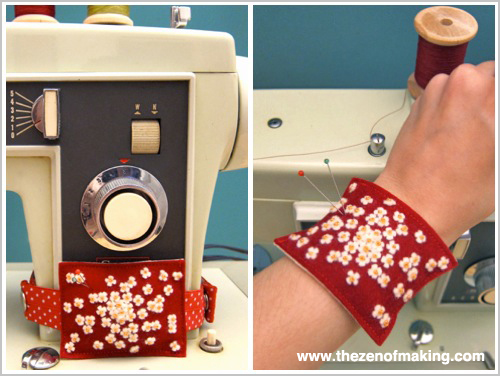
To use the sewing machine strap on the pincushion, attach it to the wristband as shown above.
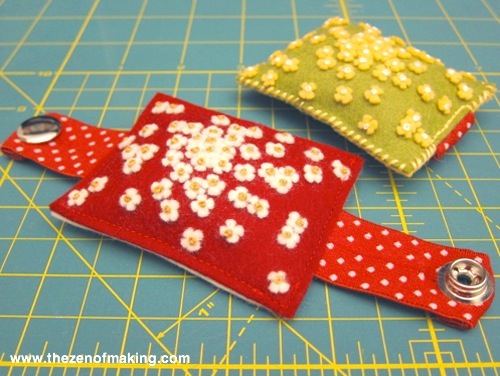
Done! Now you have your own versatile, pretty pincushion that’s ready to help with all of your future sewing projects!

Bellissima idea!
Thank you! :)
Wow – So creative and handy! Very neat!
I like your idea so much! I confess, I saw this sort of pincushion earlier (I mean one that can be used on a wrist), but it became so pretty with the flowers! How simple they are to make, but they look really great! Thank you! Soon I will sew a new pillow for my blog birthday and so I’m going to try your pretty flowers (please, join)!
With my best wishes: Maminti, the little green fairy
Me ha encantado pasar por aqui. Tienes unas cosas preciosas en particular las zapatilla de crochet.Eres una artista.Pasate por mi blog cuando quieras.Un abrazo