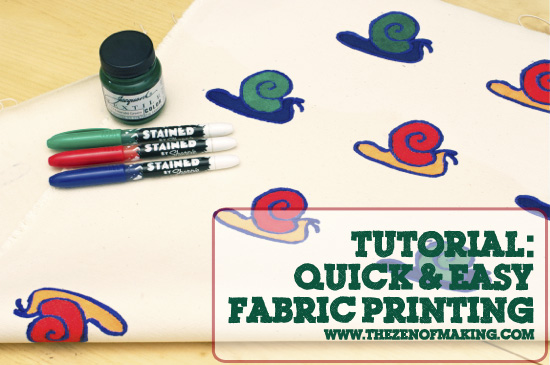
Create your own custom fabric with my quick and easy fabric printing tutorial!
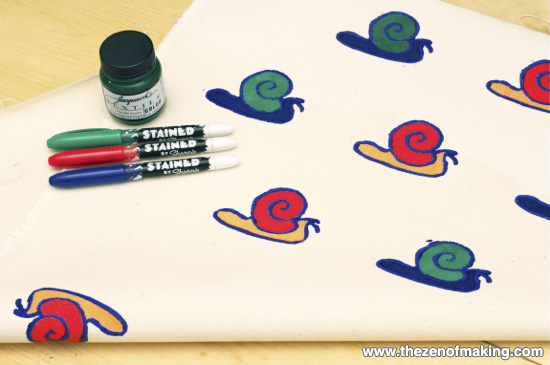
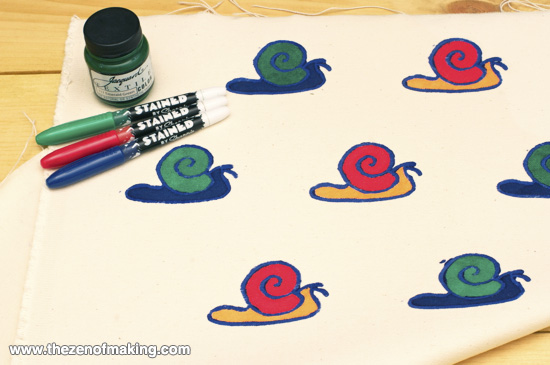
I love my bright, bold snail fabric, and I can’t wait to see your custom designs. Just follow the steps below, and you’ll be well on your way to patterned fabric bliss!
Supplies:
* Cotton fabric, mid to heavy weight white or unbleached
* Stained by Sharpie fabric markers
* Permanent marker, broad tip
* Fabric marker, water or air soluble
* Fabric paint
* Foam sheet
* Amazing GOOP craft adhesive
* Scrap cardboard, at least 4" x 4"
* Scrap paper for ironing
Tools:
* Craft knife
* Paper scissors
* Sponge paintbrush
* Iron and ironing board
**Please note that the links provided above are affiliate links, and I will be compensated if you choose to make a purchase after clicking through.**
Step 1
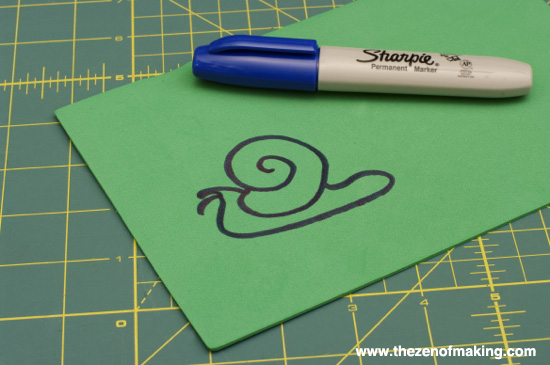
Using a broad tip permanent marker, draw the shape that you would like to print on a foam sheet. Keep the design as large and as simple as possible.
Step 2
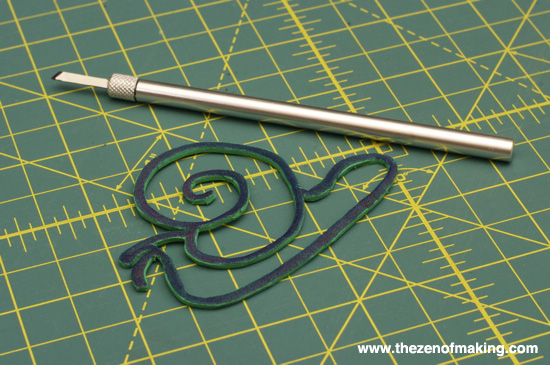
Use a craft knife to cut out the foam shape.
Step 3
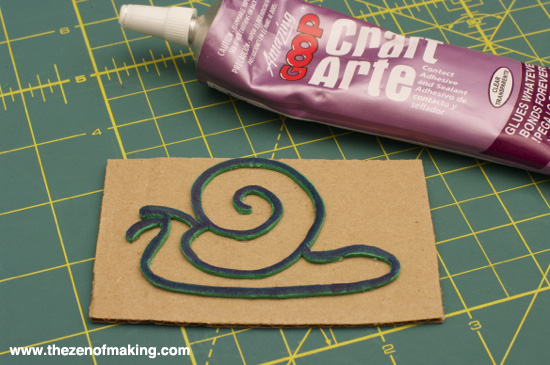
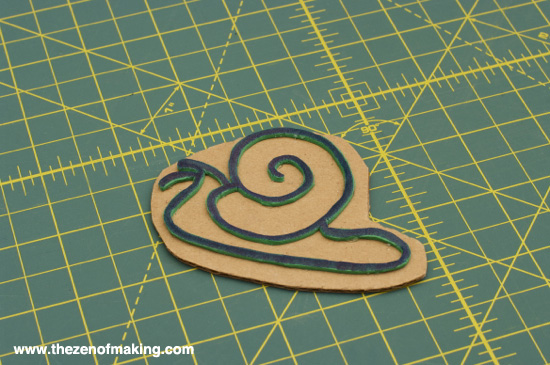
Attach the foam shape to a piece of scrap cardboard with Amazing GOOP craft adhesive. Allow the glue to dry completely.
Step 4
To finish the fabric stamp, cut away the excess cardboard around the edges of the foam shape.
Step 5
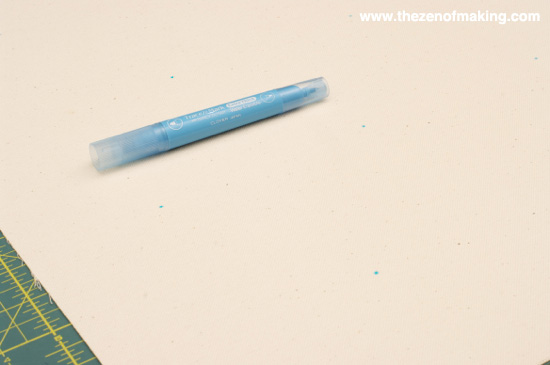
To ensure an evenly distributed pattern, use a fabric marker to draw a small dot where each stamp should be made.
Note: Pre-wash and pre-shirnk fabric before marking and printing.
Step 6
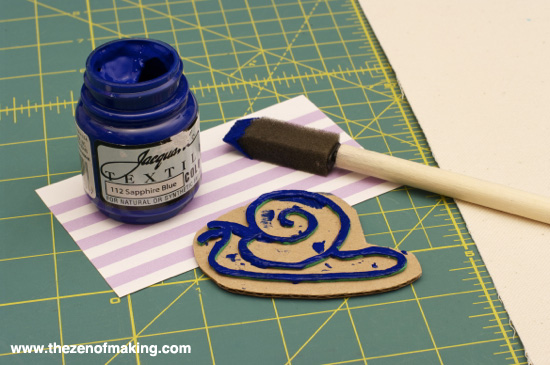
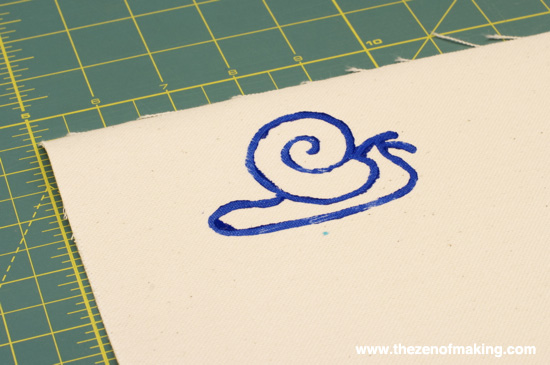
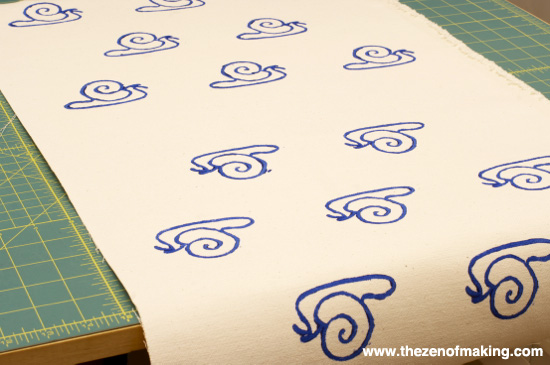
Apply a thin layer of fabric paint to the stamp using a sponge brush, then stamp the fabric. Apply more paint before each subsequent stamp.
-
Stamping Tips:
- Press the stamp straight down onto the fabric, applying light pressure around the edges and in the center to ensure a complete print.
- Once the print has been made, lift the stamp straight up off of the fabric to avoid smudging or blurring.
Step 7
Continue printing until you have completely filled the fabric.
To prevent accidental smearing, make stamps in horizontal rows from left to right starting at the top edge of the fabric and working your way down to the bottom. Allow the fabric paint to dry completely before moving on to the next step.
Step 8
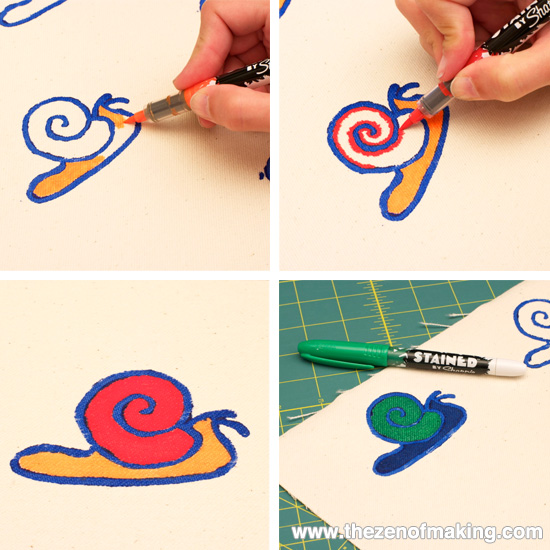
When the fabric paint has dried completely, use Stained by Sharpie fabric markers to fill in your designs. To get an even stain, color in a slow circular motion until the ink has penetrated the fabric surface completely.
Allow the marker ink to dry overnight.
Step 9
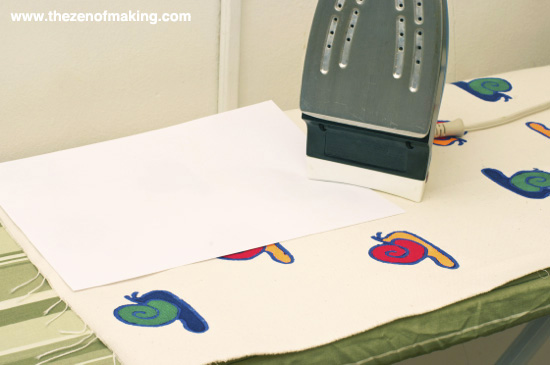
When the ink and paint on the fabric has dried completely, place a scrap sheet of paper over the designs and heat set the fabric paint per the instructions on the paint package.
Step 10
Press the fabric and store it in a dry place until ready for use.
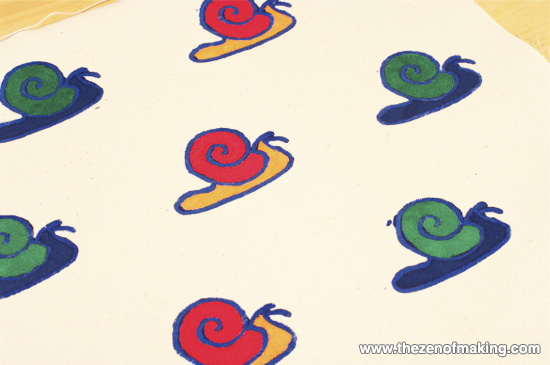
My custom snail fabric is just begging to be turned into new project bag, don’t you think?
What designs will you make?

You are brilliant!. Thanks to share it!
Glad you like it!
Adorable and so quirky cool! Never thought of cutting from foam for a stamp like this! Pinned onto my stamping board for future fun!
Thanks! Since they hold paint well, I’ve found that foam stamps usually work better on fabric than regular carving blocks.
Wow… I for a long time was looking for something… some tutorial like this on how to make stamps & print… You gave very simple to follow instructions… thank you so much I will definately try this…
Haley, you specify using cotton fabric. Have you ever tried to use polyester napkins? I would love to have the children at my church make a set of stamped napkins for their moms for Christmas. The best deals on napkins are for the polyester ones, and I know they will not stain as easily. Thoughts?
I haven’t tried it on polyester, but the textile paint that I used in the tutorial says that it can be used for both natural and synthetic fabrics on the package. The paint needs to be set by ironing, though, so you might want to consider a natural/synthetic blend.
Sounds like a great project for the kids, though. Hope everything works out!