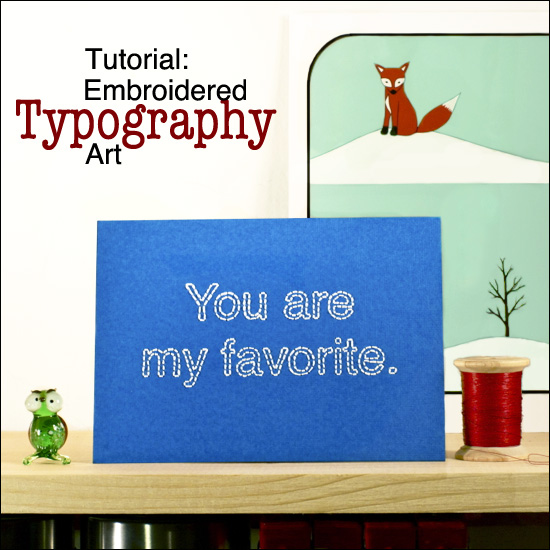
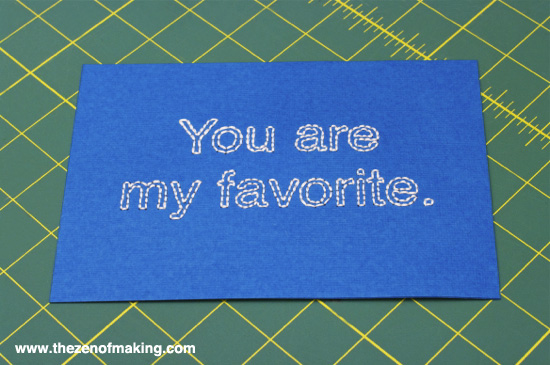
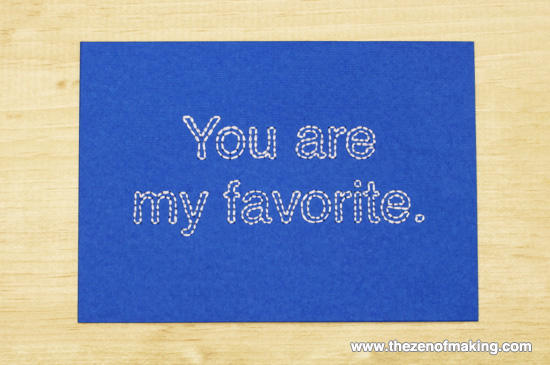
I stitched this piece of embroidered typography wall art for my graphic designer husband as a gift for our third anniversary. (It was yesterday! Hooray!) Are you a type geek too? Make one for your special someone with my free downloadable template!
Supplies:
* Embroidered Typography Wall Art template
* 5" x 7" textured cardstock, 2 sheets
* Scotch tape
* Embroidery floss, 3 ply
* Permanent dry adhesive
Tools:
* Printer
* Paper scissors
* Embroidery needle
* Piercing tool or sewing awl
* Piercing mat or foam sheet
**Please note that the links provided above are affiliate links, and I will be compensated if you choose to make a purchase after clicking through.**
Step 1
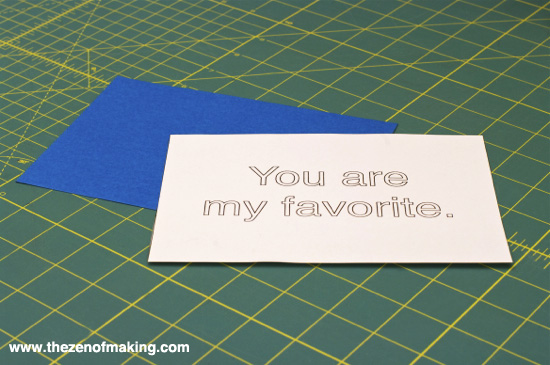
Print and cut out the embroidered typography wall art template.
Step 2
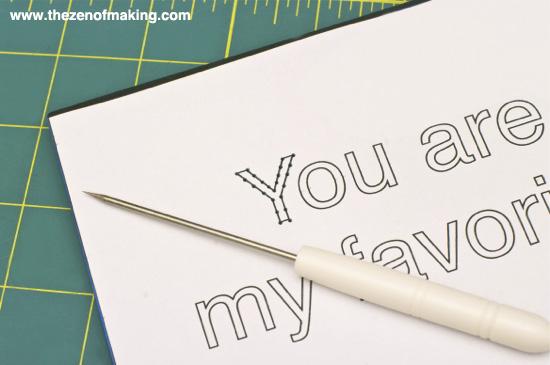
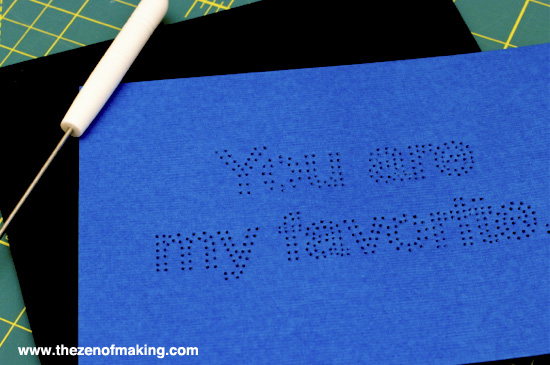
Adhere the template to one sheet of the cardstock using a small loop of scotch tape in two corners (don’t press down too hard, you’ll need to peel the tape off later). Next, use the sewing awl to poke evenly spaced holes through the cardstock following the lines in template.
Step 3
Once you’ve punched the holes, peel the template paper off of the cardstock and carefully remove the tape.
Step 4
Sew through the holes in the cardstock using backstitch.
Tip: To keep the floss as flat as possible, use a small piece of scotch tape to secure all floss ends to the back of the card instead of knotting them off.
Step 5
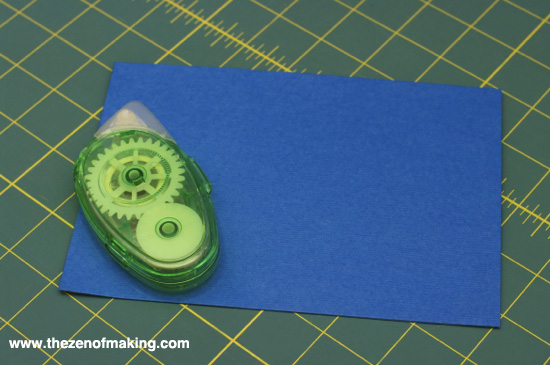
Apply dry adhesive around the edges of the second sheet of cardstock, then attach it to the back of the embroidered cardstock to cover the back of the stitching.
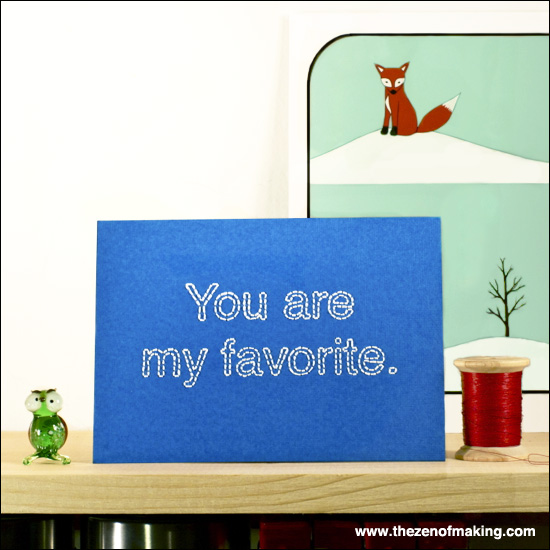
Your typography wall art is finished! Frame it, hang it, or display it as you please!

This is awesome, I’m already starting to wonder what I can embroider and then scan in to use as a logo! It looks great!
Really nice work. I make cards like this in a variety of fonts (I’m a font geek, what can I say) and here’s a tip: I adhere the card and the template to the cutting mat, rather than to each other. This way, they stay firmly in place, but you don’t have to worry about leaving marks on the finished card.
Alternatively you can reduce the danger of “marking your card” (ha! is that expression used in America?) by using masking tape, and sticking it on your clothes a few times before you let it touch the card. This reduces its adhesion so that it’s still strong enough to hold everything in place, but not strong enough to damage anything. HTH :)
Thanks for the great tips! The concept of “marking your card” makes sense to me, and it’s definitely something to be avoided. :)