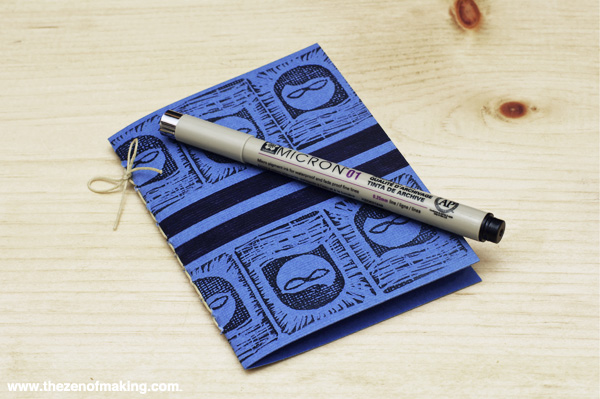
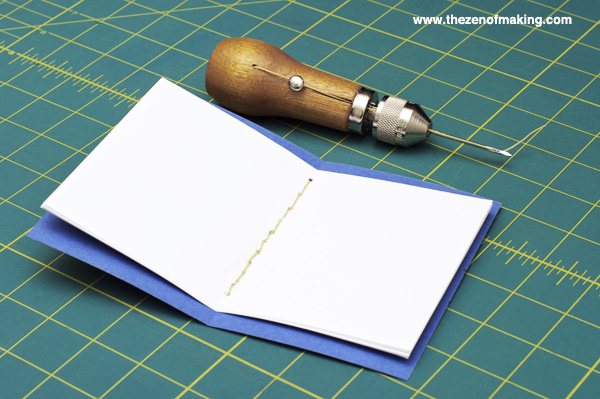
Every crafter needs a good notebook on hand for jotting down ideas and planning projects, but did you know that it’s really easy to make your own? If you’ve got a sewing awl (a very basic hand-held sewing machine—I use a Speedy Stitcher) and 15 minutes, you can create your own custom idea book with my quick and easy sewing awl bookbinding tutorial!
Supplies:
* cardstock or a heavy sheet of patterned paper, 1 sheet (I used a 5" x 7" sheet of hand-stamped cardstock.)
* Scrap paper, a stack of 10 to 12 sheets cut to the same size as your cover
Tools:
* Sewing awl with waxed thread
* Paper scissors
* Ruler
* Bone folder
Note:
Before we get started, please note that I am NOT a bookbinding expert. The technique described below is the result of experimenting with my sewing awl, not from professional knowledge of the bookbinding process. From what I can tell, the stitching in this tutorial is similar to a scaled-down version of pamphlet stitch, but it’s not an exact match. If you’re looking to learn fine bookbinding techniques, you should definitely seek out a local expert or find a skilled craftsperson online.
**Please note that the links provided above are affiliate links, and I will be compensated if you choose to make a purchase after clicking through.**
Step 1
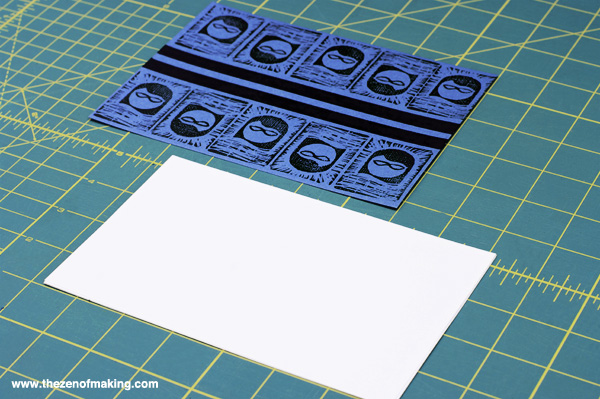
Gather the cover sheet and scrap paper, trimming them as needed so that all papers are the same size. (It’s also okay if the scrap paper is cut to a slightly smaller size than than the cover.)
Step 2
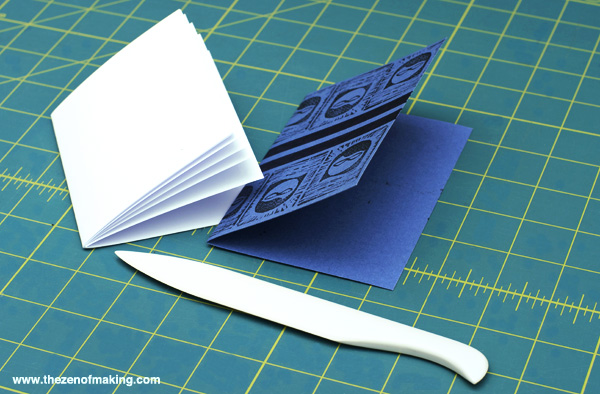
Fold both the cover sheet and the scrap paper stack in half, creasing the folds using a bone folder.
Step 3
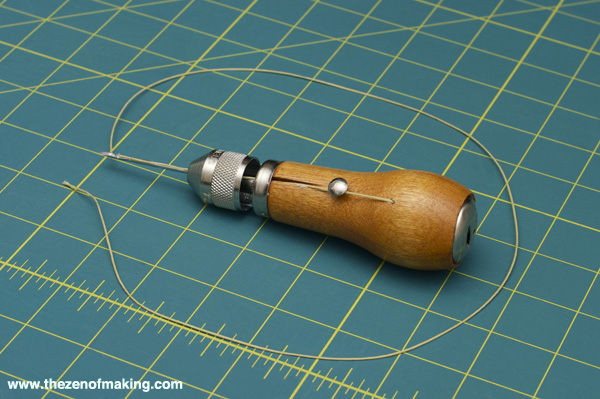
Load the sewing awl with waxed thread per the instructions in the package, then thread the eye of the needle.
Step 4
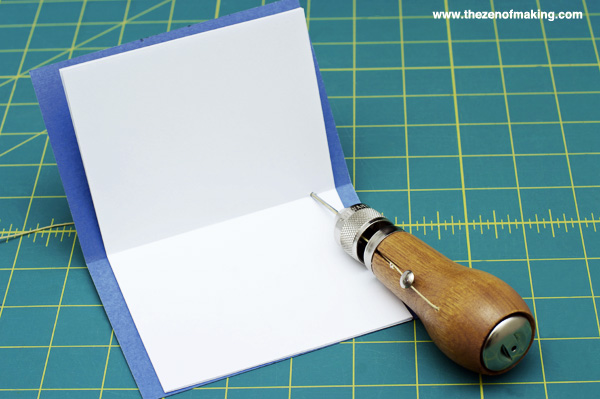
Insert the scrap paper stack into the cover sheet, lining up the folds.
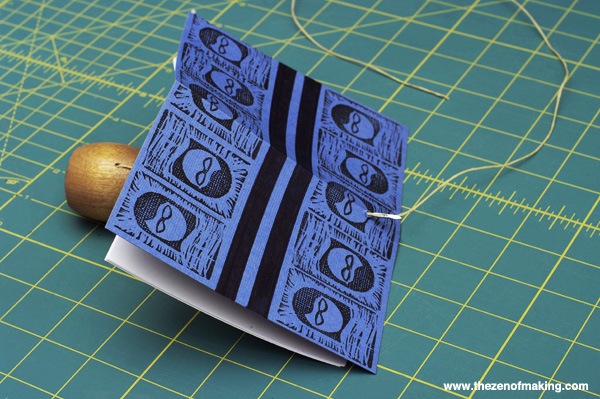
Starting on the inside of the notebook, pierce the sewing awl through the layers of paper at the crease, then sew along the full length of the fold following the instructions included with the awl.
Step 5
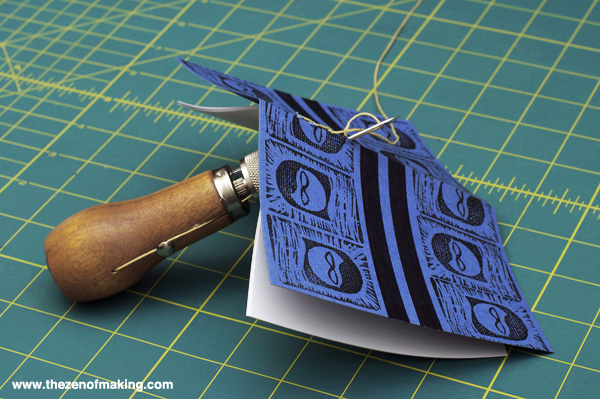
When you’re done stitching, pull a few inches of extra thread through the eye of the needle, then pull that extra length through the last stitch hole so that both ends of the thread are on the outside of the notebook.
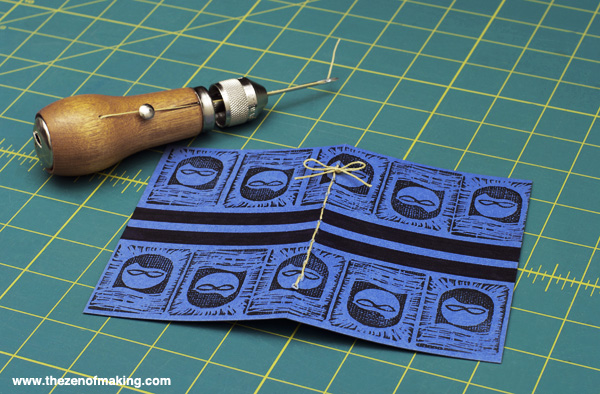
To finish the binding process, detach the sewing awl from the project by cutting the thread, then tie the ends of the thread together in a bow or knot.
Want to know more about how a sewing awl works? Find out here: Craft Tool: Speedy Stitcher Sewing Awl

great idea for a gift! :-) thanks!
You’re welcome!