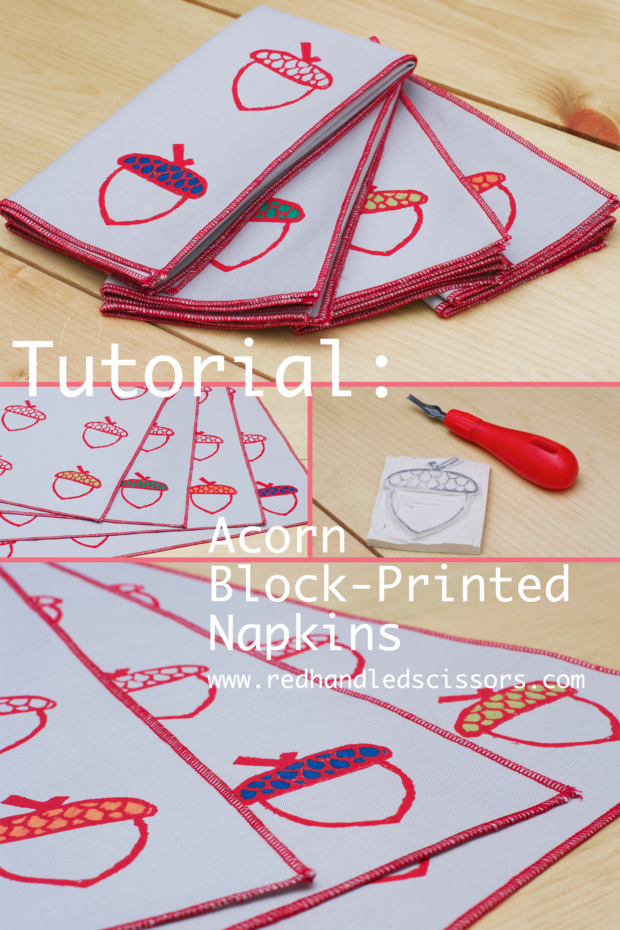
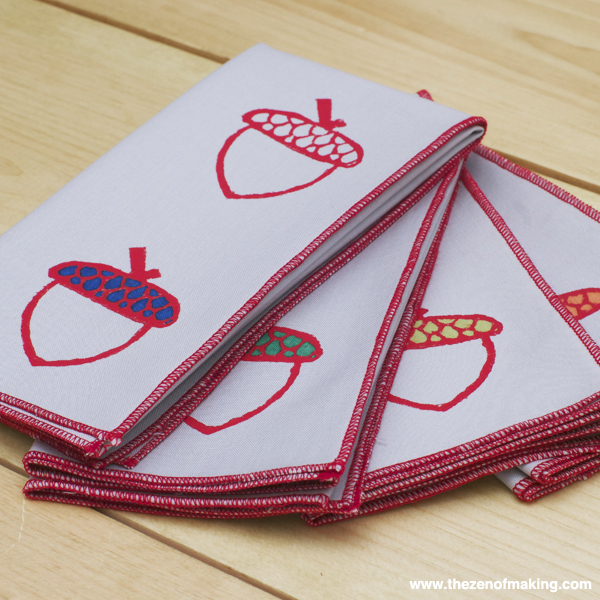
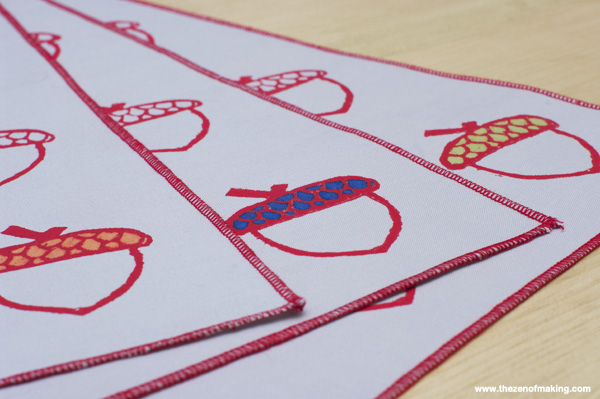
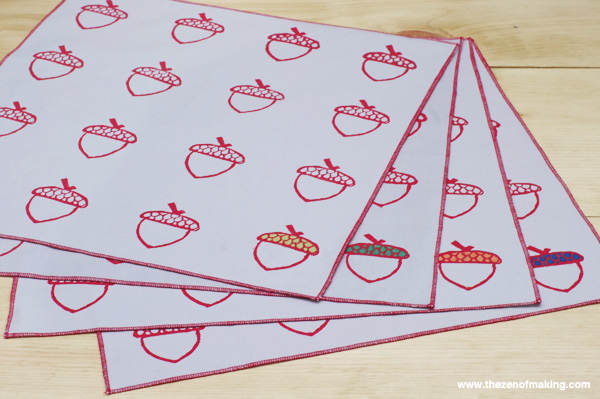
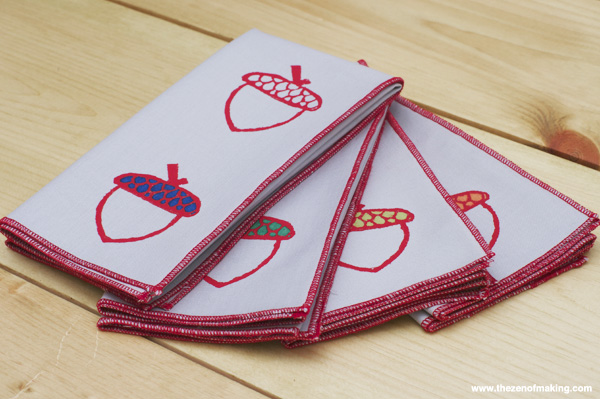
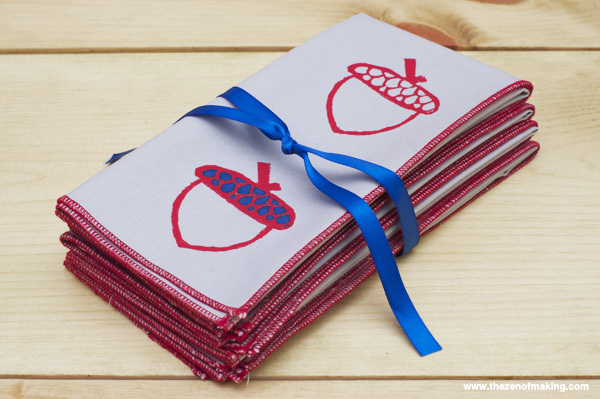
Make a set of autumn-inspired acorn-patterned cloth napkins with my new block printed napkin tutorial and free downloadable template! (Hand-printed napkins make perfect holiday and hostess gifts!)
Supplies:
* Acorn block printing template PDF
* Printing block
* Block printing ink
* Cotton cloth napkins (or sew your own)
Tools:
* Linoleum cutting tool
* Sponge paintbrush
* Paper plate or paint tray
* Iron and ironing board
* Pencil
* Printer
**Please note that the links provided above are affiliate links, and I will be compensated if you choose to make a purchase after clicking through.**
Step 1
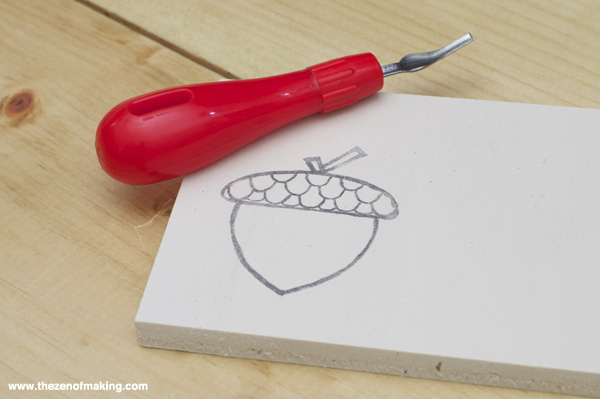
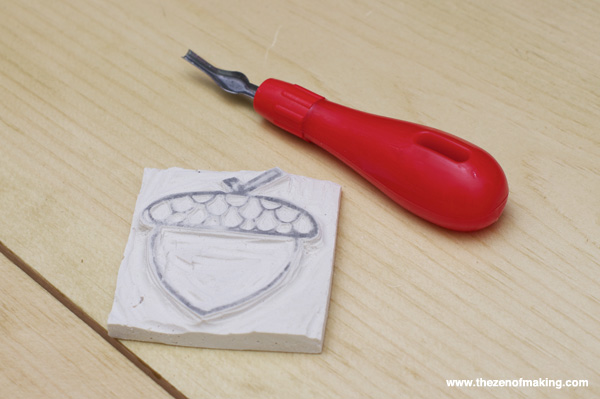
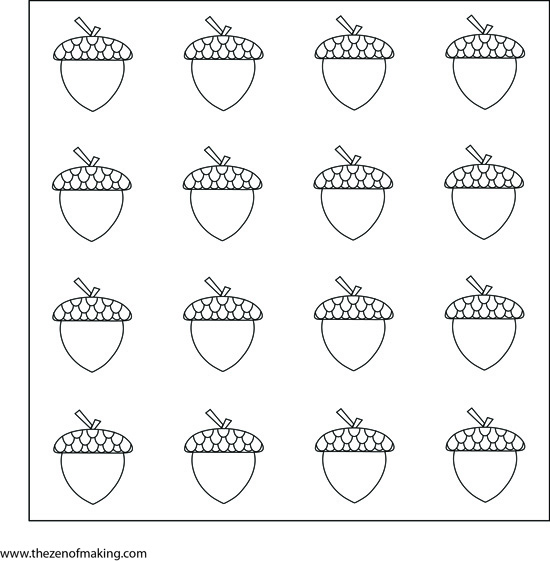
Print out the acorn block printing template PDF and trace over the lines of the acorn shape with a heavy pencil line. Place the template face down on the block then use your fingernail to rub the design into the block. (For more detailed transfer and carving instructions, check out my block printed cat pattern t-shirt tutorial.)
Step 2
Use the linoleum cutting tool to carve the block using the transferred outlines as a guide.
Step 3
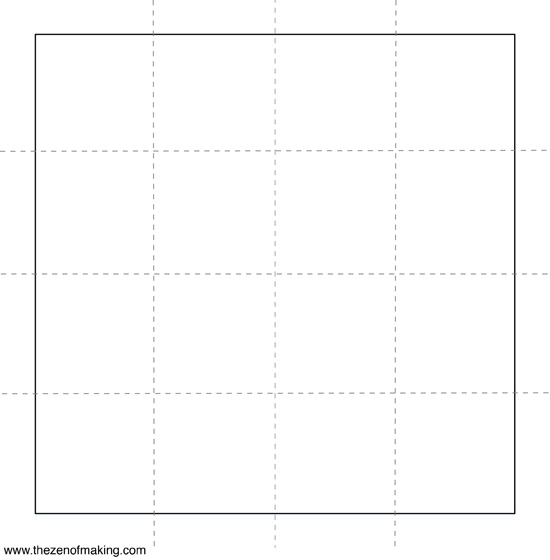
To prepare the napkins for printing, fold each napkin on the dotted lines pictured above and press each crease with an iron. When you’re finished, the creases should create a visible grid that will help you with your print placement.
Step 4
Spread a thin layer of ink onto the paper plate, then ink the carved block. Use the sponge brush as needed to make sure that the ink is spread evenly across the stamp. Print the design in the center of each square on the grid that you created in step 3, taking care to ink the block between each stamp. (For more detailed stamping instructions, check out my block printed cat pattern t-shirt tutorial.)
Step 5
Allow the ink to dry completely and set it (if needed) per the instructions on the package.
Customization tip:
Use Stained by Sharpie markers in different colors to color in the top of one acorn on each napkin to help guests keep track of their own napkins.
Enjoy! Hooray for acorn block printed napkins!

