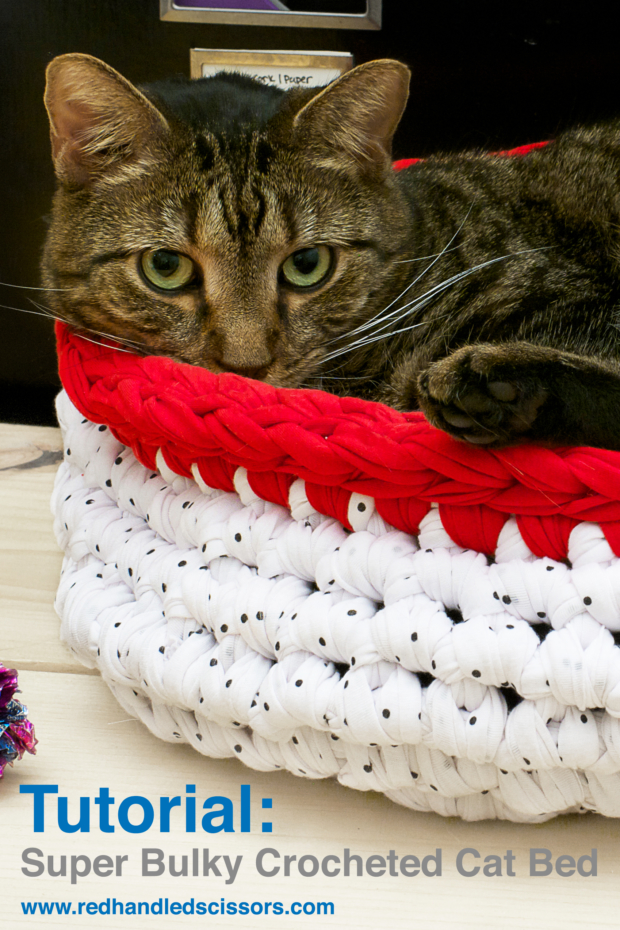
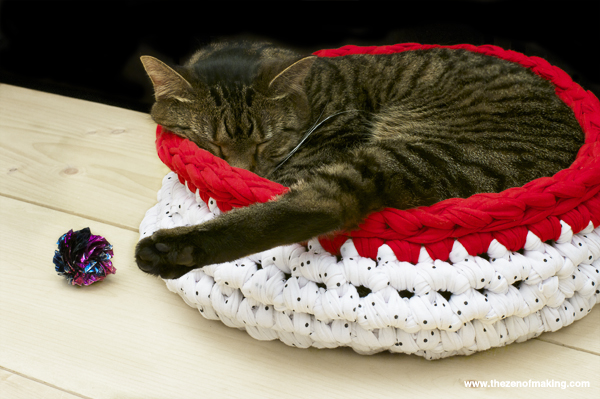
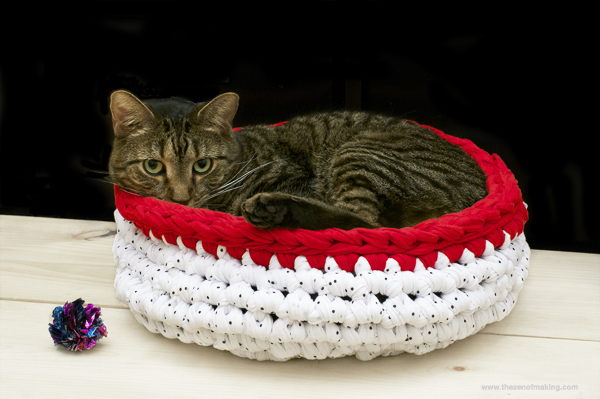
Looking for a quirky, modern cat bed for your four-legged favorites? Crochet a super bulky cat bed with cozy jersey knit fabric! Your kitties will love it, and it will fit right in with the rest of your DIY decor.
Pixel cat loves that he can curl up however he wants because the bed stretches and changes shape with him. Whether he’s upside down, balled up, or long cat-ing, the slight stretch in the fabric definitely allows for maximum coziness. I think he’s only left his new bed for about five minutes total since I gave it to him last week! (Unrelated: Just look at that sweet little face!)
Supplies:
* Cotton jersey knit fabric, 4 yards white patterned and 2 yards solid red (or your favorite contrasting colors) ** yardage is based on 60" wide fabric
* Scrap piece of yarn, 2-3" long (to use as a stitch marker)
* A small cushion or pillow for the bottom of the cat bed (optional, but it’s a nice touch)
Tools:
* Large plastic crochet hook, 15.75mm (US size Q)
* Crochet hook, size K (to help you weave in ends)
* Ruler
* Fabric scissors or rotary cutter
and cutting mat
If you need a refresher on the basics of crochet before you get started, check out the Crochet 101 video tutorial that I made for CRAFT!
**Please note that the links provided above are affiliate links, and I will be compensated if you choose to make a purchase after clicking through.**
Step 1
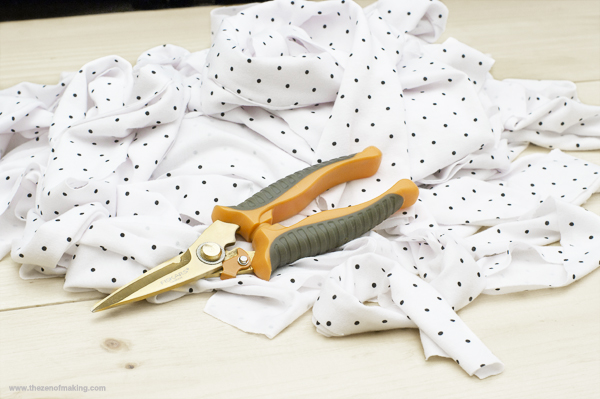
Cut the jersey fabric into long strips that are about 3" wide.
Step 2
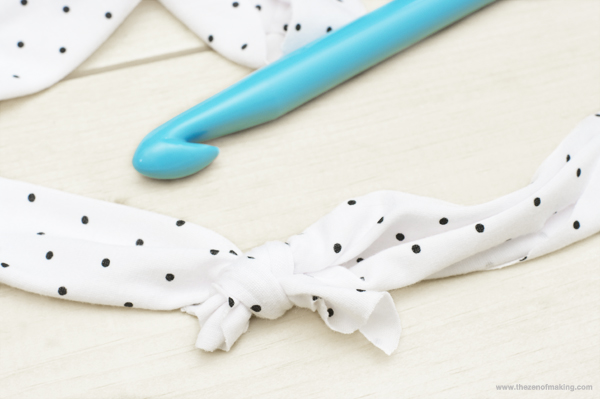
Tie the fabric strips together to make a ball of fabric yarn.
Step 3
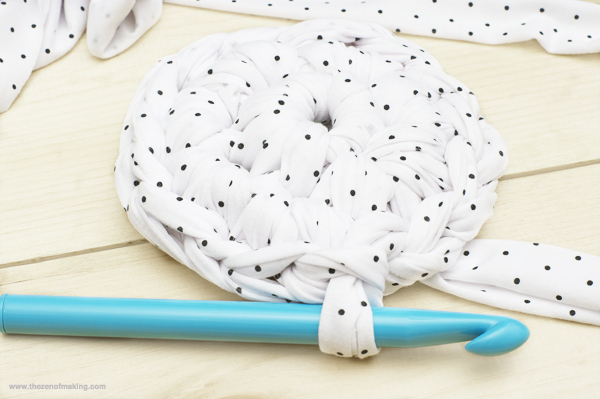
Crochet the cat bed using the pattern below.
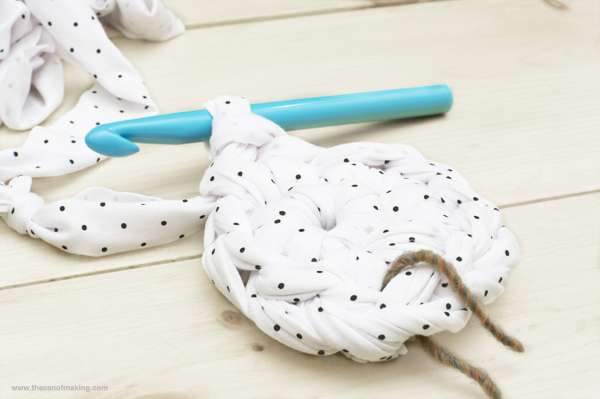
Tip: Use a scrap piece of yarn as a stitch marker to mark the first stitch in each round.
Super Bulky Crocheted Cat Bed
ch: chain
sc: single crochet
sl: slip stitch
st: stitch
Ch 3 and join with a sl st in first ch.
Round 1: Ch 1, work 8 sc in ring, sl in first sc to join. (8 sts.)
Round 2: Ch 1, work 2 sc in each sc, sl in first sc to join. (16 sts.)
Round 3: Ch 1, *work 2 sc in sc, sc in next sc; repeat from * around, sl in first sc to join. (24 sts.)
Round 4: Ch 1, *work 2 sc in sc, sc in next 2 sc; repeat from * around, sl in first sc to join. (32 sts.)
Round 5: Ch 1, *work 2 sc in sc, sc in next 3 sc; repeat from * around, sl in first sc to join. (40 sts.)
Round 6-11: Ch 1, work 1 sc in each sc, sl in first sc to join. (40 sts.)
Round 12: With contrasting color, Ch 1, work 1 sc in each sc, sl in first sc to join. (40 sts.)
Round 13: Work 1 sl in each sc, sl in first sl to join. Fasten off and weave in ends. (40 sts.)
Step 4
Untie any visible knots in the fabric and weave in the ends using the smaller crochet hook.
Step 5
Add a comfy cushion to the bottom of the cat bed and give it to your favorite kitty!
I think every cat needs a crocheted cat bed, don’t you?

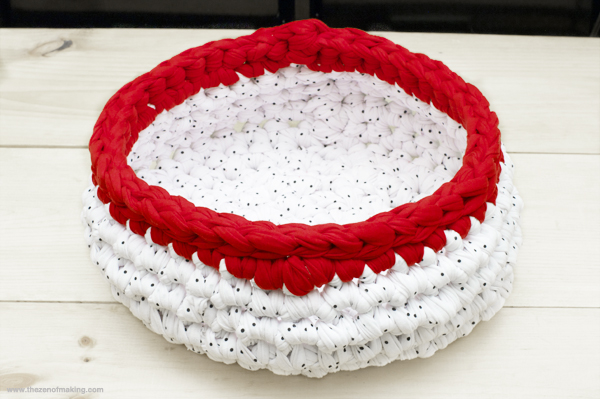
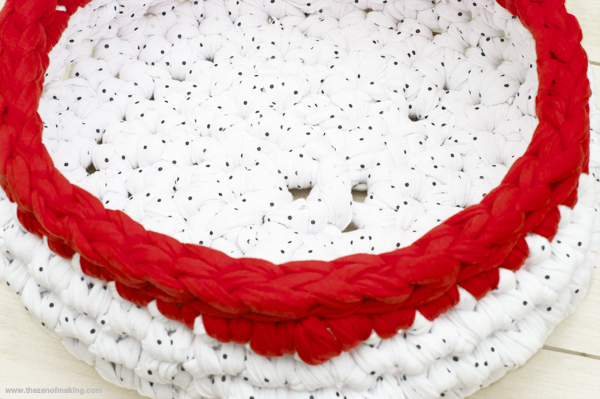
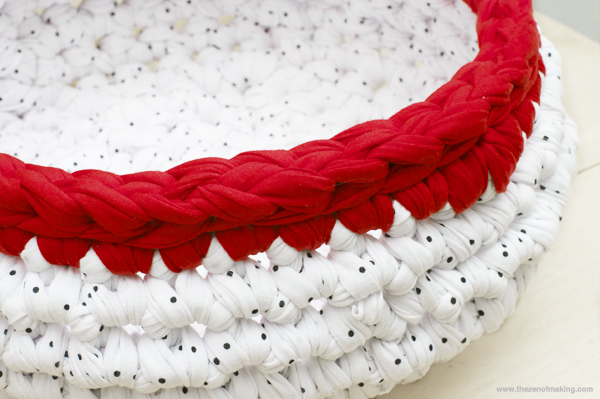
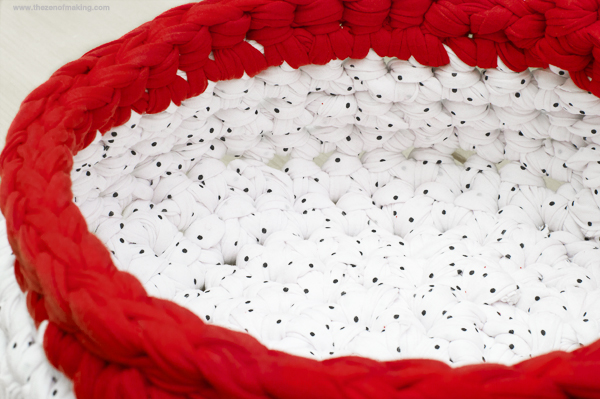
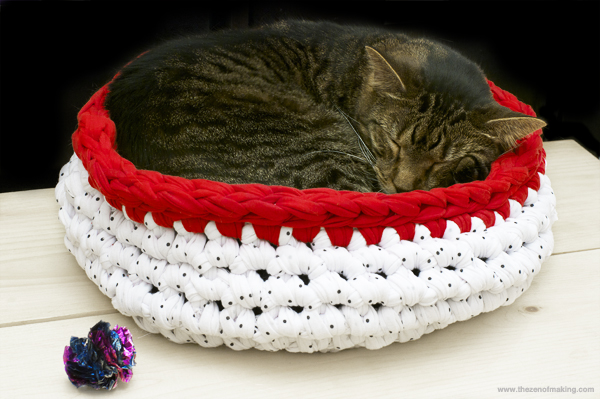
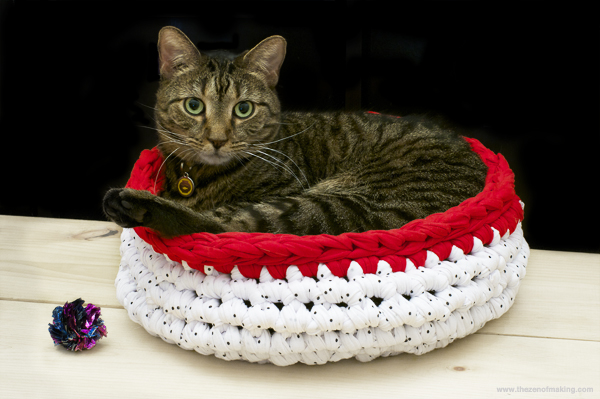
Beautiful kitty photos FTW!! This is an awesome design, Haley, and it’s clear from the nasty looks I’m getting over here that Pushkin needs one of these, stat. You must have developed some Popeye forearms crocheting this! :-)
Thanks, Diane! My arms were definitely sore the next day, but it was totally worth it to hear those purrs of joy. :)
Hailey suggested I put this tip here: For less bulk when attaching the fabric strip ends together, put a vertical slit in each end. Slip one end through the slit of the other. Slip the opposite end of the piece you slipped through, into the hole at the end of the piece. Tug on the attached strips gently, this will lock them together. As you make your ball or need to add more length, loop new a new through the end of the previous strip. This is a great way to change colors easily too. If you need a visual, go here: http://tottietalkscrafts.com/2010/05/13/how-to-make-a-join-in-fabric-strip-yarn-or-tarn/
Thanks, ladyfriend! For lighter weight fabrics, I definitely think the slit-and-loop method might be easier and just as visually seamless as untying the knots in the fabric and weaving in the ends. Thanks a ton for sharing the the details and the link!
Love this! And can’t wait to find time to make one or a few… Plus the best part of using Jersey cotton is that it’s washable! =)
It’s definitely washable, but it might be a bit too big/heavy for most machines. I’d try hand washing first. :)
I absolutely love this because it is so simple even I could crochet this! I’d have to make it bigger for my Maine Coons, but they would love this bed. I posted one finished photo of your cat bed, a photo click through link to your blog and a written link to your blog on truebluemenadyou. Please contact me if there is a problem :)
Thanks for sharing my post!
Pixel is a pretty big cat–he’s not Maine Coon sized, but he’s tall and long and about 12.5-13 pounds. I bet if you added one more increase round after round 4 (Ch 1, *work 2 sc in sc, sc in next 4 sc; repeat from * around, sl in first sc to join.- 48 sts), it might fit your kitties. If you try it, let me know!
I love this because it’s combining two things that I love – crocheting and pets. Wonder if my toy poodle would like a little crocheted snuggly bed? I definitely have everything that I’d need to make one for sure! Great tutorial!!
What’re your favorite colors? I’d love to include one in the package I’ve been collecting for you! How big is your dog–larger than cat sized?
Just seen your wonderful cat bed and thought you may be interested in the Jumbo Crochet Baskets I have been making and also Chester who is a huge 6ft tall Crochet Cat! You can read all about them over on my blog http://www.fiddlyfingers.blogspot.com
Love the pictures of your cat :)
I love your baskets–thanks so much for sharing! Where’d you get that massive wooden hook? Did you make it yourself?
I spoke nicely to my husband and he made it for me. We sell them for £8 each + postage if anyone is interested :)
That’s so awesome!
It looks adorable but the 1st thing that popped into my head is what a PITA that must be to clean the cat hair off of. It wouldn’t just be the surface you’d need to get the hair off, it would get all tangled in between too :(
I just use a vacuum with a hose and brush to remove the cat hair. Works fine for me!
I love this idea. I have a suggestion regarding cutting the fabric here is a link on how to cut a continuous strip and not have to join the strips. http://www.youtube.com/watch?v=JwSUbbYmB_I
once you get the hang of this technique it goes really fast.
Great link–I’m definitely trying this next time. Thanks for sharing!
LOVE LOVE LOVE!
Cannot wait to start one.
BTW your PIXEL cat DOES have a sweet little face!!!
The biggest size of crochet hooks sold here is size P. Would that still work? What adjustments should I make? Thanks! :)
You can use a smaller hook, but you might need to cut narrower fabric strips and–depending on the size of your cat–you’ll probably need to make at least one more increase round. To add one more increase round after round 4: Ch 1, *work 2 sc in sc, sc in next 4 sc; repeat from * around, sl in first sc to join.- 48 sts
I finished mine. It’s awesome. I made mine from t-shirt yarn and used the slit method to join strips. I made it by hand since I didn’t have the larger crochet hook. It still worked!
We featured this beautiful bed on our facebook page:
https://www.facebook.com/pages/Ecopet/438653182881863
Credits are given to you and your blog. :)
Hello!
How many yards/meters of yarn did you end up using?
Doing the math off the top of my head–assuming that I used 6 total yards from a bolt of fabric that was 61″ wide and cut it into strips that were each right around 3″ thick–I’d say that I made and used between 125 and 150 yards or so total of extremely bulky handmade cotton jersey yarn.
Hope that helps!
Love it! Going to make for my chihuahua. How many yards of tshirt yard would I need if I were buying it precut? Cheers
It’d be perfect for a chihuahua!
The yardage worked out to between 125 and 150 yards of super bulky (3″ wide) handmade t-shirt yarn. I haven’t tried making this project with store-bought yarn, but if it’s less bulky, you’ll likely need to increase the yardage and add several more rounds to the bed to get the right height.
Thanks! I meant store bought tshirt yarn but I appreciate the additional details.
Yay! :-) anything for kitties is the best!
I’m happy I stumbled across this pattern! Can’t wait to try it! I think I could turn it into a dog bed too, if I just kept going round until the desired size!Thanks so much!
I used a Q size hook and thought I followed things right, but ended up with 45 or so stitches and it still turned out too small for my Big Furry Tabby. I noticed there were two lines listed as round 4 and then a line listed as round 5-10. I must have gotten lost in there somewhere. .. I will have to keep trying .. Love how it looks so Snuggly and keeps its shape.
The size can vary a bit depending on how tight your stitches are/how thick the fabric is. But, if you need to make the size bigger to fit your kitty, you can definitely add additional increase rounds after round 5.
Thanks for pointing out my round numbering error! (Seems like I should have noticed it way before now!) I’ve fixed the numbering, so things should be much clearer for future crafters. :)
Purchased knit as a tube. No join necessary if one starts the first cut on angle, then proceed by slipping tube over iron board, w/olfa cutting board , rotary for the entire piece. Technique used for quilt binding.
Love this pattern!!! Can you tell me the diameter length across the center of the bed…. and the height of the sides. I’m using chunky yarn and … I don’t have any cats to test the size out on them :-)
Mine turned out to be about 15″ in diameter with 6″ high sides. But, to get that size with chunky yarn, you might need to add additional increase rounds for the bottom and additional rounds at the end for added height. (Mine has also been washed, and has stretched some with age and use, so if you’re a tight crocheter or using standard yarn, you’ll almost certainly want to add a few extra increase rounds.)
Last night I made a start on a cat bed for our rather BIG black and white cat, Dax. I had bought ready cut tee shirt yarn on a cone rather than cutting my own. (I never would have enough to cut up .. and we don’t have thrift shops here where I live in Portugal! Plus – my hands would scream even more than they do when I crochet this yarn lol!!) I judged it was a bit narrower than yours, so used a 12 mm hook (bit bigger than a P). I soon found the stitches nice and tight …. but … had to frog back to the last increase round ie number 5 because … there was no way he was going to fit into THAT! So .. I increased .. on another 3 extra rows ! I also changed colour sooner … just for fun .. and after having it ‘tested out’ by our Siamese when I put it down for a few moments, I finally got it finished .. and Dax dived into it once he found it in his ‘usual spot’ on the floor near the radiator and by my hubby. He seems very happy !!
Thank you for this simple but easy to size up cat bed !
Do you think this pattern would work with Chunky Yarn?
You certainly could use yarn, but, unless you’ve got some seriously thick yarn, you’ll probably need to add quite a few increase rounds and height rounds to make the bed large enough.
how do you single crochet 8 in round one when we only chained 3?
You join the ch 3 into a ring with a slip stitch, then crochet 8 stitches around the ring you made. (If you haven’t tried this before, googling “crocheting a circle” or “crocheting into a ring” for more details might help. )
okay, Thank you very much! :)