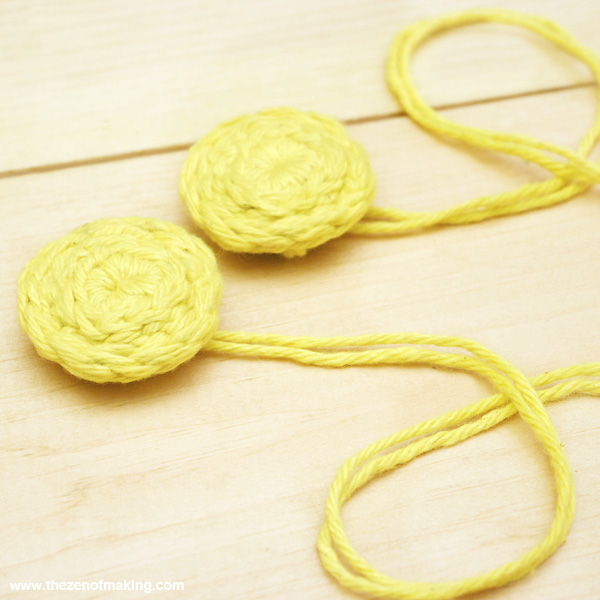
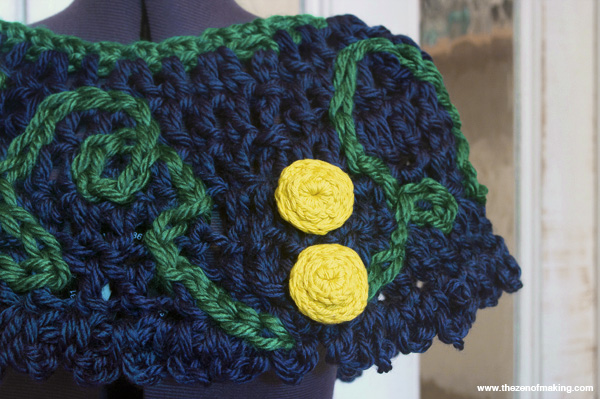
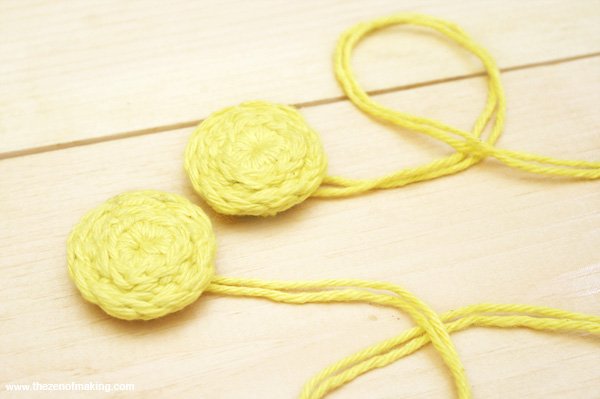
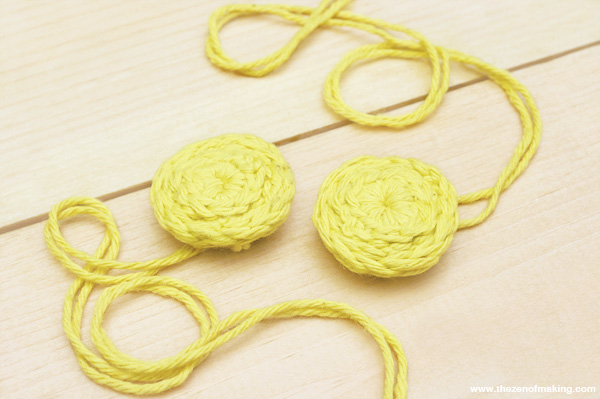
Crocheted buttons are a pretty finishing touch to any knitting or crochet project, but they can also be flimsy and hard to use. Luckily, you can add strength and usability to your fiber notions—especially large buttons made with delicate yarns—with this simple reinforcement technique.
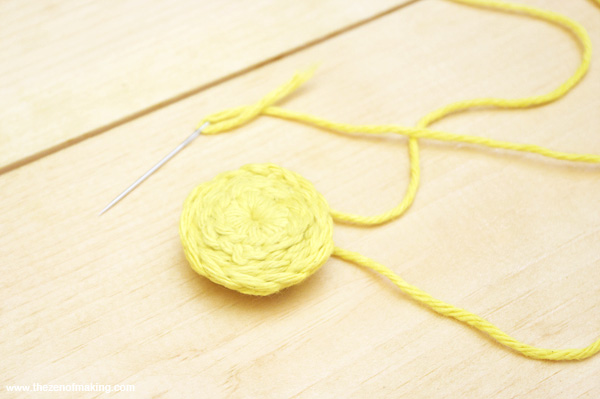
Stabilized buttons look just like their non-stabilized counterparts, but they maintain shape much better. They’re perfect for both delicate items and for more rugged outerwear—from the front, you won’t even be able to tell the difference!
Please note that the links to supplies and tools that are provided below are affiliate links, and I will be compensated if you choose to make a purchase after clicking through.
Supplies:
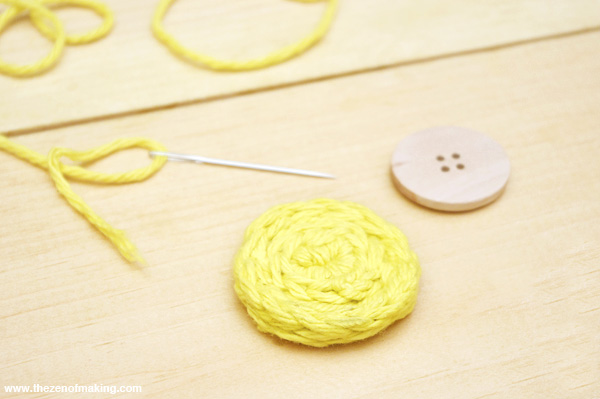
* Crocheted buttons (I used this tutorial.)
* Wooden buttons, the same size as the crocheted buttons
* Yarn for sewing the buttons together
Tools:
* Darning needle
* Scissors
Step 1
Select a wooden button that is right around the same size as the crocheted button that you’d like to reinforce.
Step 2
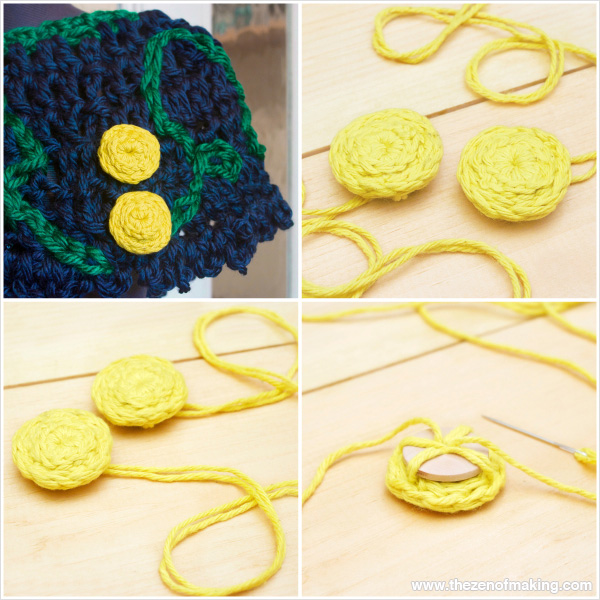
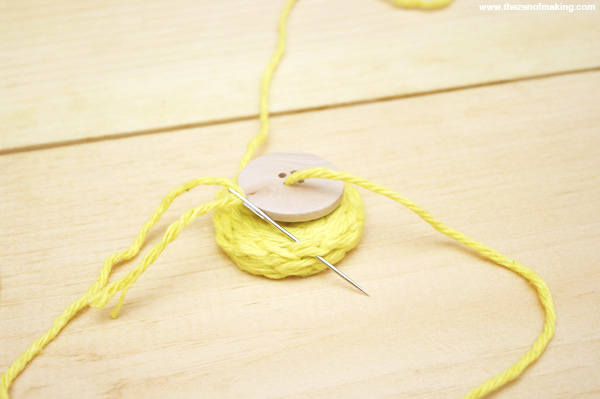
Thread a darning needle with at least one yard of yarn. Turn the crocheted button over so that the back is facing you, then place the wooden button on top of it. Leaving a long tail of yarn at the end, stitch down into one of the holes on the wooden button, bringing the yarn through the bottom. Next, bring the needle under one of the stitches at the edge of the crocheted button, then carefully pass the thread back through an open hole in the top of wooden button. To finish the stitch, pull the needle and yarn through the bottom of the wooden button, between the two layers.
Note: Don’t pull the yarn too tight as you sew—you’ll need to work the needle between the wooden and crocheted buttons as you stitch.
Step 3
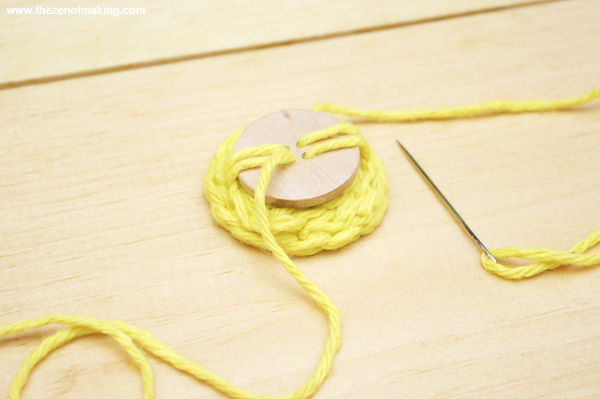
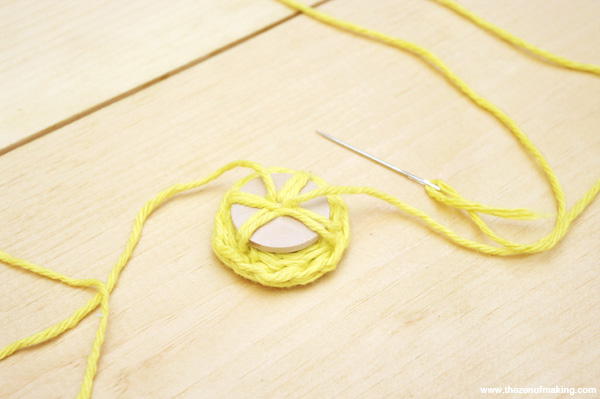
Continue stitching around the edge of the wooden button, securing it to the crocheted button.
Note: To move the needle and thread to a new location, pass it between the button layers.
Step 4
When you’ve stitched all the way around the two buttons, pass the threaded needle between the wood and crocheted layers, then bring the needle up through one of the holes in the wooden button. Clip the excess yarn length, leaving a second long tail of yarn.
Step 5
Using the long tails of yarn that you left on the back, secure the stabilized button in place on your finished project.
Finally! Pretty and practical crocheted buttons!

