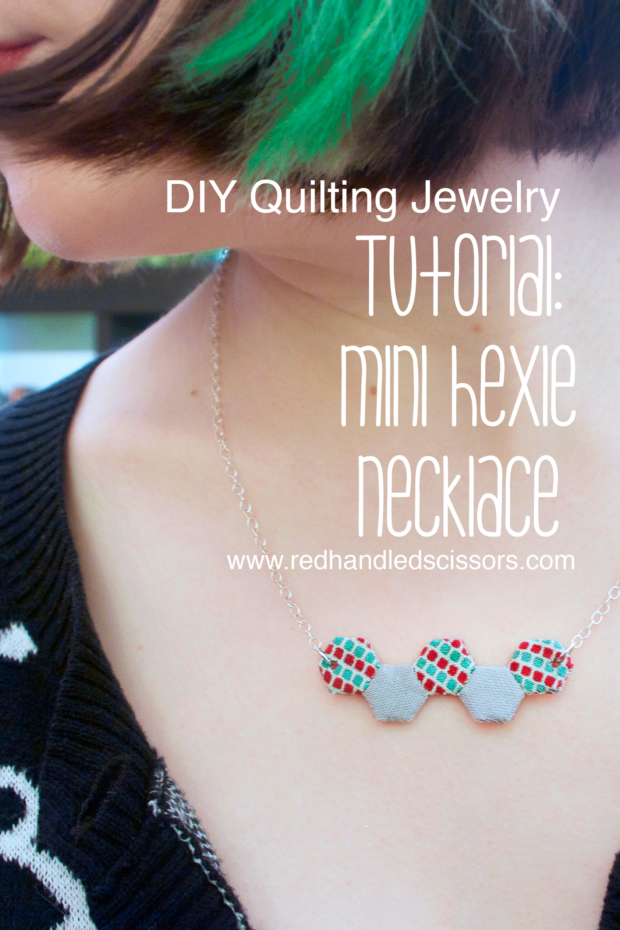
Attention quilting geeks: You need an adorable mini hexie necklace, right? (Of course you do!)
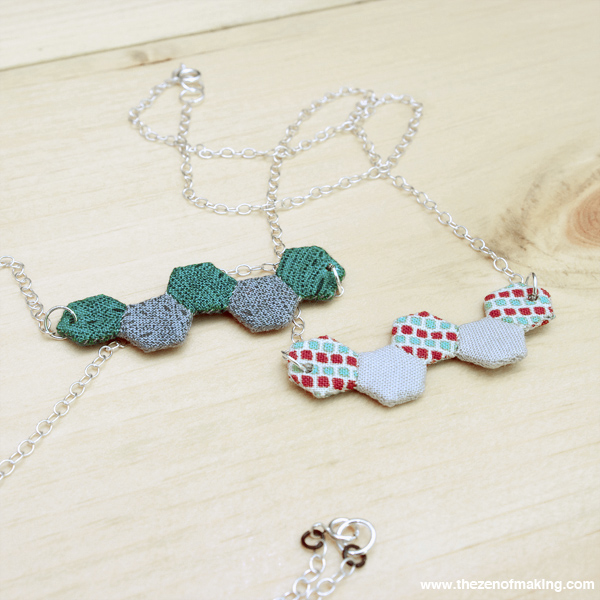
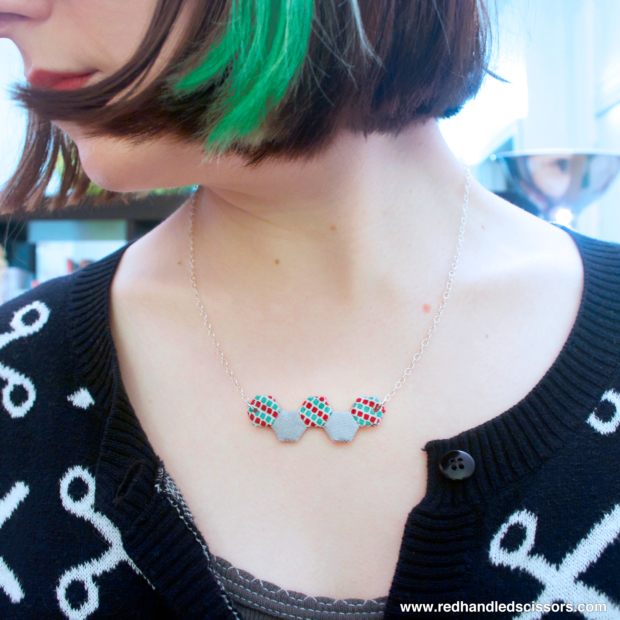
Turn 10 teeny tiny ¼" hexies into a sewing-inspired fashion statement with my mini hexie necklace tutorial with free downloadable template!
Please note that the links to supplies and tools that are provided below are affiliate links, and I will be compensated if you choose to make a purchase after clicking through.
Supplies:
* Mini Hexie Necklace Template PDF, printed at full scale
* Fabric scraps in two contrasting colors (for hexagons)
* Ten ¼" hexagons (Download the template using the link above. Instructions for sewing the hexagons can be found in part 1 of my English Paper Piecing Tutorial Series.)
* Hand-quilting thread in a color that blends in with your fabric
* Fray check
* Silver necklace chain, two 7" pieces
* Four 6mm open jump rings
* One 6mm spring ring clasp
* One 6mm closed jump ring
Tools:
* Small crochet hook
* Iron and ironing board
* Fabric scissors
* Paper scissors
* Leather punch
* Sewing needle
* ⅛" paper punch
* Round jewelry pliers
* Clover Wonder Clips
Step 1
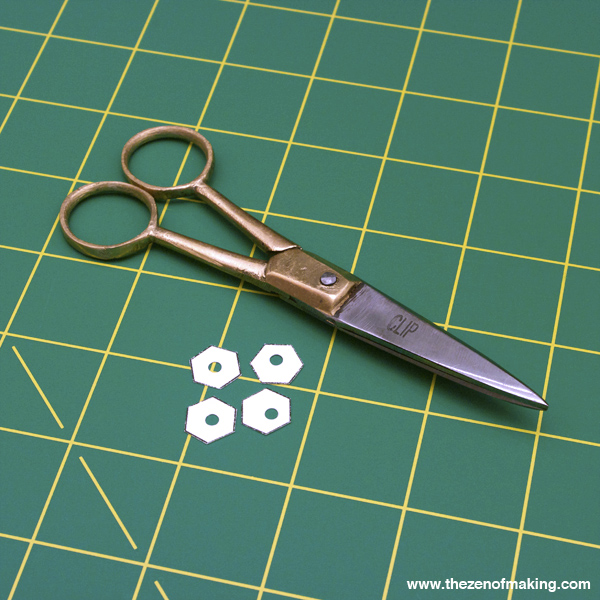
Print the Mini Hexie Necklace Template PDF at full scale, then cut out 10 hexagon templates.
Note: To make the paper templates easier to remove later, use an ⅛" paper punch to punch a hole in the center of each.
Step 2
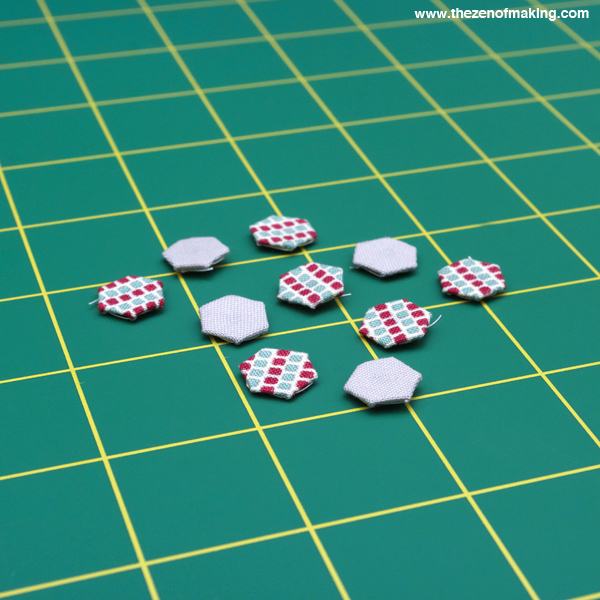
Use part 1 of my English Paper Piecing Tutorial Series to sew 10 hexagons in your desired fabric colors or patterns.
Step 3
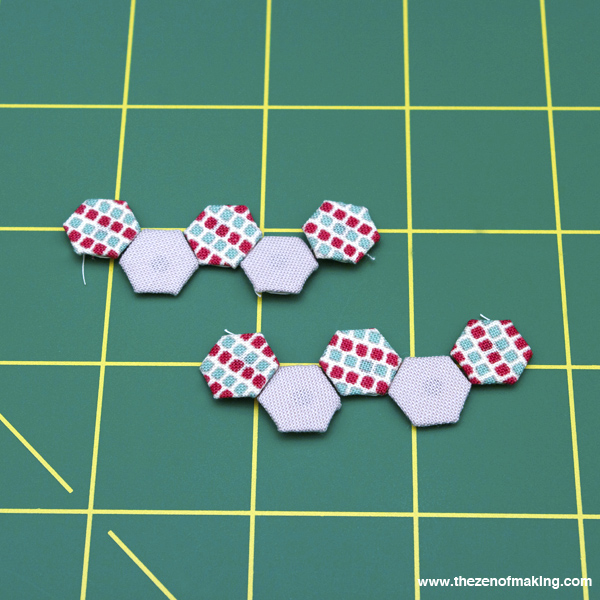
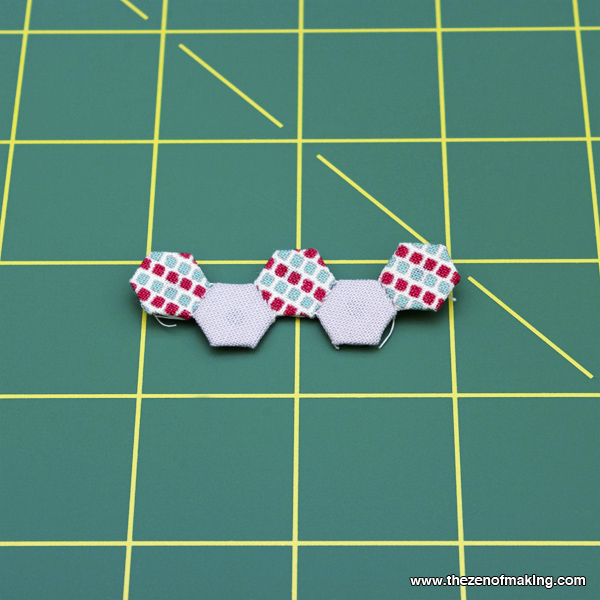
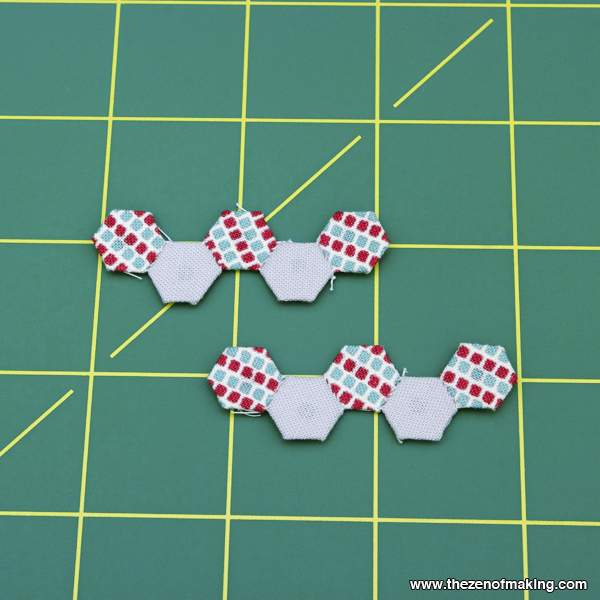
Lay out the hexagons in two rows of 5, lining them up so that every other hexagon is offset slightly from the one next to it.
Note: When laying out your hexagon rows, keep in mind that this necklace pendant is double-sided. Once the hexies in each row are sewn together, the two rows will be stacked on top of each other and joined together with wrong sides facing.
Step 4
Sew the hexagons into a row at each connecting edge.
If you’ve never sewn hexies together, check out part 2 of my English Paper Piecing Tutorial Series for tips.
Step 5
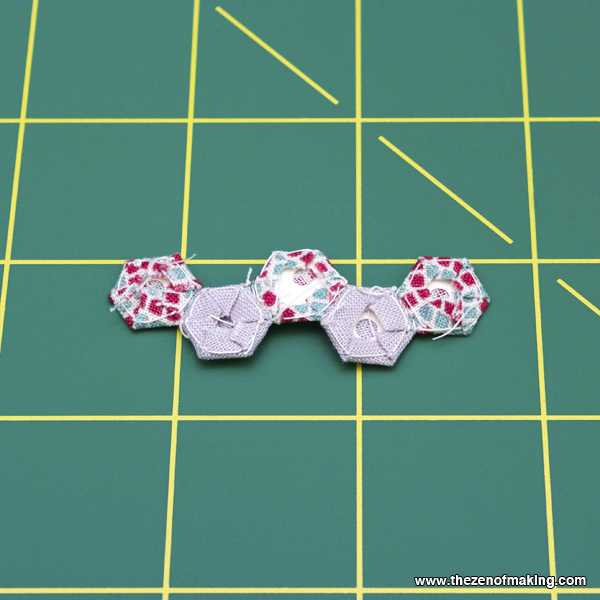
Once you’ve constructed both rows, use a steam iron to press them flat and crease the seams.
Step 6
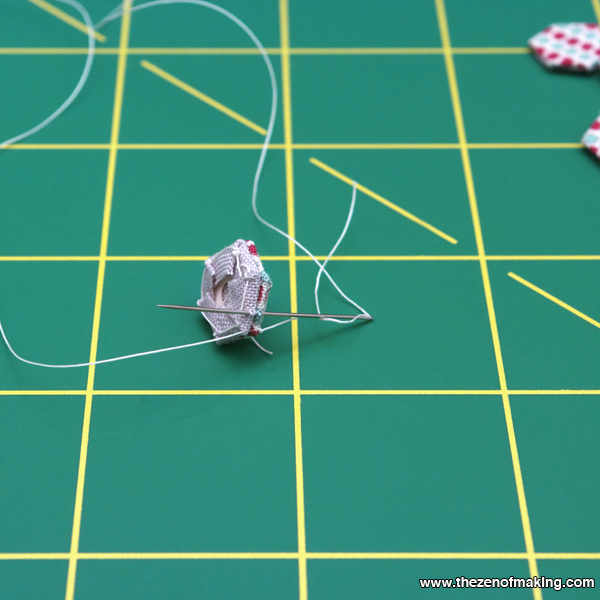
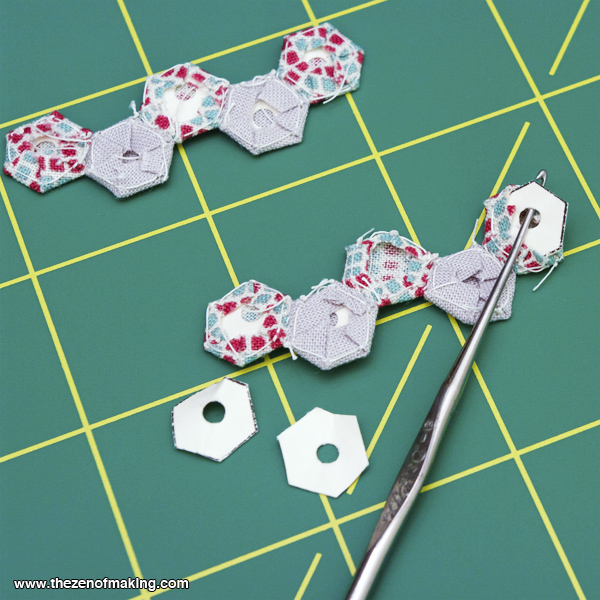
After the creases have been pressed, use a small crochet hook to carefully pop the paper templates out of each hexagon.
Step 7
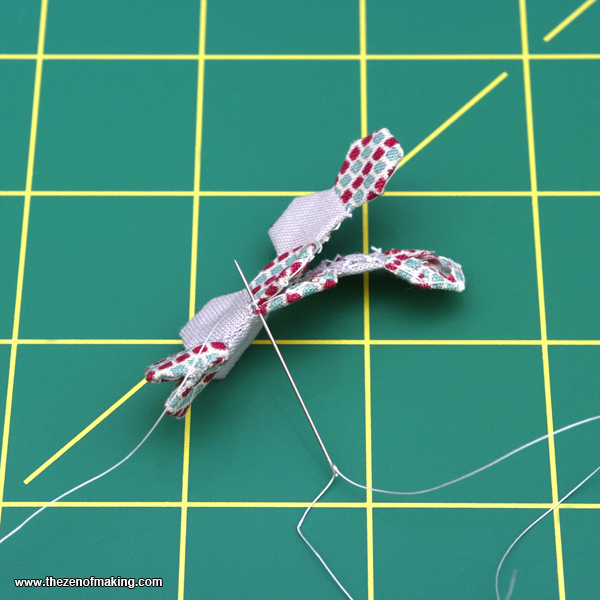
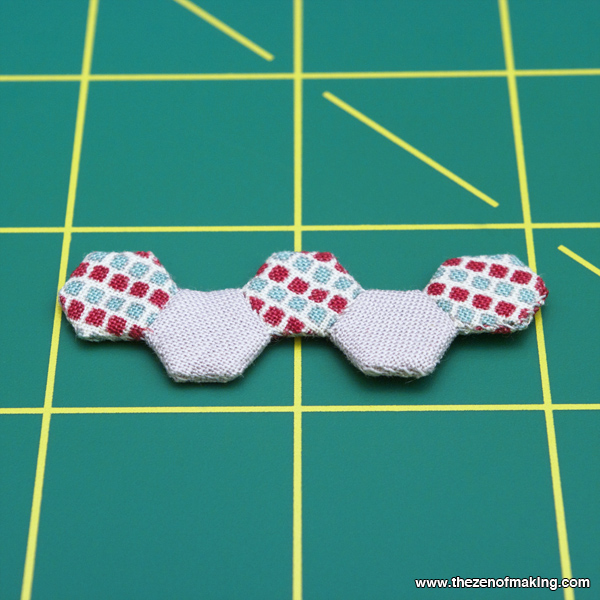
Put the two rows together with wrong sides facing, creating a double-sided pendant. Sew around the outside edge with small whipstitches.
Step 8
Press the sewn pendant flat with a steam iron.
Step 9
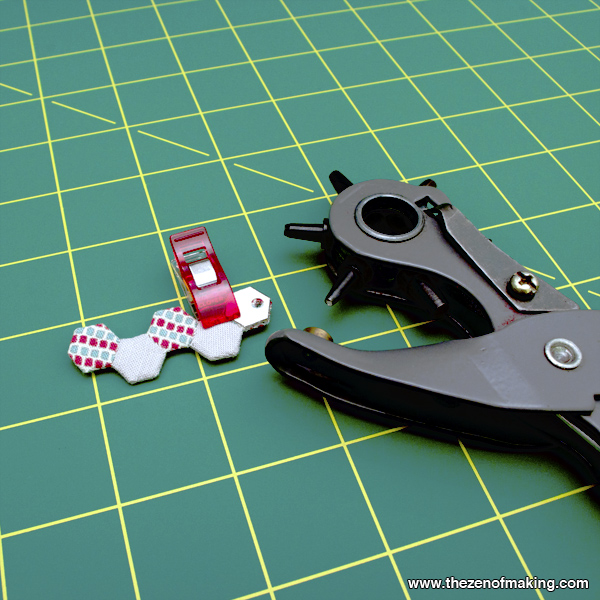
Using the necklace hole placement template, punch a hole through each side of the pendant with a leather punch. (A leather punch has a hollow tip, which will cleanly remove the fabric piece when you punch a hole.)
Note: I used a Clover Wonder Clip to hold the template in place while using the leather punch.
Step 10
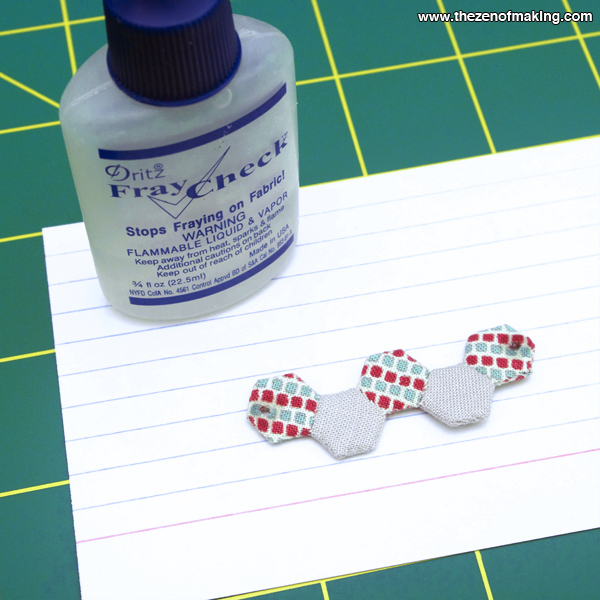
Apply Fray Check to each hole to prevent fraying.
Step 11
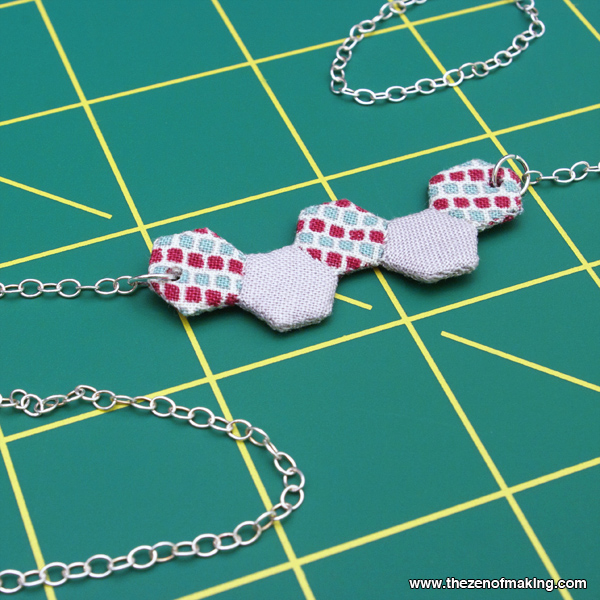
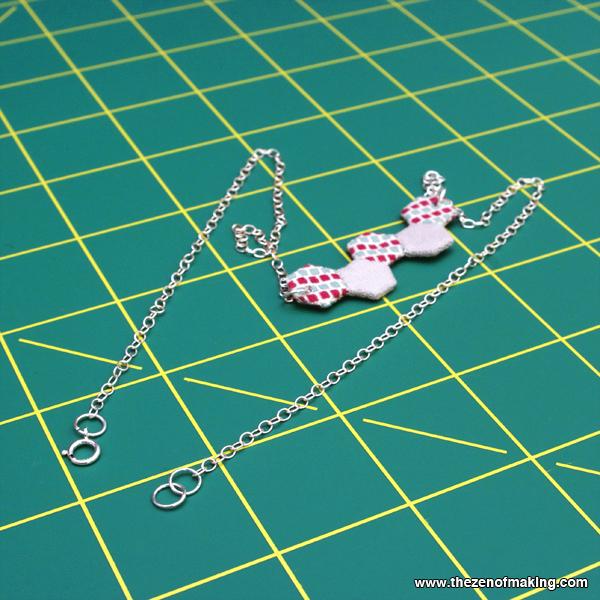
Attach one 7" piece of necklace chain to each side of the pendant using jump rings. (I used a pair of round jewelry pliers to open and close my jump rings.)
Step 12
Use jump rings to attach the clasp and closed jump ring to the ends of the necklace chain.
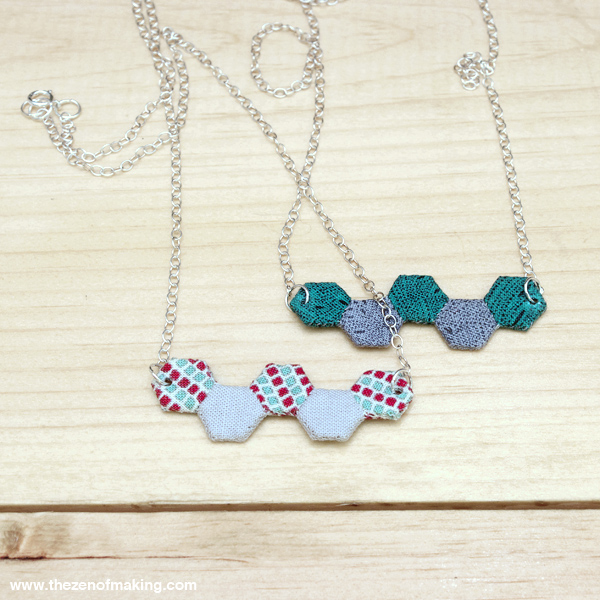
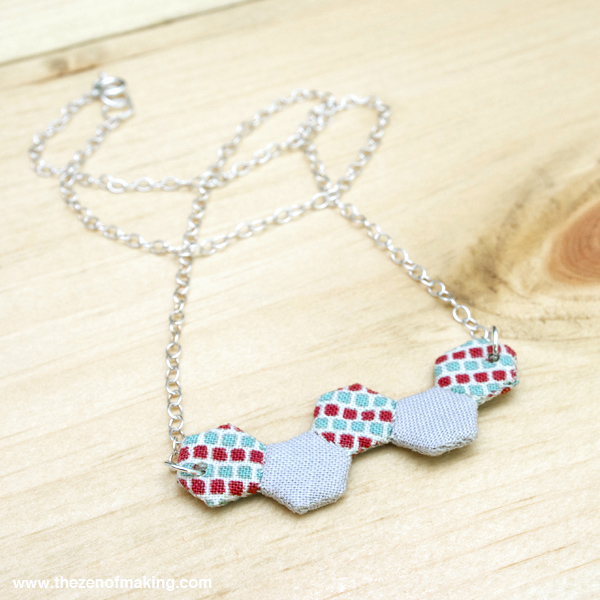
You’re done! Enjoy your new mini hexie necklace. (The holidays are coming—don’t forget to stitch up a few more for your other hexie-happy pals!)

Adorable!
Thank you!
I’m a hexagon junkie. LOVE this! Will definitely try it.
I’m pretty sure that I fall squarely into the hexagon junkie category too. Enjoy your necklace! :)
I love this so much I think I’m going to cry! You are brilliant! I’ve been wondering what you were going to do with those teeny tiny hexis! LOVE LOVE LOVE THEM!
Aww, thanks, Megan! xoxo
I’ve been watching you make these on instagram… they are so cute and I love the necklace idea… teeny hexies are the perfect size :)
Thanks for stopping by! Definitely glad I went with the 1/4″ instead of the itty bitty 1/8″ that I posted. :)
Girl, that’s the cutest thing EVER. Genius idea with the hole punch and the Fray Check. I love how delicate it is, and yet very sturdy. I’d make these in a million colors. GREAT project!
Thanks, ladyfriend!
I’m thinking that, next time, I might experiment with using grommets instead of Fray Check to make it even sturdier/give it a more polished look. I’ll report back once I’ve given it a try. (Because, heaven forbid that I leave well enough alone!) ;)