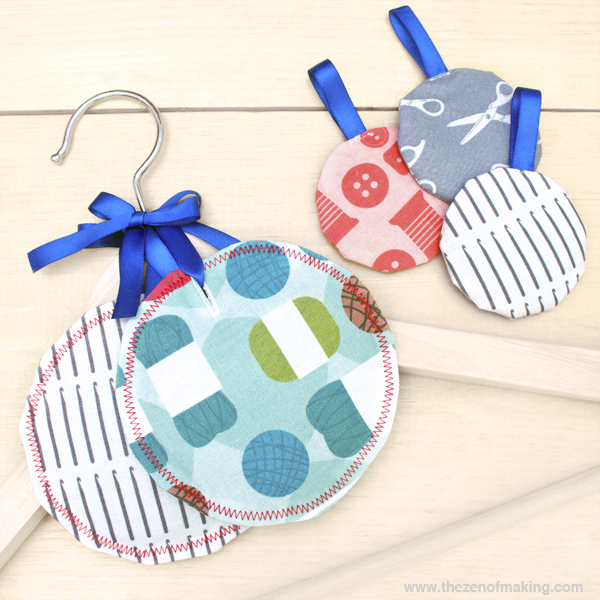
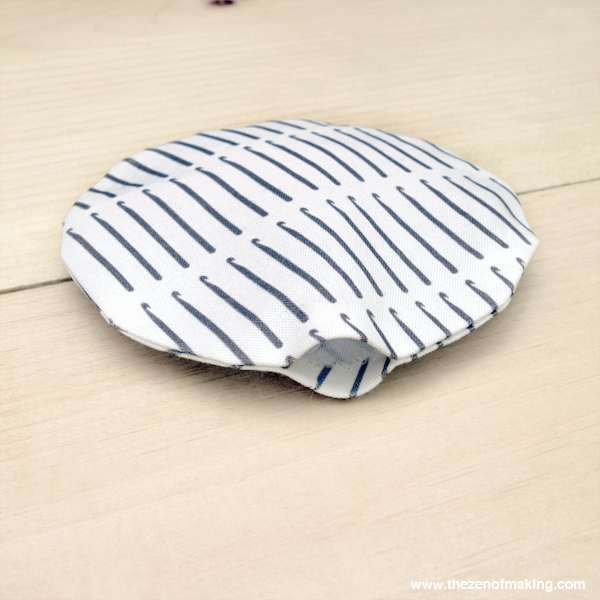
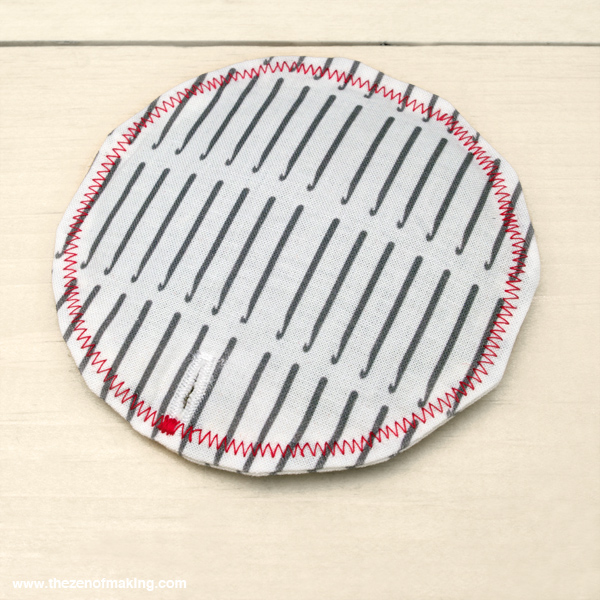
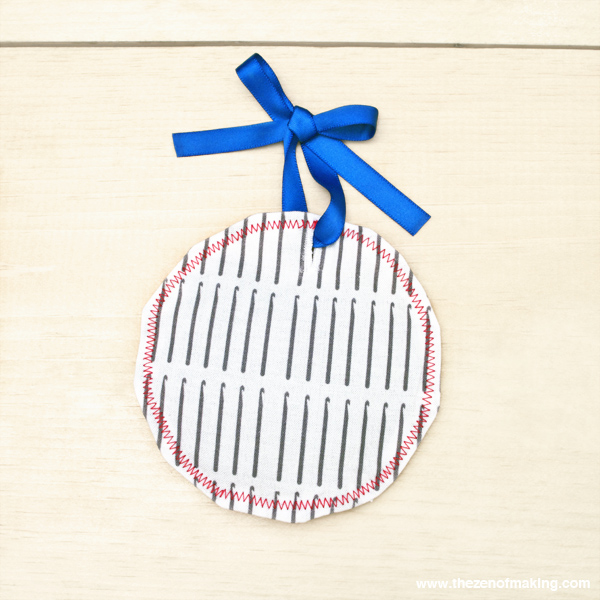
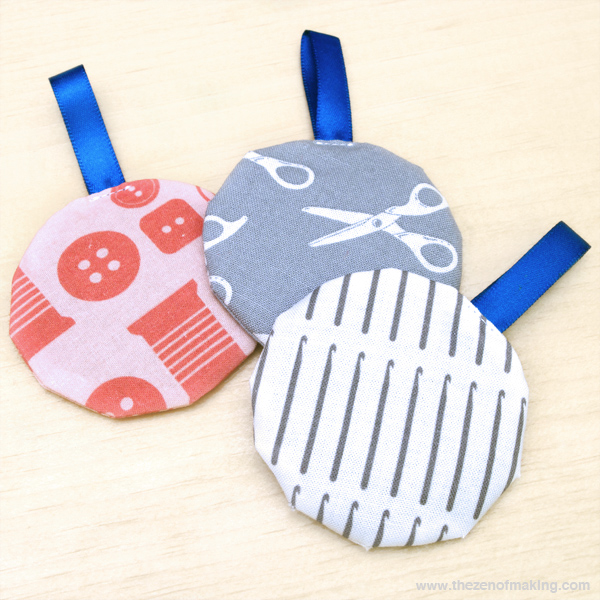
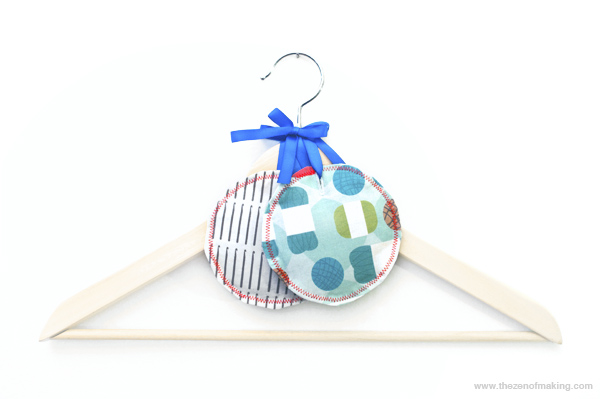
Protect your closet, fabric totes, and yarn stash from pesky fiber-eating moths—and keep things smelling clean and fresh while you’re at it—with a set of easy-to-make lavender sachets!
For this tutorial, I used my new GO! Baby Fabric Cutter [this is an affiliate link], which was provided by the generous folks at AccuQuilt. (You may recognize it from the Sewing for all Seasons book party, where we made sewn circle garland.) Full disclosure: I am, somewhat to my surprise, absolutely head-over-heels in love with this machine. I’ve always been more of an all-you-really-need-is-a good-pair-of-scissors kind of gal, but, even so, I kind of want to use my GO! Baby for every single project that I’m working on right now. That said, you certainly don’t need a GO! Baby of your own to make lavender sachets with this tutorial.
Please note that the links to supplies and tools that are provided below are affiliate links, and I will be compensated if you choose to make a purchase after clicking through.
Supplies:
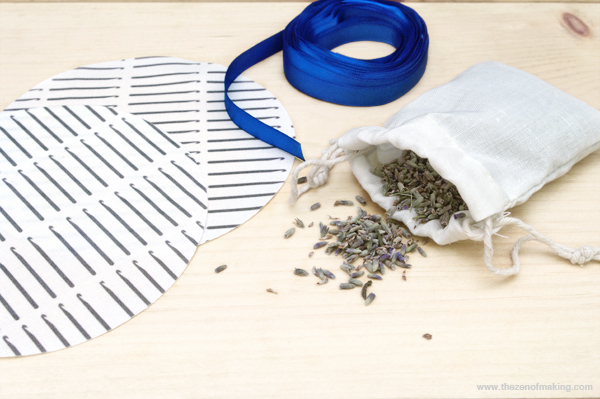
* Fabric scraps or fat quarters
* ⅜" satin ribbon
* Sewing thread, one spool that matches your fabric and one spool in a contrasting color
* Dried lavender
Tools:
* AccuQuilt GO! Baby Fabric Cutter (Optional, but very helpful!)
* AccuQuilt GO! Circle Die (Optional)
* Accuquilt GO! 6 x 12 inch cutting mat (Optional)
* Sewing machine with buttonhole foot (Optional)
* Circle template, 5" and 3" circles (Optional)
* Fabric scissors
* Sewing needles
* Straight pins or Clover wonder clips
* Iron and ironing board
* Quilting ruler
* Wooden chopstick
* Notecard or scrap paper
In this tutorial, you will create ONE large (around 4¼" in diameter) lavender sachet. Feel free to double, triple, etc. the number of circles cut in step 1 to make additional sachets.
Step 1:
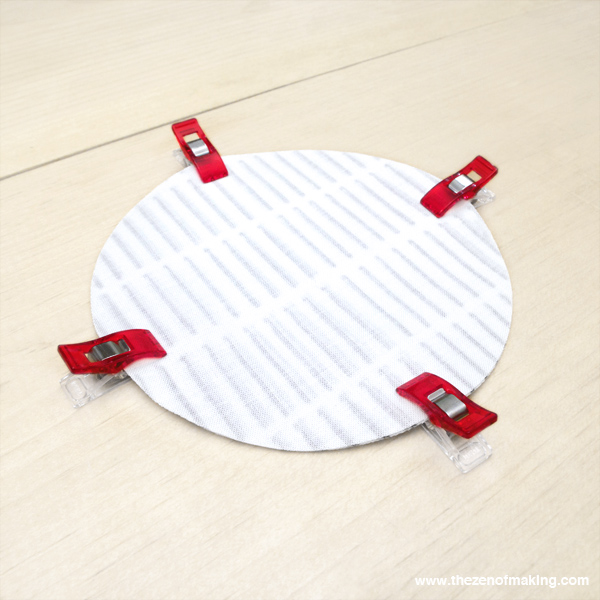
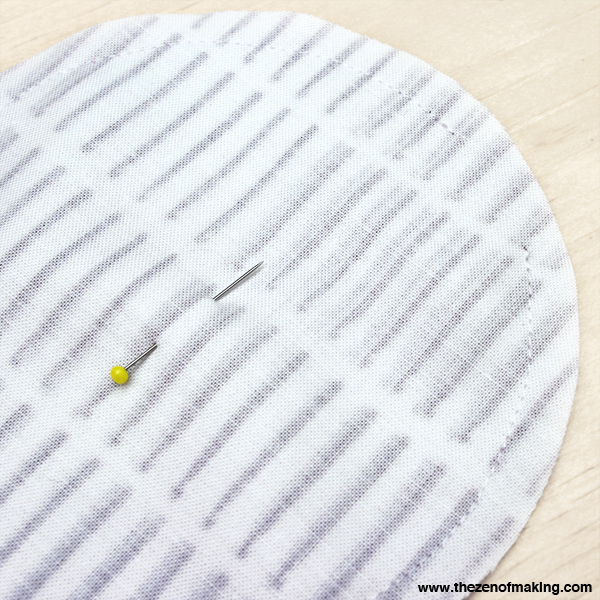
Cut your fabric scraps into two 5" circles. (I used my fancy new AccuQuilt GO! Baby, but a pair of fabric scissors is just fine too.) Then, pin the circles together with right sides facing, making sure the edges line up.
Step 2:
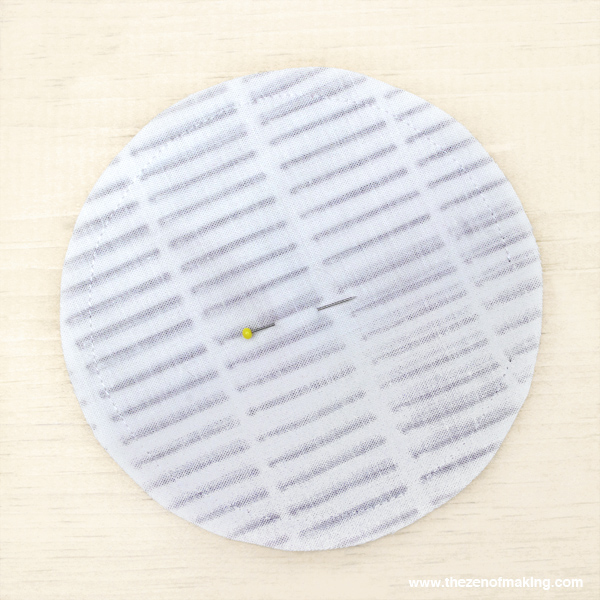
Using your sewing machine, sew the two circles together around the outside edge using a ½" seam allowance, leaving an inch or so of the edge unsewn so you can turn the connected circles of your sachet right side out in step 4.
Note: If you don’t have a sewing machine, you may substitute hand sewing for all sewing steps.
Step 3:
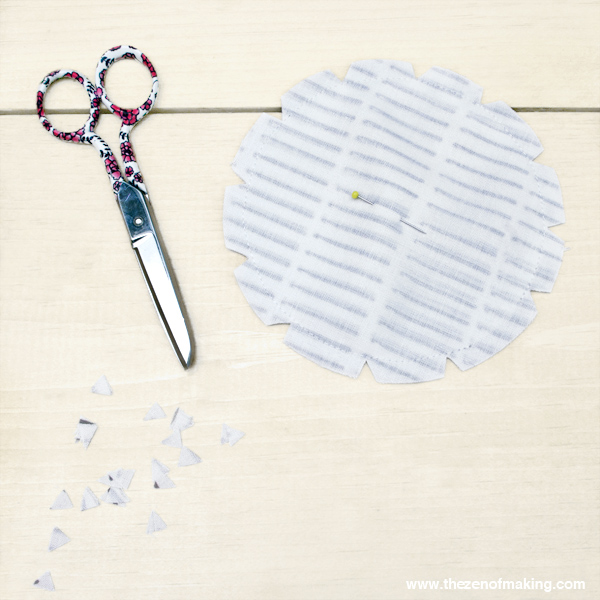
Use your fabric scissors to cut notches all the way around the outside edges of the circle, taking care not cut into the seam. (This will help your seam lay flat when you turn the sachet right side out in the next step.)
Step 4:
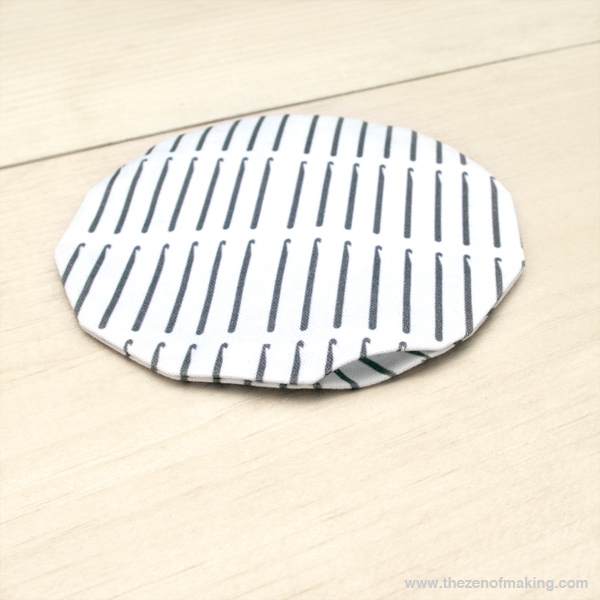
Turn the sachet right side out through the hole that you left open in step 2 (I always use a wooden chopstick to make this process easier), then use your iron to press the seams flat around the edges.
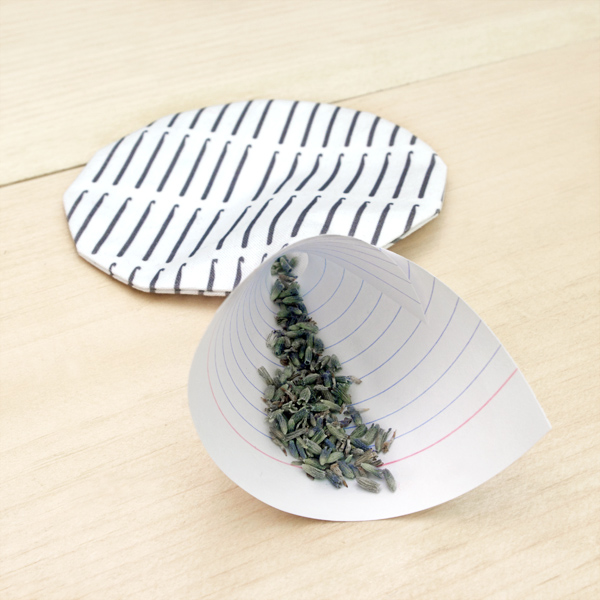
Once the sachet is right side out, twist your notecard into a funnel, then fill the sachet between ½ and ¾ of the way full with dried lavender.
Step 5:
After filling the sachet, sew the opening shut by hand. I used the ladder stitch, but feel free to use your favorite hand-sewing stitch instead.
Step 6:
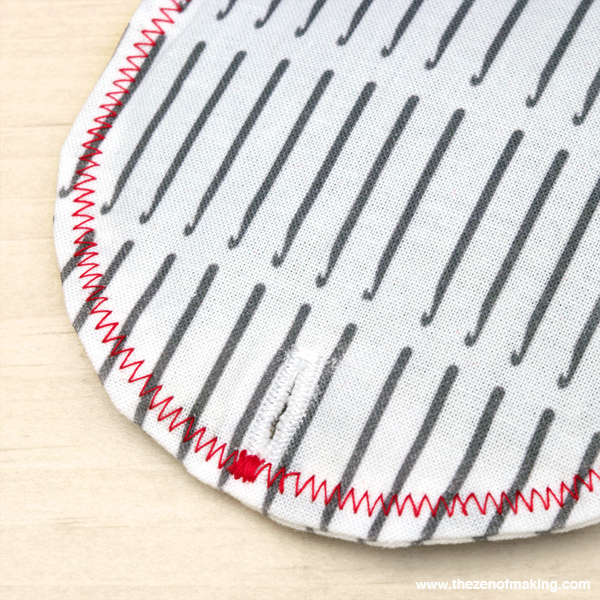
Find the center of the top edge of your sachet. Measure about ¼" in from the edge, then use your buttonhole foot to sew a ¾" long buttonhole toward the center.
Once the buttonhole is in place, zigzag stitch around the outside edge of the sachet with a contrasting color. Use your iron as needed to lightly press and flatten the sachet around the edges.
Note: You may need to squeeze the sachet to move the lavender around a bit as you work so it doesn’t get in the way while you’re sewing.
Step 7:
Cut a piece of satin ribbon to your desired length, then thread it through the buttonhole.
Step 8:
To make a smaller set of sachets for your yarn stash or underwear drawer (about 2" in diameter), cut 3" circles in place of the 5" circles that you cut in step 1, then insert a folded piece of ribbon into the sachet opening in step 5, hand-sewing the opening shut and securing the tab in place.
Enjoy the sweet, calming scents of your new lavender sachets! (They also make great gifts—don’t forget to make a few extra for your fabric and fiber-loving friends!)

