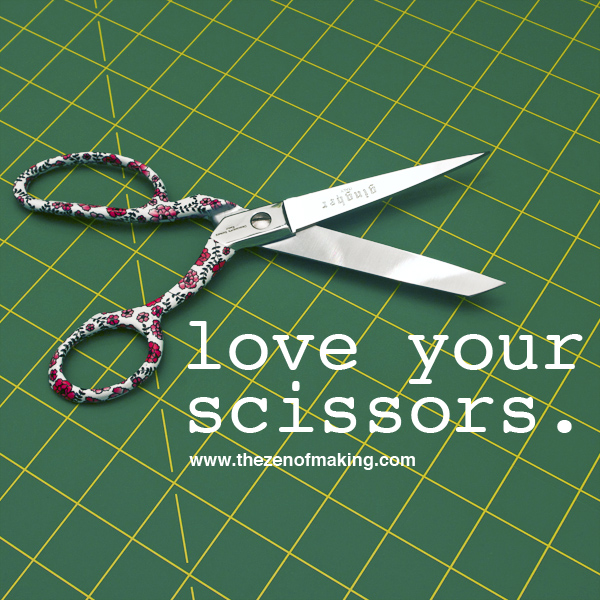
How long has it been since you’ve shown your scissors some love? (Hint: If you can’t remember, it’s been way too long!)
Dirty, stiff, or dull scissors can lead to sore hands, imprecise cuts, and high replacement costs. Luckily, it’s actually really easy to keep your favorite shears and snips in good working order—all it takes is a soft cloth and a little bottle of oil! (I mean, why waste money on a good pair of scissors if you aren’t going to take care of them?) Still need convincing? Picture those lovely antique shears that your grandma has been using since the dawn of time, and behold the power of regular maintenance!
Note: This tutorial isn’t just for sewing enthusiasts. Whether you’re a paper crafter, yarn crafter, embroidery lover, quilter, seamstress, or mixed media artist, happy scissors make for much happier makers.
Supplies:
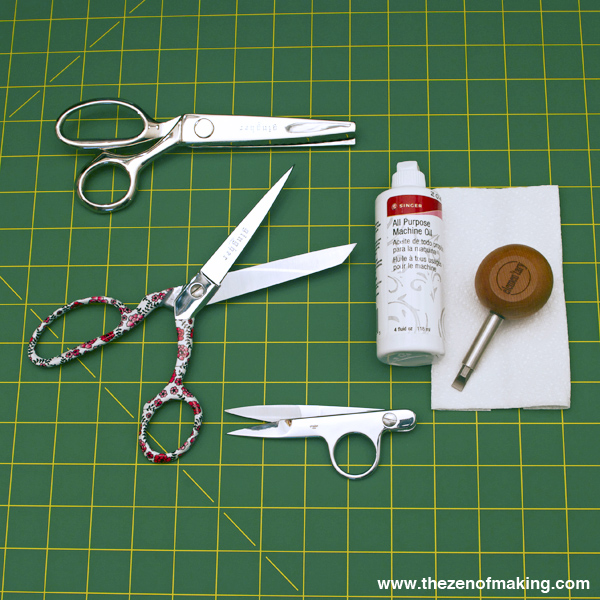
* All purpose household machine oil or scissor oil
Tools:
* Soft fabric cleaning cloth
* Screwdriver (Optional – for blade adjustments.)
Step 1: Clean Your Scissors
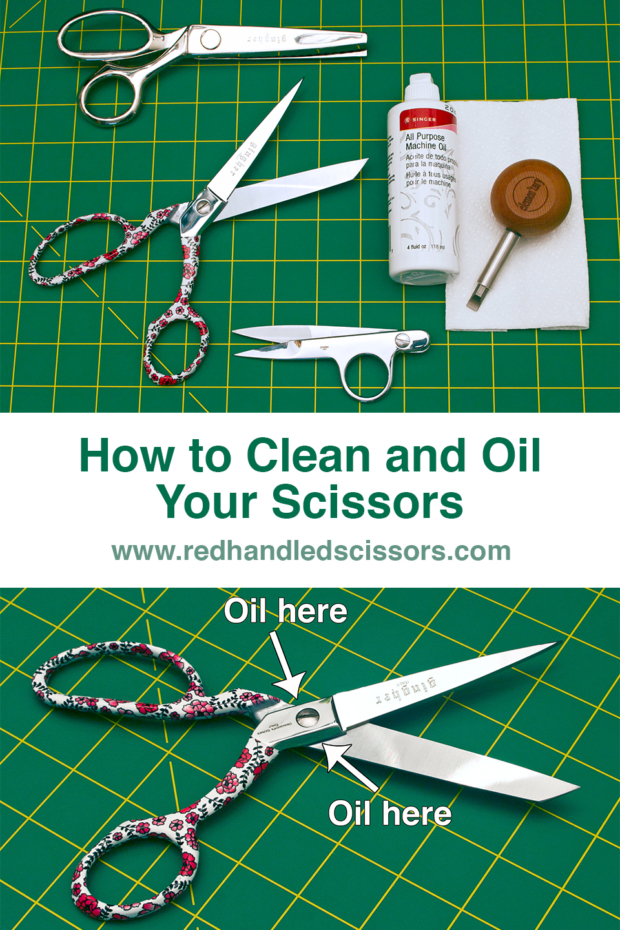
Using a soft, dry fabric cloth (I prefer a piece of unbleached cotton flannel), thoroughly wipe down your scissors, removing any dirt or lint from the blades, handles, and around the pivot. (The pivot is where the two blades are connected, usually by a screw.) Make sure you open and close your scissors a bit during the cleaning process to make sure that you’re able to reach all of the areas where dust and grime might collect.
Step 2: Oil Your Scissors
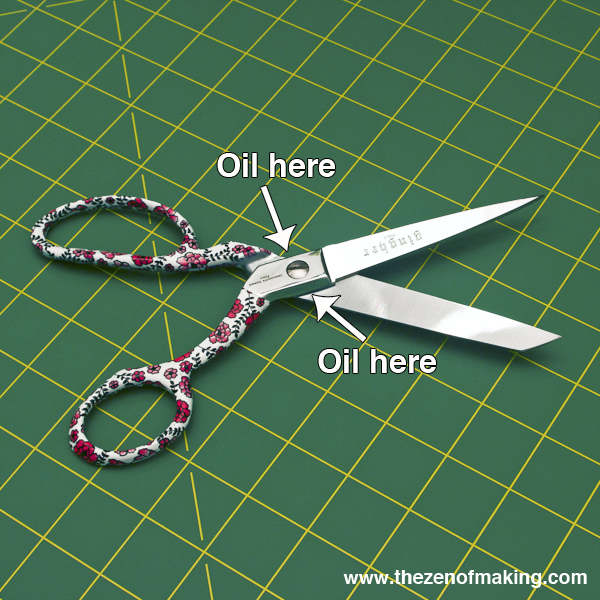
Open your scissors and place several small drops of household machine oil or scissor oil on the pivot between the blades and on the front and back sides of the adjustment screw. (Check out the oil placement guide above if you’re not sure where to start.) After applying the oil, work the scissors open and closed until the blades move smoothly and easily, adding more oil to the pivot as needed.
Note: To keep things simple, I use the same household machine oil on my scissors as I use for my sewing machines.
Once the oil has been worked in, use a dry cloth to wipe away any excess oil. If you live in a climate where scissors are prone to rusting, you can also wipe a very small amount of oil over both of the blades to protect the metal when the scissors aren’t being used.
Tip: If you’re oiling the blades to prevent rust, make sure you keep a cloth handy so you can wipe them clean them before use.
Step 3: Adjust Your Scissors (Optional)
Most high-end scissors—and even some less expensive brands—can be adjusted by tightening or loosening a screw at the pivot.
Properly adjusted scissors should open and close easily without hurting the hand, but the blades should never be so loose that they flop open or closed if you hold them up by one handle. (Be careful of the blades if you try this!) The cutting motion should always feel smooth but firm.
Step 4: Sharpen Your Scissors (Optional)
Given the many different blade shapes and cutting edge angles that are found on the specialty sewing and crafting scissors in my own personal collection, I find that it’s well worth the cost to bring them to a professional scissor/knife sharpener once or twice a year when the blades start feeling a little bit dull. That said, if you prefer to use a handheld knife/scissor sharpener to keep your blades in good working order, have your scissors checked out by an expert at your local sewing or hardware store first to make sure that the sharpener you have in mind is appropriate for the angle of the cutting edge on your blades.
How often should you clean and oil your scissors?
If you get into the habit of wiping the blades clean before you put the scissors away—or at least every time you’re working on a big project—you can probably get away with oiling them once a month. But, if you’re a maker whose scissors see heavy use, you may want to oil them weekly or even daily. Once you get used to using well-maintained scissors, you’ll definitely be able to tell when the pivot needs a little oil.
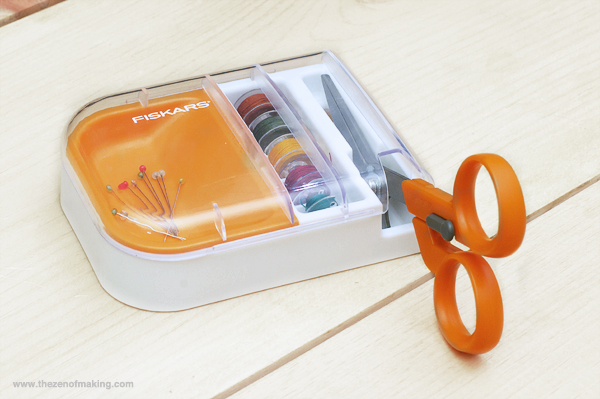
Though many of these tips are geared toward higher end scissors, the same methods can keep less pricey models—like the seam ripper scissors pictured above—snipping away for years to come. Case in point: I’ve got a pair of Fiskars pinking shears with orange plastic handles in my studio that are at least as old as I am, and I turn 31 next month. I inherited them in a sewing box from my mom when I went to college, and, thanks to regular maintenance, they still make clean, beautiful cuts today!
So, what are you waiting for? It only takes a few minutes of work to start out the new year with scissors that look and work just like new. (Your hands and projects will thank you!)

Thanks for the timely reminder. After a busy and productive holiday flurry, my scissors all plead for a little oil, just like the tin man in the Wizard of Oz! My pinking shears showed the hugest improvement! Happy Sewing.
My pinking shears always seem to require more oiling/adjustments than the rest of my scissors. Always well worth the effort, though! :)
thank you for sharing this…I’ve been struggling with my pinking shears and hope this will help me fix them up.
Thank you, I was just looking at my scissors the other day, wondering how I might go about sharpening them and for some reason I had never thought about taking them to the knife sharpening guy!
Happy Mothers Day thanx for tute on saving scissors renee by
Can I use the same cloth that I used for cleaning the scissor to wipe down the oil?
Sure! Just shake out the dust and make sure you wash it once in a while when it gets dirty.
I just needed to know what to do!!!!!!!!!!!!!!!!!!!my shears are slowly rusting omg.
How do I eiiminate rust from scissors?
A great way to remove rust easily and without harsh chemicals is to immrrse anything rusted in common vinegar .I buy mine st the Dollar Store.1/2 galllon for $1 of what they call cleaning vinegar. Although I know people that make pickles with it. Just take the lid off. Pour into a tupperware or other suitable container enough to totally cover whatever you want to unrust. It is an acid but mild so depending on how rusty the part is may take several days or longer to remove all the rust. Light brushing while soaking helps speed up the process. Check once a day. Make sure you lightly oil all metal after rinsing off. P.S. have any dulp files? Throw them in and in a week or two they will be filing like new again. Do not oil files after cleaning. It will gum them up, just wrap in a soft rag.
oh boy have i got you beat. I have my great grams pinking shears and I am 70. I have owned them since I turned 19. and they still cut like a dream.
That’s so cool! I have a 1936 Singer Featherweight—not from my family; I found her at an antiques mall—and she sews more smoothly than any other machine I have. I love to think of all beautiful, useful things she’s made and the stories she could tell. Tools with history are always my favorite tools!