Going on a weekend trip? Want to prevent wilting during hot summer weather? Keep thirsty plants happy with a quick and easy DIY beer bottle watering globe!
Summers can be mighty brutal for my Brooklyn fire escape garden, and sometimes even mulching isn’t enough to prevent my most water-hungry plants from drying out. So, to keep my more drought-sensitive fruits and veggies blooming merrily along, I like to use glass beer or soda bottles as watering globes. It’s an inexpensive and simple household trick, and it really helps keep my container garden green—especially when life gets busy! (It’s great for indoor houseplants too!)
Note: If you’ve got plants that don’t like a ton of water—cacti or succulents, for example—this isn’t the right watering solution for you. Make sure your plants actually like to be watered regularly before giving this a try.
Supplies:
* Glass beer or soda bottle, empty and thoroughly cleaned (wine bottles are ideal for larger plants)
* Water
Tools:
* Small shovel or trowel
Step 1:
Water your plant thoroughly, ensuring that the soil is completely soaked through.
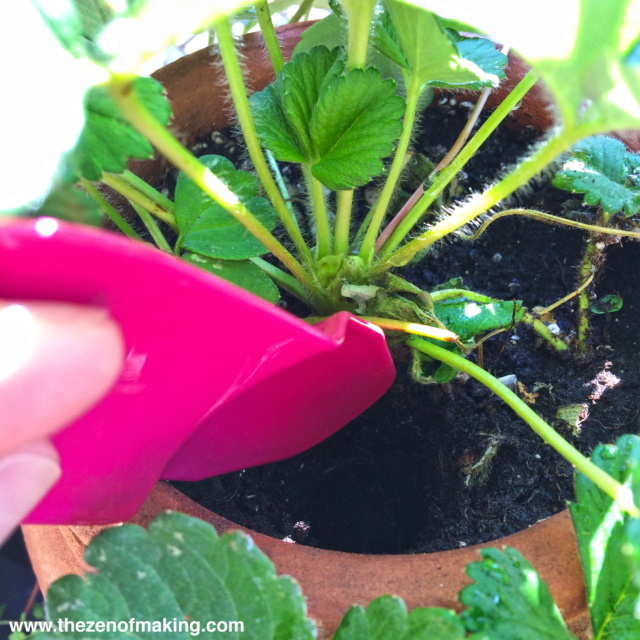
Use a small trowel to dig a hole in the wet dirt that’s deep enough to insert the first few inches of the bottle neck into the soil. You’ll want the bottle to fit snugly down inside, so keep the hole on the narrower side.
Step 2:
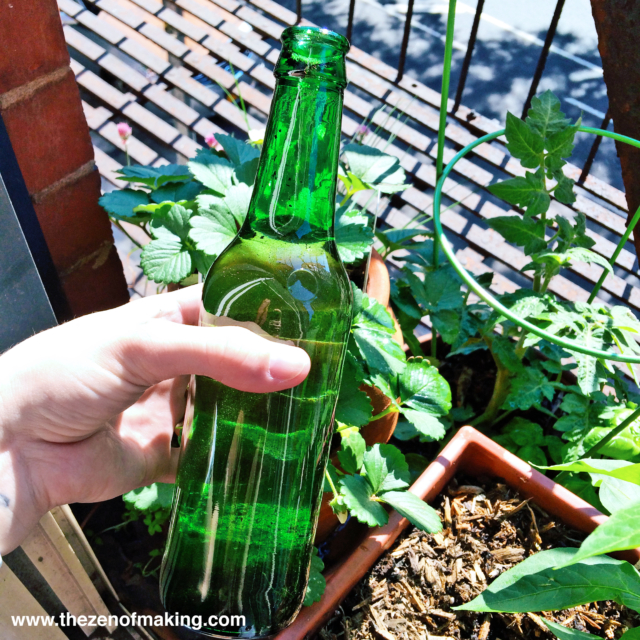
Fill a clean glass beer or soda bottle with water.
Step 3:
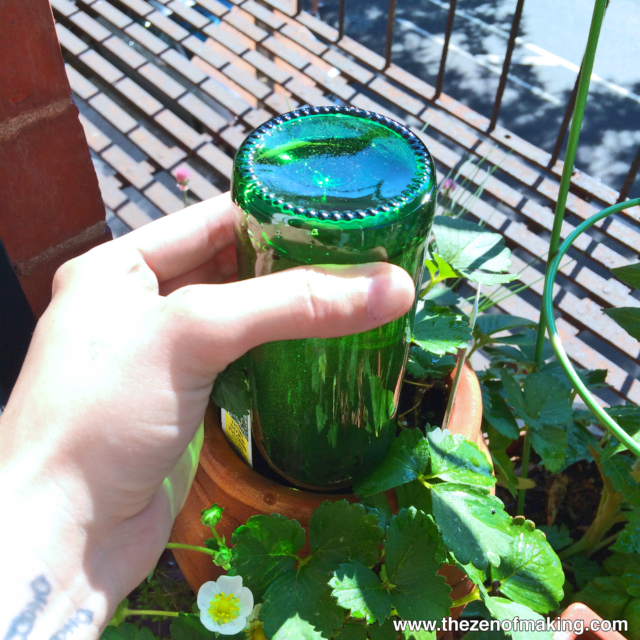
Position the bottle over the hole, then quickly invert it, pressing the opening/bottle neck firmly down into the soil. If needed, you can use the heel of your hand on the top of the bottle for leverage.
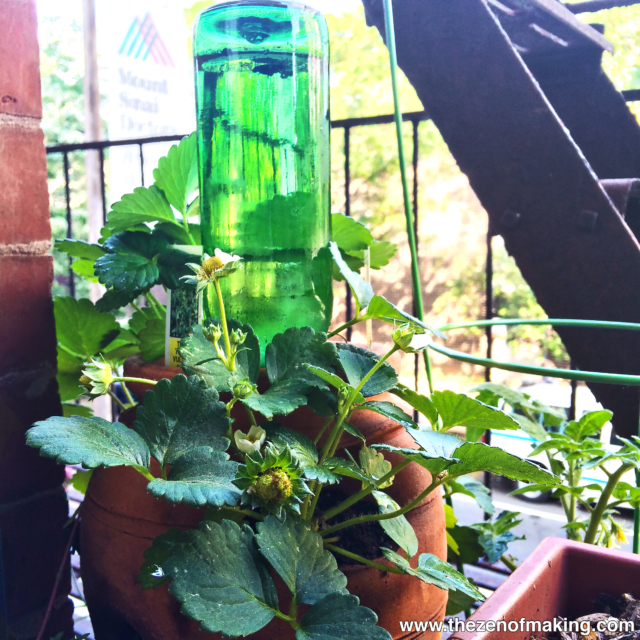
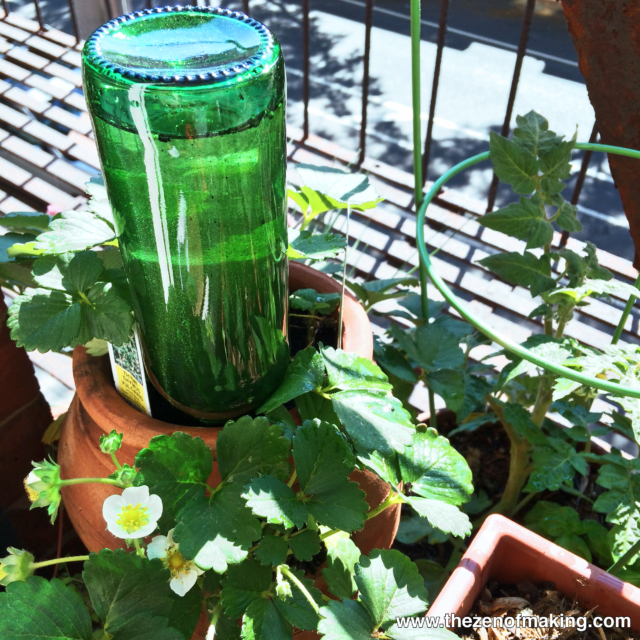
Once inserted into the hole, the full neck of the bottle should be hidden (the hole you dug in step 1 will help ease the way, but you’ll want to continue pressing until the neck can no longer be seen). It’s normal to see a bit of soil floating to the top of a newly installed watering globe.
When you’re finished, the bottle should feel completely secure and stable to the touch—there should be no danger of it tipping over or falling out of the pot.
Note: The soil must already be wet when you insert the watering globe into a pot. When you start with wet soil, it creates a seal with the bottle’s opening, allowing the water in the bottle to be pulled naturally into the soil as needed to maintain the plant’s moisture level as water is used/evaporates.
Step 4:
When needed, remove and refill the bottle.
If you have trouble getting a good seal, press soil back into the hole, thoroughly water the plant, then return to step 1.
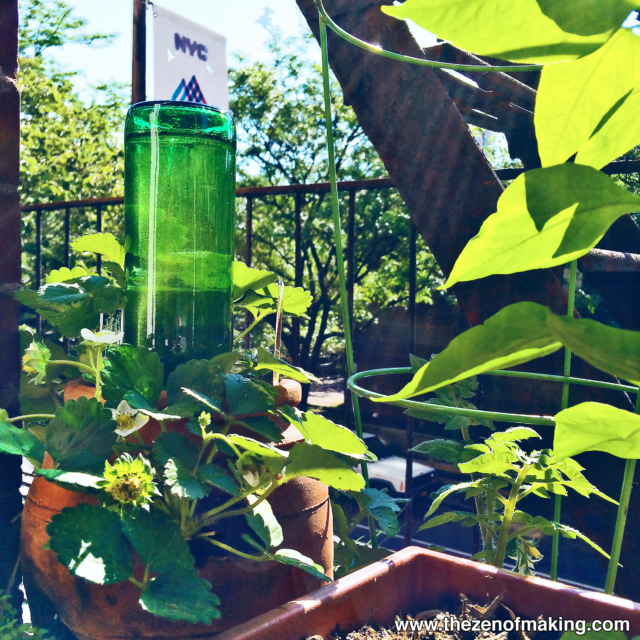
Here’s a quick video of my beer bottle watering globe in action. Just look at those thirsty strawberries! They’re setting fruit, so they drank a full bottle in fewer than 24 hours. That’s pretty impressive! (I, for my part, spent those hours giggling at the idea of my strawberries guzzling from a beer bottle.)
While I’m certainly not the first person to come up with the recycled-bottle-as-plant-nanny idea, I can definitely speak to its efficacy. I hope this simple trick will help you keep your plants healthy and green all summer long!
Now, on the takin’ care of business front, I guess it’s time to claim my blog (mysteriously listed twice) on Bloglovin. So, if that’s your thing, I’d recommend using the first link:

WoW.. very interesting :)
hi haley! i love love love this!!! pinned!
wish you lots of sweet berries and happy days this summer!! xo